Last updated November 18, 2026


Free written scope consultation - allowances, timeline, and change-order rules on paper before a single trade is scheduled
Driveway & Pavers Maintenance Checklist for Santa Rosa Homeowners
The joint sand between your pavers is doing more structural work than the pavers themselves, and in Santa Rosa, one rainy season without a recheck will wash enough of it out that your driveway starts rocking like a loose tooth. Most maintenance advice you’ll find online was written for a mild, stable climate. Santa Rosa isn’t that. We get soaked from November through March, then baked from May through September, and that wet-then-hot swing works on pavers, joints, and sealers on a predictable schedule. This checklist walks you through that calendar month by month, tells you how to test your own joints with a screwdriver, and explains why the pressure washer in your garage is the worst thing you can point at your driveway.
Quick Answer
In Santa Rosa, pavers need two real maintenance passes a year, not one: a full inspection and joint-sand refill before the November rains, and a cleaning and reseal check before the June heat. In between, you spot-check after any atmospheric river event. Skip either pass and you’ll be looking at washed-out joints, rocking stones, and a failed sealer within two winters.
Styles & brands we work with
- Kitchen remodeling
- Bathroom remodeling
- Home additions & ADU
- Roofing
- Windows & doors
- Driveway & pavers
- Fence
Table of Contents
- Why Santa Rosa’s Climate Is Hard on Pavers
- The Santa Rosa Paver Maintenance Calendar
- How to Test Joint Sand Depth Yourself
- Efflorescence vs. Structural Joint Failure
- Why Pressure Washing Damages Pavers
- Which Sealers Actually Hold Up Here
- Drainage, Slope, and Soil Movement
- Common Mistakes to Avoid
Why Santa Rosa’s Climate Is Hard on Pavers
Santa Rosa sits in a basin that traps heat in summer and collects rain in winter, and that combination is rough on hardscape. Summer surface temperatures on a sun-exposed driveway regularly run 130 to 150 degrees. Winter brings the opposite: weeks of rain, saturated base material, and the occasional overnight dip into the low 30s. That’s not a true freeze-thaw cycle like you’d see in the Sierra, but it’s enough to move a poorly drained base a fraction of an inch, season after season.
What actually fails first isn’t the paver. It’s the sand between them. Polymeric joint sand holds the units tight against each other and keeps water from sheeting straight into the base. When it washes out, each paver starts working independently under tire load. That’s when you hear the clink, feel the rock, and see hairline cracks start at the corners.
Sonoma County’s clay-heavy soils make this worse. Clay expands when wet and shrinks when dry, and a driveway base that wasn’t compacted in lifts or wasn’t given proper subdrainage will telegraph that movement up through the pavers. In our experience, driveways on the west side of Santa Rosa, closer to the heavier clay, show joint loss faster than those on the alluvial soils toward Rincon Valley.
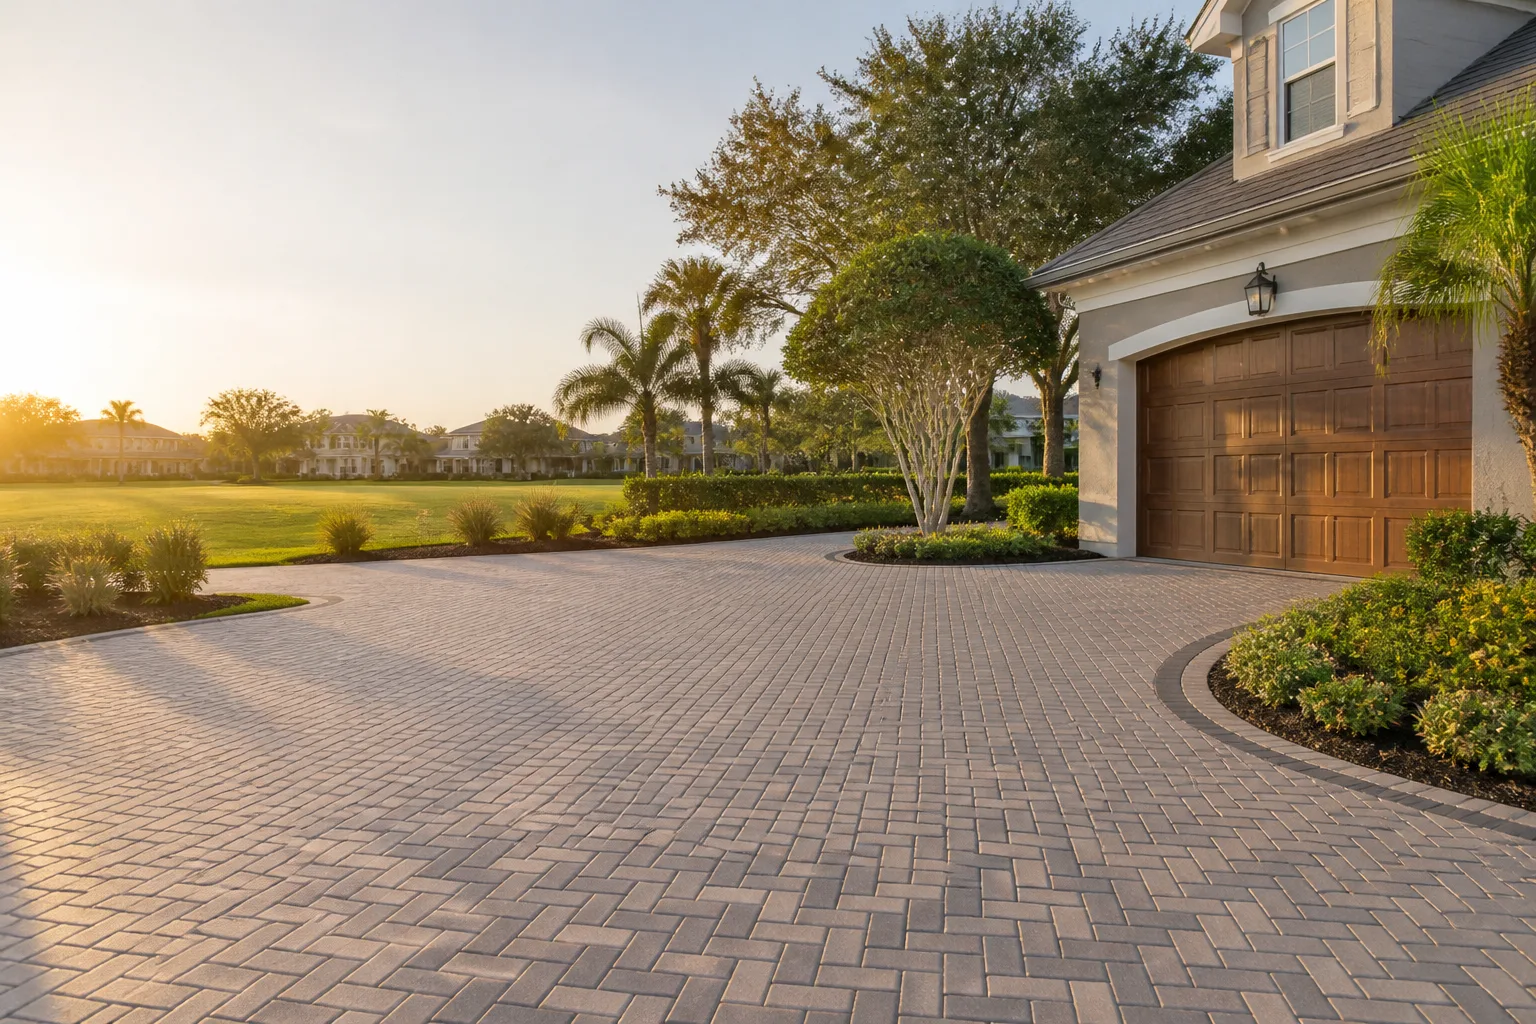
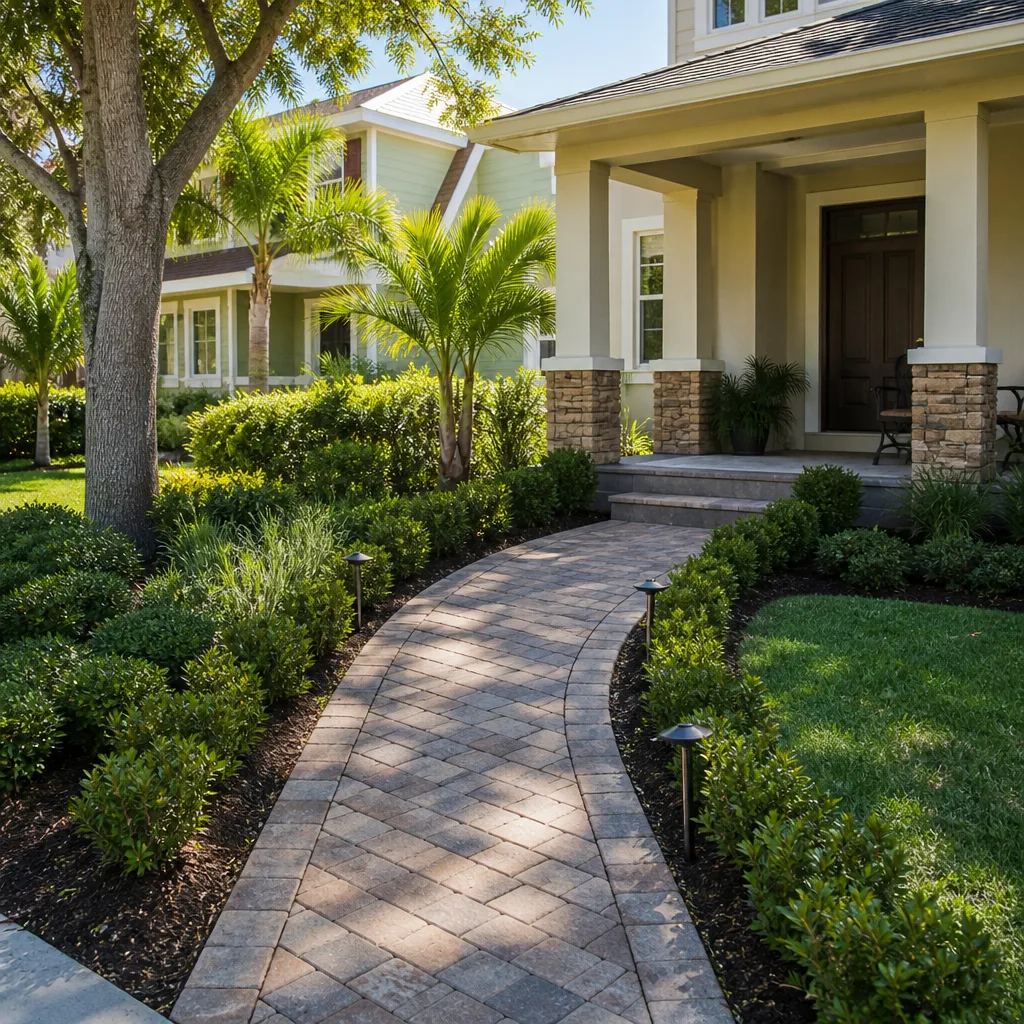
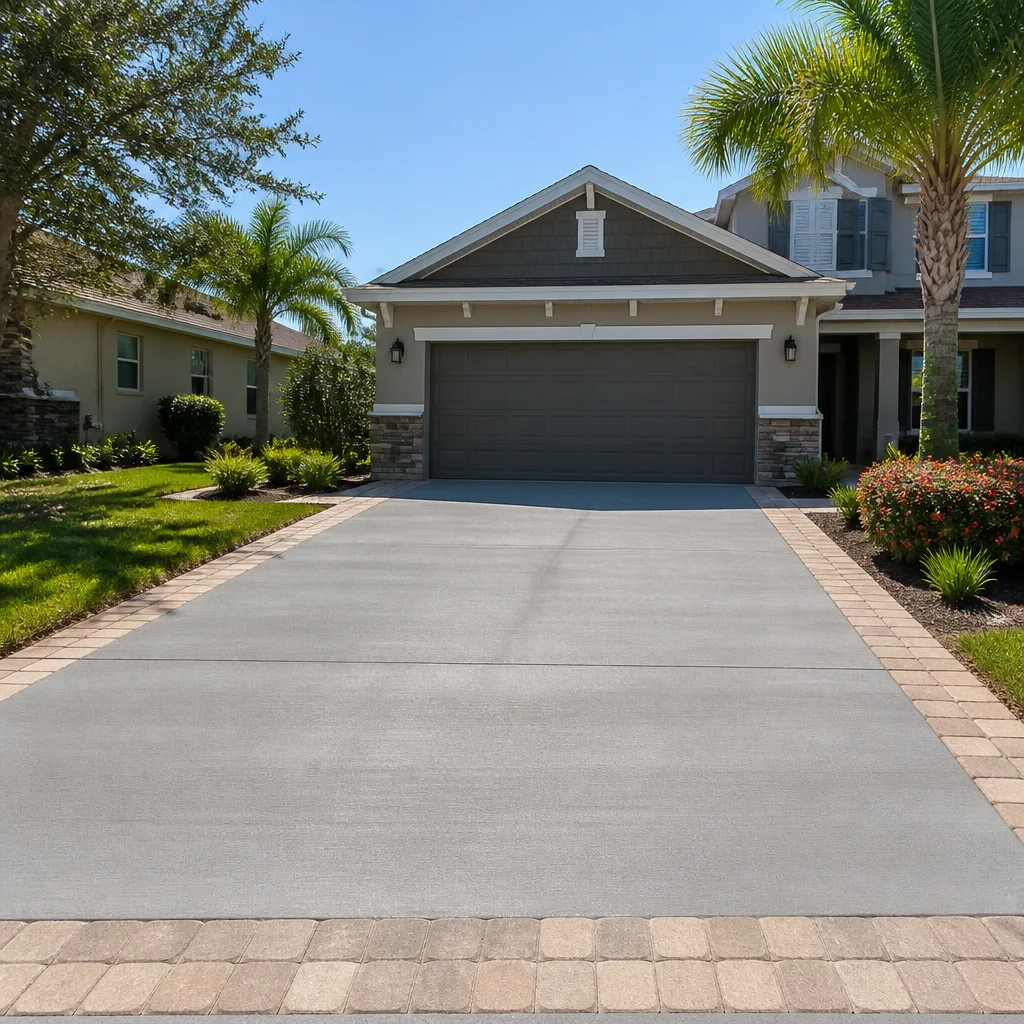
None of this means pavers are a bad choice. They’re one of the most repairable surfaces you can put down, and a well-built Driveway & Pavers in Santa Rosa installation will outlast asphalt by a wide margin. It just means the maintenance isn’t optional, and the calendar matters.
The Santa Rosa Paver Maintenance Calendar
This is the schedule we walk homeowners through every year. It’s built around when water arrives and when heat arrives, because those are the two events that stress a driveway.
- Late September to mid-October: Full inspection. Walk the whole surface, tap every paver you can reach with a screwdriver handle, and listen for a hollow sound. Test joint sand depth (see the section below). Refill any joint that’s more than a quarter inch low. Clean out the drainage channel at the garage apron and any channel drain. This is the pass that protects you through the rains.
- November through March: After each significant storm, especially an atmospheric river, do a 5-minute walk. Look for sand piled at the bottom of a slope, which tells you water moved through the joints. Check for new rocking stones. Clear any debris blocking the driveway’s low edge.
- April: Post-winter assessment. This is when you’ll see the real damage from the wet season. Re-test joints, look for efflorescence, and note any pavers that shifted or heaved. If you’re going to call for a repair, this is the month that keeps the job small.
- May: Clean and decide on sealing. If your sealer is more than three seasons old, or if water no longer beads on the surface, plan a reseal. Do it before the June heat so the product cures properly and doesn’t flash off.
- June through September: Light upkeep only. Sweep, spot-clean stains, and keep weeds out of the joints and edges. Avoid sealing in the heat of the day; a surface above 90 degrees will cause most sealers to skin over before they penetrate.
- October: Repeat step one.
That’s the whole pattern: two real workdays a year, plus a quick walk after big storms. Homeowners in Santa Rosa who stick to it rarely need anything more than a joint refill and a reseal every few years.
How to Test Joint Sand Depth Yourself
You don’t need a contractor to tell you whether your joints are low. You need a screwdriver and ten minutes. The test is simple:
- Pick five or six spots across the driveway, including one at the top of a slope and one at the bottom, because those are the places water moves fastest.
- Push a flathead screwdriver straight down into a joint until it stops on the compacted sand or the base.
- Mark the depth with your thumb, pull it out, and measure against a ruler. The joint should be filled to within about an eighth of an inch of the paver’s top edge. Anything deeper than a quarter inch needs a refill.
- Repeat at each spot. If more than two of your six spots are low, refill the whole driveway rather than spot-patching.
For the refill itself, use a good polymeric joint sand, not the bagged play sand from the garden center. Polymeric sand activates when it gets wet and cures into a semi-flexible binder that resists washout far better than plain sand. On the clay soils common across Santa Rosa, the flexible cure matters: it lets the joint move slightly with the soil instead of cracking. Brands like Tremron and Techo-Bloc both make joint sand formulated for their own paver lines, and those are what we specify. Pour, sweep it into the joints, compact it, then mist it lightly and let it cure for 24 hours before anyone drives on it.
One caution: don’t refill joints when rain is in the forecast for the next 48 hours. You’ll wash out the work you just did.
Efflorescence vs. Structural Joint Failure
Homeowners confuse these two all the time, and the difference determines whether you spend an afternoon with a broom or a weekend with a contractor.
Efflorescence is a white, powdery haze that shows up on the face of the pavers. It’s salt migrating to the surface as moisture moves through the concrete. It’s cosmetic, it’s common in Santa Rosa’s wet winters, and it’s fixable. A stiff brush and a proper efflorescence cleaner will lift it, and it usually stops recurring once the pavers fully cure and the base stops holding excess moisture. If it comes back after every rain, that’s a sign of water moving where it shouldn’t, which is worth a look.
Structural joint failure is different. It looks like this:
- Wide gaps between pavers where the sand has washed out entirely
- Pavers that rock or shift when you step or drive on them
- Visible heaving, where one paver sits proud of its neighbors
- Sand accumulating at the low end of the driveway after every rain
- Chipped corners or spider cracks that spread from a joint
Any of those is urgent. A rocking paver is a paver that’s lost its bedding underneath, and driving on it will crack it and stress its neighbors. If you see it in April, don’t wait for fall.
Why Pressure Washing Damages Pavers
This is the single most damaging thing most Santa Rosa homeowners do to their pavers, and it’s usually done with the best intentions in the spring. A consumer pressure washer at 3,000 to 4,000 PSI will blow joint sand out of a properly filled joint in seconds. It also erodes the paver’s surface finish, and on any sealer it’ll strip the topcoat right off. You end up with clean-looking pavers and empty joints, which is exactly the state that leads to rocking and shifting by the following winter.
What to use instead:
- A garden hose with a normal nozzle, plus a stiff-bristle push broom. This handles 90 percent of dirt and moss.
- A dedicated paver cleaner, not a degreaser or a bleach mix. Match the product to the stain: rust, oil, and organic staining each need a different approach.
- If you must use a pressure washer, keep it under 1,200 PSI, use a wide fan tip, and hold the wand at a 45-degree angle to the joint, never straight down. Even then, expect to refill some joint sand afterward.
If a driveway in Santa Rosa does need a deep clean, it’s worth paying for it to be done by someone who knows what the surface can take. Spending a hundred dollars on a professional cleaning beats spending a weekend refilling joints you just blew out.
Which Sealers Actually Hold Up Here
Sealer is the part of paver maintenance where the nationally advertised product often fails locally, and homeowners end up redoing it two summers later. The reason is UV. Santa Rosa gets strong summer sun, and a film-forming acrylic sealer under that kind of UV will chalk, yellow, and peel within two or three seasons. When it peels, it takes a strip-and-recoat job to fix, which costs more than the original sealer did.
What performs better in this climate:
- Penetrating siloxane sealers soak into the paver instead of sitting on top. No film to peel, no yellowing, and they let the surface breathe. They need reapplication more often, but the upkeep is easy.
- Polyurethane sealers in a matte or low-sheen formula hold up better than acrylic to UV and temperature swings, and they’re a reasonable middle option if you want a slight color enhancement.
- Acrylic film-forming sealers are the ones that fail here. They’re popular because they’re cheap and they make the color pop, but in Santa Rosa’s sun-and-swing pattern they’re a two-season product at best.
Whatever you choose, seal in the shoulder season, not mid-summer. A May or early June reseal, done on a day that stays under 80 degrees, cures evenly. A July reseal on a 95-degree day will skin over before it penetrates and leave you with a patchy finish.
Drainage, Slope, and Soil Movement
Drainage is the part of driveway maintenance homeowners can’t see and shouldn’t ignore. A paver driveway should slope away from the house and garage at roughly a 1 to 2 percent grade. In Santa Rosa, where a two-inch rain in a day is normal for a storm event, that slope is the difference between water running off and water pooling against the garage apron.
Walk your driveway after a rain and look for standing water. If it’s still there two hours after the storm ends, the grade has settled or the base wasn’t built right. On a county with clay soils, standing water is the number one cause of pavers loosening, and it’s worth fixing while it’s still a drainage problem rather than a replacement problem. If water runs toward the house, the fix often involves more than the driveway; that’s when we look at the whole property, which is the same approach we take with Fence Installation in Santa Rosa and with any structural work near the foundation.
Common Mistakes to Avoid
- Skipping the fall sand refill because “it looks fine.” It looks fine in September because the sand is dry and in place. It looks sparse in March because the rain took it. Do the refill before the rain, not after.
- Pressure washing with a consumer unit. We covered this above, but it’s the most common call we get. If you blew out your joints, call before the next rain instead of letting the pavers rock for a season.
- Using play sand for joint refill. It washes out in one storm and doesn’t cure. Polymeric joint sand from a brand like Cambridge or Techo-Bloc is the only thing worth buying.
- Ignoring efflorescence until it stains permanently. White haze that sits through multiple wet seasons can etch the surface. Brush it off in April.
- Sealing in July heat. A warm afternoon feels like sealer weather, but on a Santa Rosa summer day the surface temperature of a driveway will run 30 to 40 degrees hotter than the air. Wait for the shoulder season.
- Parking heavy vehicles on a newly refilled joint. Polymeric sand needs 24 hours of dry cure before it’s driven on. Give it that.
- Assuming the paver is the problem when something rocks. A rocking paver is almost always a base or joint issue, not a bad paver. Replacing the paver without fixing the cause means the next one rocks too.
See the difference
 Before
 After
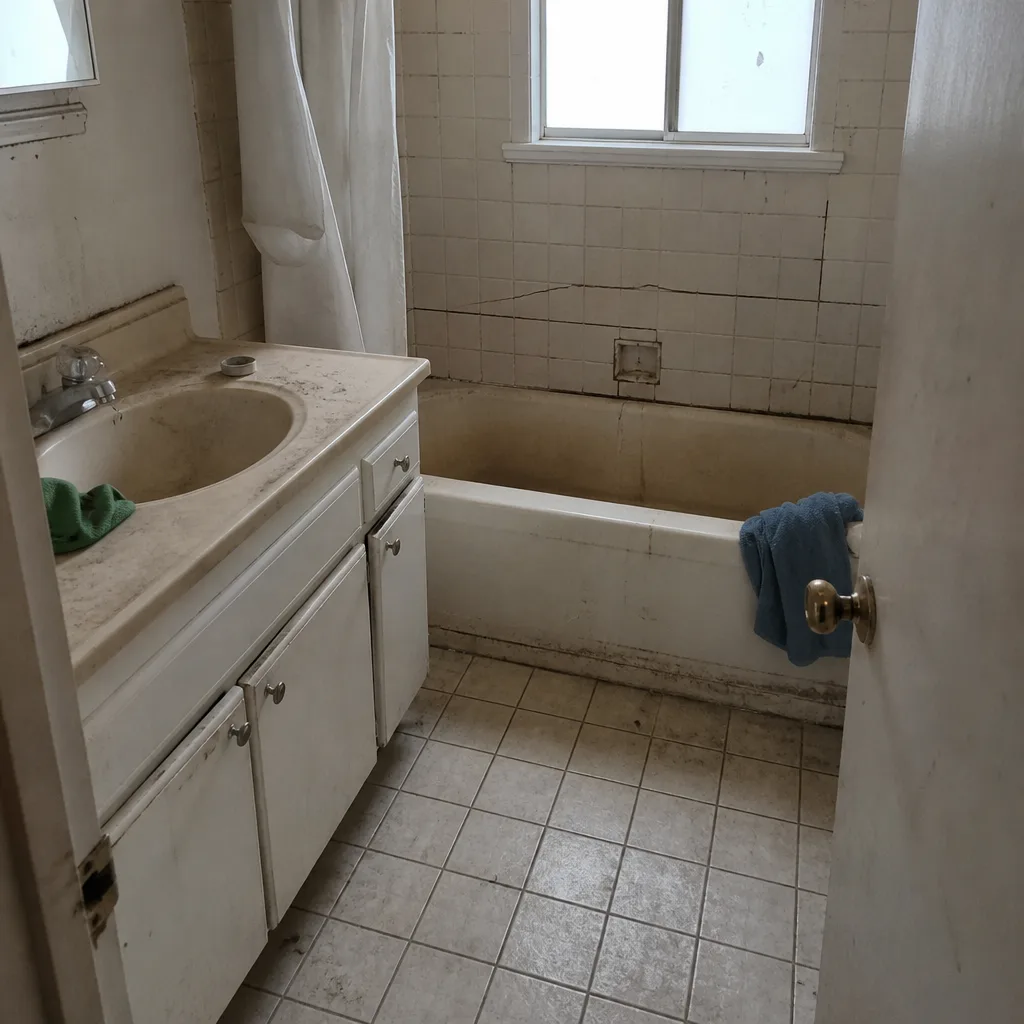 Before
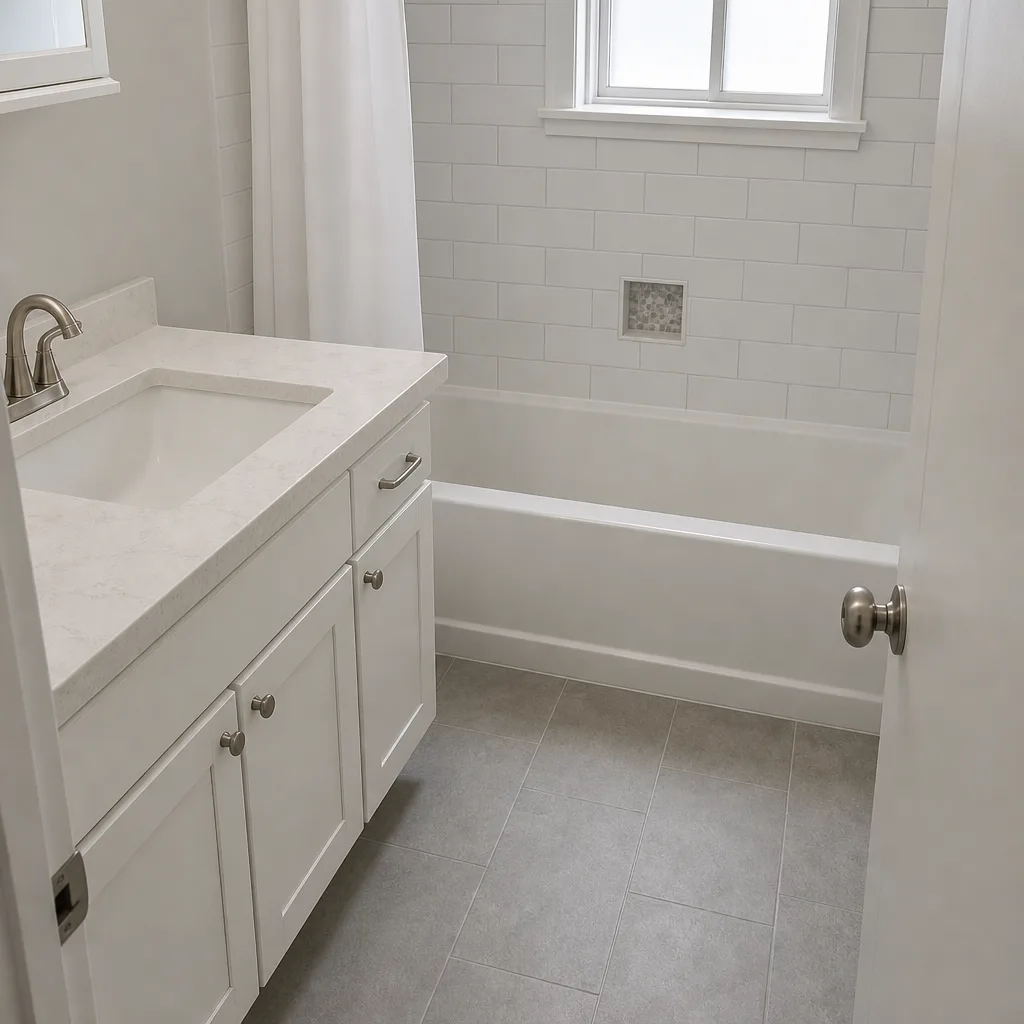 After
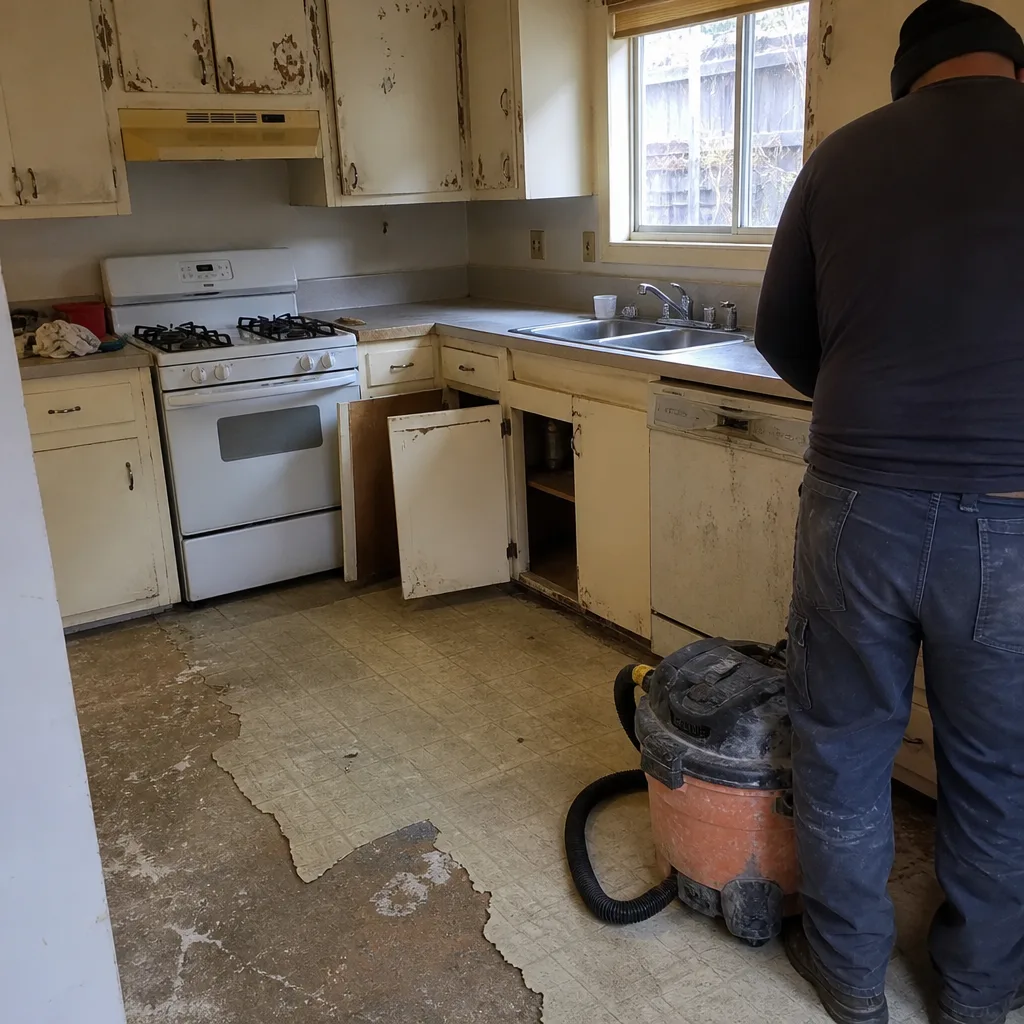 Before
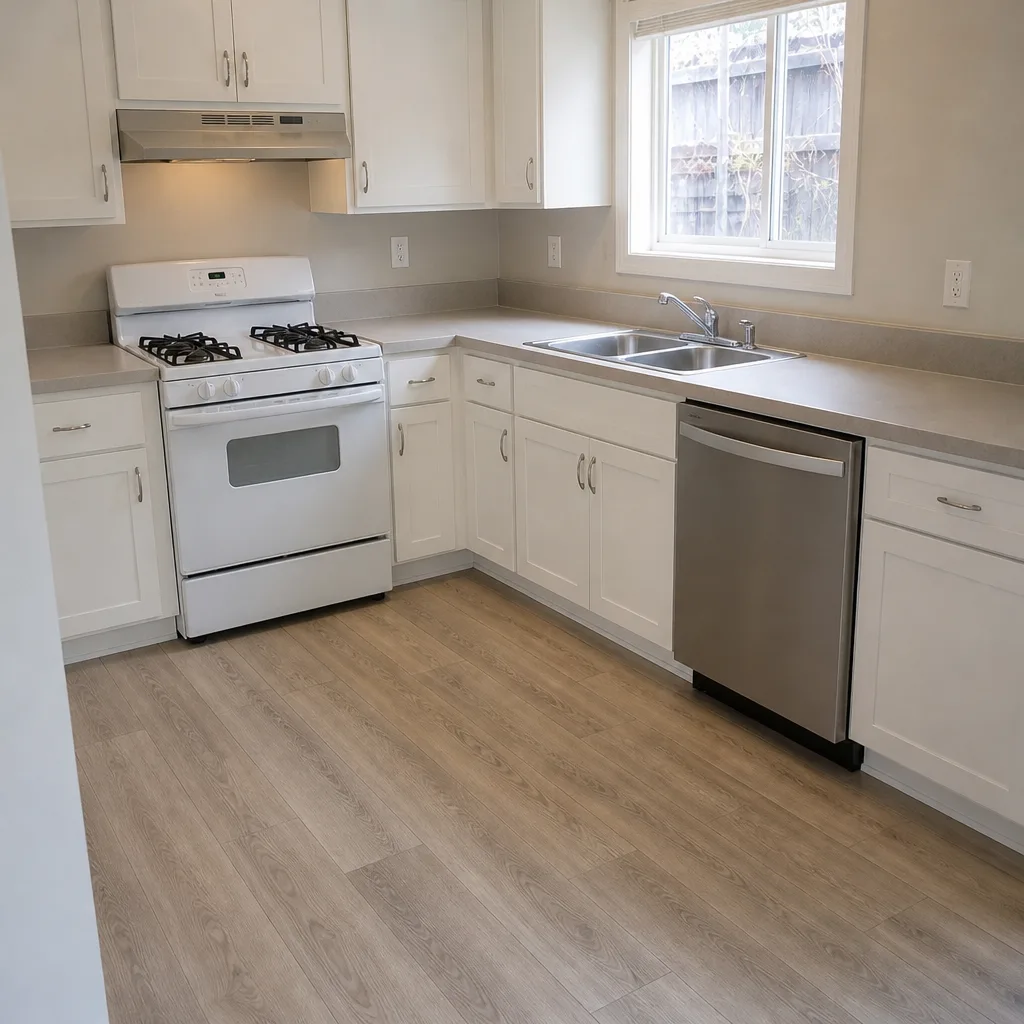 After
When to Call a Professional
Most of this checklist is homeowner work. A screwdriver test, a sand refill, a spring walk after the rain. But there are four situations where calling a contractor saves you money in the long run: a paver that rocks under foot or tire, water that pools near the house or garage after a storm, cracks that keep reappearing in the same spot after refills, and any drainage issue that requires regrading. Those signals point to base or slope problems that surface maintenance won’t fix, and the longer they sit, the more of the driveway has to come up.
If you’re in any of those spots, Barrett & Sons Construction Santa Rosa home offers free estimates in Santa Rosa. Every eligible job comes with permits pulled and inspections signed, and any change in scope gets written on a change order before we touch the pavement. Call (866) 864-4083 to schedule a walk-through.
Frequently Asked Questions
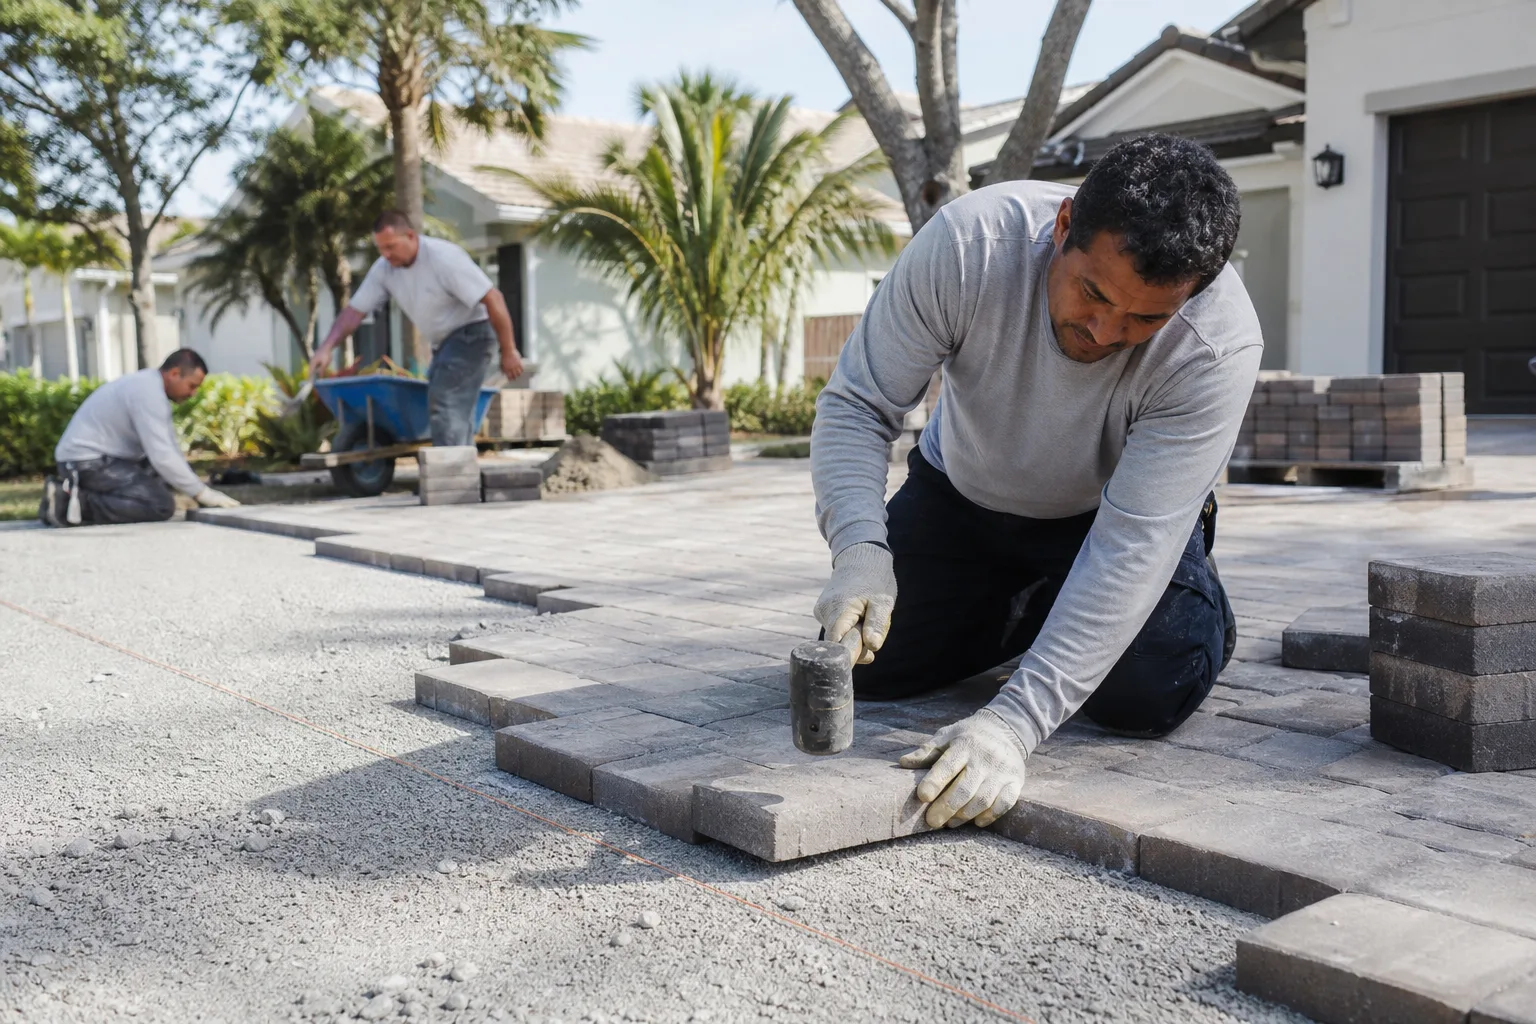
Plan on a full refill once a year, ideally in late September or early October before the rains, plus a spot refill after any atmospheric river event that runs sand to the bottom of your slope. If you’ve had a heavy winter and see sand piling up, do a second test in April.
That’s efflorescence, a salt residue that comes to the surface as moisture moves through the concrete. It’s cosmetic and surfaces after wet weather. A stiff brush and a proper efflorescence cleaner will remove it. If it returns every season, there’s water moving under the pavers and it’s worth a professional look.
You shouldn’t, at least not at consumer pressure washer levels. Even a modest unit will blow out joint sand in seconds, which is what leads to rocking pavers the next season. Use a garden hose and a stiff broom for routine cleaning, and a paver-specific cleaner for stains.
A penetrating siloxane sealer or a UV-stable polyurethane in a matte finish. Both handle the summer UV and the wet-winter cycle without peeling. Acrylic film-forming sealers are the ones that fail here within two or three seasons, so we don’t recommend them.
No. A rocking paver has lost its bedding, and driving on it cracks it and stresses its neighbors. Call in the fall or early winter, before the rains add water to an already unstable base and make the job bigger.
It depends on how many pavers are affected and whether the base needs work, so there’s no honest flat number to give without seeing it. That’s exactly what a free estimate is for. Call (866) 864-4083 and we’ll walk the driveway with you and put the scope and price in writing before anything starts.
The Bottom Line
Pavers are one of the most repairable surfaces you can put on a Santa Rosa driveway, and the maintenance plan is simple: two real inspections a year, one before the November rains and one before the June heat, plus a five-minute walk after every big storm. Test your joints with a screwdriver, refill with polymeric sand from a named brand, brush instead of blasting, and seal in the shoulder season with a UV-stable product. Do that and your driveway will hold its joints and its color through the wet-dry swing that wears out every other surface on the block. Skip it and the same cycle starts pulling the driveway apart a season at a time. Home Additions & ADU in Santa Rosa and every other trade we run follow the same rule: scope in writing, prices in writing, no surprises.
Call (866) 864-4083 to schedule your free estimate. A live person answers the phone, and we’ll put the scope and price in writing before anything begins.
Written by the team at Barrett & Sons Construction Santa Rosa.