Last updated November 18, 2026




Free written scope consultation - allowances, timeline, and change-order rules on paper before a single trade is scheduled
Driveway & Pavers Warning Signs Every Homeowner Should Know
A single paver that rocks when you step on it is not a nuisance. It’s the first chapter of a drainage problem that will spread to its neighbors within two rainy seasons if you don’t find out why it’s moving. We’ve pulled up enough Santa Rosa driveways to know the pattern: the homeowner who calls when one stone wobbles spends a couple hundred dollars. The one who waits until a third of the driveway heaves spends five figures. This guide names the signals plainly, separates the cosmetic from the structural, and gives you a simple three-month watch-and-measure routine for the borderline cases where you’re not sure yet.
Quick Answer
The warning signs that matter most on a paver driveway are movement (rocking, spongy sections), water pooling where it didn’t pool two years ago, edge pavers migrating outward, joint lines that no longer run straight, and sunken bands that form a line across the drive. Efflorescence and surface staining are cosmetic. Movement and drainage changes are structural and should be assessed by a professional before another wet season works on them. In Santa Rosa’s clay-heavy soils, these problems tend to accelerate between November and March, which is why fall is the right time to look closely.
Styles & brands we work with
- Kitchen remodeling
- Bathroom remodeling
- Home additions & ADU
- Roofing
- Windows & doors
- Driveway & pavers
- Fence
Table of Contents
- Cosmetic vs. Structural: Which Problems Actually Matter
- The Rocking Paver: What It’s Telling You
- Pooling Water That Wasn’t There Two Years Ago
- How to Tell a Bad Original Installation From Normal Wear
- Santa Rosa’s Root and Soil Problem: Uplift Without Frost
- The 3-Month Watch-and-Measure Process
- Repair or Replace? How to Think About the Decision
- What Driveway Paver Repairs Run in Santa Rosa
Cosmetic vs. Structural: Which Problems Actually Matter
Half the calls we get about driveway pavers are about something that doesn’t need fixing. The other half are about something that needed fixing two winters ago. The trick is knowing which is which before you spend money on the wrong problem.
Cosmetic issues live on the surface and don’t change how the driveway performs:
- Efflorescence – that white, chalky film on the face of the pavers. It’s mineral salt migrating to the surface as moisture evaporates. Ugly, harmless, and usually fades on its own. A specialty cleaner handles stubborn cases.
- Minor staining – rust from a hose bib, oil from a single drip, moss in a shaded corner. Cleanable.
- Color variation between pavers – normal for Belgard and Techo-Bloc products, which are designed with tonal variation. Not a defect.
- Faded sealer – sealer wears, especially on the sun-facing side of a drive. Reapplication is routine maintenance.
Structural issues change how the driveway holds up under load and water, and they get worse:
- Edge restraint failure – the border that holds the field pavers in place has cracked, settled, or pulled away. Once the edge gives, the whole field starts to creep.
- Linear sinking – a low band that forms a line across the drive, usually where a utility trench was backfilled or where the base wasn’t compacted uniformly.
- Spongy sections – the pavers feel soft or give slightly underfoot. That’s not a paver problem. That’s a base problem.
- Migrated edge pavers – the outer row has pushed outward, opening joints and sometimes lifting.
One way to keep the distinction straight: cosmetic problems look bad and stay the same size. Structural problems look small and grow. If a defect is bigger this fall than it was last fall, it’s in the second category. Call our Driveway & Pavers team in Santa Rosa for a free estimate and a second set of eyes.
The Rocking Paver: What It’s Telling You
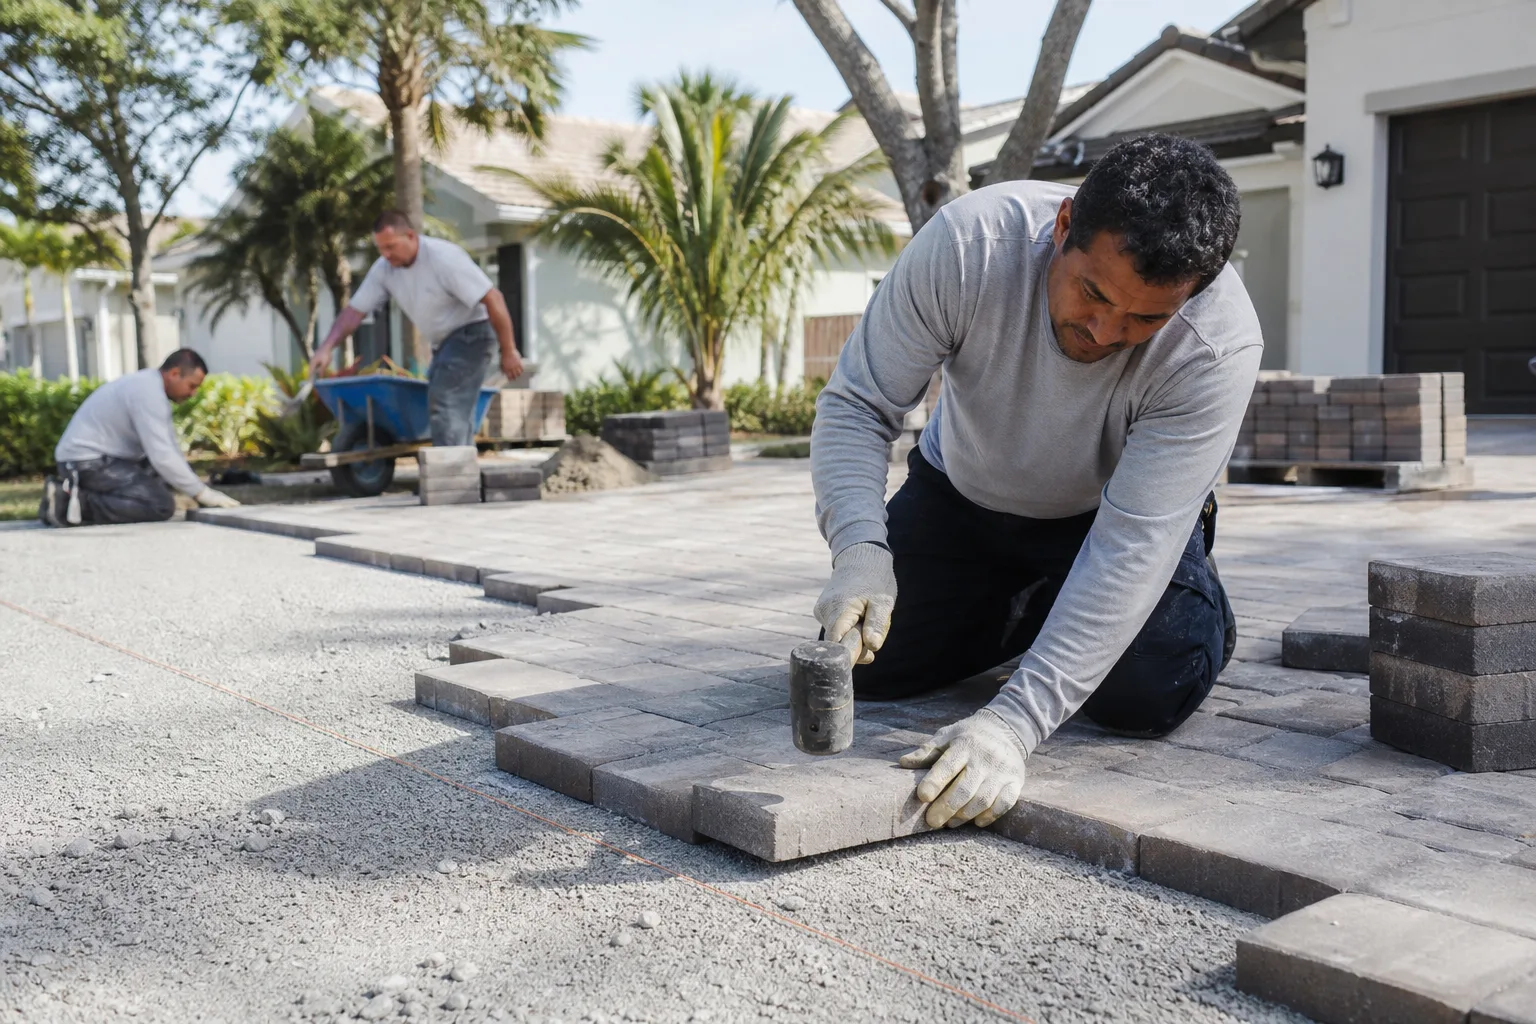
When a paver rocks, the cause is almost always one of three things. The failure to identify which one is what turns a $200 reset into a much bigger job.
- Compromised bedding sand. The thin sand layer under the paver has washed out or shifted. This is the best case – the base is fine, the paver just lost its cushion.
- A local base failure. The compacted gravel base beneath that paver was never deep enough, was never compacted, or has been undermined by water. Common on driveways installed on clay with too little base.
- Drainage concentrating under the field. Water is running under the pavers from an uphill source and taking bedding material with it. This is the one that spreads.
Here’s the tell: if you rock a paver and the neighbors rock too, even slightly, the problem is bigger than the paver. If just one stone moves and the field around it is tight and level, it’s more likely a local issue. Either way, don’t just pull the paver, tap some sand under it, and set it back. That resets the symptom without finding the cause, and it will be rocking again by March. A proper repair means lifting a section, looking at what’s actually under it, and finding out where the water is going.
Pooling Water That Wasn’t There Two Years Ago
Water pooling on a paver driveway after a big rain is not always a problem. Pooling water in the same spot, in a driveway that used to shed clean, always means one of two things has changed: the surface has settled, or the drainage path has moved. The work is figuring out which.
Start by looking at the source. In Santa Rosa, this is often one of the following:
- A clogged or moved area drain. Sometimes the fix is a five-minute cleanout of a landscape drain that feeds the driveway. Check the low side of the house and the whole perimeter before you assume the pavers have moved.
- A neighbor’s grading change. A new fence, patio, or regrade uphill sends water a new direction. Not something the driveway did wrong, but the driveway absorbs the consequence.
- Subsidence of the base. The compacted gravel under the pavers has settled unevenly. Water follows the low point, which is now under the field, which accelerates further settling. This is the one that becomes expensive.
- A failed edge restraint letting the field drift. When the edge pavers push out, the field can splay, and a new low spot forms in the middle.
How to trace it: after a rain, walk the driveway slowly and note where the water is going. Dig a small test hole (a spade’s depth) at the low spot and see whether you find water sitting on clay. If you do, the water is coming from somewhere uphill and the driveway has become the low point. That’s a drainage problem, not a paver problem, and it needs to be solved before new pavers go down or the same failure will repeat.
How to Tell a Bad Original Installation From Normal Wear
Pavers installed correctly last 25 to 30 years before they need serious attention. If a driveway under 12 years old has migrated edges, wandering joints, and soft sections, the pavers aren’t the problem. The installation was.
The signs of a bad original installation are distinct from normal wear:
- Edge pavers migrating outward. A properly installed edge restraint is set in concrete or spiked into a compacted base. If it’s floating free or just sitting on topsoil, the field has nothing holding it. You’ll see a widening gap at the driveway’s outer edge.
- Joint lines that no longer run straight. Joints should run consistently from one end of the drive to the other. If the joints wander in one area, the pavers moved relative to each other, which means the field lost its interlock.
- Unevenly compacted field. Walk the whole driveway barefoot in warm weather. If some areas feel spongy and others feel solid, the base was compacted unevenly or not at all. That’s a base issue from day one.
- Too shallow a base. On Santa Rosa’s clay soils, a driveway base needs to be deep enough to bridge the clay and allow water to move. If you lift a paver and find an inch of gravel, that’s a problem you can’t fix cosmetically.
- Missing geotextile separation. A woven fabric between subsoil and base gravel stops clay from migrating up. On high-expansion clays, absent fabric means the base slowly loses its structure.
If two or more of these are present, monitoring won’t help. Plan for a rebuild. Pulling out an installer’s shortcuts is the bulk of what we do on Santa Rosa paver jobs where the original driveway is younger than 15 years.
Santa Rosa’s Root and Soil Problem: Uplift Without Frost
Most paver guides will tell you to watch for frost heave. In Santa Rosa, we almost never see it. But we see its local cousin all the time: root-driven uplift, where a tree’s roots lift a section of driveway without any frost involved.
The mechanism matters. Santa Rosa’s soil swings between wet and dry across the year. During the rainy season, the clay expands. In the dry months, it contracts and cracks. A mature tree exploiting those cracks can push root growth outward for years, lifting whatever’s in the way. A local wet patch that presents as a single heave is often a root system that reached the edge of the driveway base and started arching up the pavers from below.
What to look for:
- A single raised band running from a tree’s dripline toward the driveway. It’ll usually follow a shallow arc, not a straight line.
- Adjacent pavers lifted at different angles. With frost heave, the lift is broadly even. With roots, it’s directional.
- Sections that lift seasonally but don’t fully settle back. A slow ratchet, year after year.
Which trees in Santa Rosa tend to cause this? Coast live oak, eucalyptus, and older silver maples top the list. If you have any of those within 15 feet of the driveway, factor them in when you’re evaluating an uplift. The fix is usually a root barrier installed along the driveway edge, put in by a professional with the right equipment to do it without killing the tree. That’s one we’d rather diagnose early than try to solve with a hammer and a spare paver.
The 3-Month Watch-and-Measure Process
For the borderline cases, monitoring is the right move. Here’s the process we recommend, and it’s the same one our crews use when a homeowner isn’t ready to commit to a rebuild but wants to track whether the risk is growing.
- Take a baseline photo set. Pick four or five features – each rocking paver, any pooling spot, the outer edge, a joint line that looks suspicious. Photograph each from the same distance and angle, with something in the frame for scale (a tape measure, a shoe, a paver). Label the files with the date.
- Measure and record. For a rocking paver, measure the lift as best you can with a level and a ruler. For pooling water, note the size and depth of the pool after a heavy rain. For migrating edges, measure the gap between the outer paver and whatever fixed reference is nearby.
- Photograph after every heavy rain. Santa Rosa gets most of its annual rain between November and March. If a photo in February shows the pool is twice the size it was in November, that’s your answer.
- Repeat at the three-month mark. Take the same photos from the same angles. Compare side by side. If the changes are within an eighth of an inch and the pooling hasn’t expanded, you’re in monitoring mode for another season. If anything has moved more than that, it’s time for a professional look.
- Call it. If a feature grew between your first set and your three-month follow-up, the risk is active. That’s the call that saves money.
Send the photos along when you call. We can usually tell from a decent photo set whether a visit is worth everyone’s time, and we’d rather say “keep watching” than sell a repair that doesn’t need selling. You can also look up the Barrett & Sons Construction Santa Rosa home page for how we scope an estimate.
Repair or Replace? How to Think About the Decision
The question homeowners ask most: do I fix the bad section or tear out the whole driveway? The answer depends on how widespread the failure is and how old the pavers are.
- Localized failure, fewer than 10 percent of the field, base otherwise sound: repair. Lift the affected area, correct the base, reset the pavers.
- Failed edge restraint, field otherwise intact: repair. Reset the edge in a proper concrete or spike system, re-sand.
- Failed base, one section, but the rest of the base checks out: targeted rebuild with new compaction and geotextile in that section.
- Widespread base failure or bad original installation: full rebuild is usually the better answer, because patching a bad base costs 40 percent of a new driveway and buys a few years before the rest of it fails.
- Pavers still good but base failed: pull the pavers, fix the base, reinstall the same pavers. Sometimes the cheapest path is a base rebuild with the original product.
If your driveway is at the edge of a fence line that also needs attention, budget those together. Our Santa Rosa fence installation page covers how we sequence that work so it’s done once and done right.
What Driveway Paver Repairs Run in Santa Rosa
Every job is different, but here’s the general range for common paver repairs in Santa Rosa as of 2026. We always give a written line-item estimate before any work starts and won’t change the price without a written change order.
| Repair | Typical Range | Notes |
|---|---|---|
| Single paver reset | $150 – $300 | Assumes a local cause, no drainage correction |
| Edge restraint reset (per linear foot) | $18 – $35 | Concrete-set restraint with proper base correction |
| Localized base correction (up to 100 sq ft) | $900 – $2,200 | Lift, recompact, reinstall, re-sand |
| Root barrier along driveway edge (per linear foot) | $25 – $55 | Includes root-safe excavation; tree-surgeon consult may be needed |
| Full driveway base rebuild (reinstall existing pavers) | $8 – $14 per sq ft | Pavers reused; hinges on whether the product survives removal |
| Full replacement, new pavers and base | $14 – $24 per sq ft | Belgard and Techo-Bloc premium lines at the upper end |
Compare that to the $200 fix a rocking paver becomes when you catch it early. That’s the whole point of paying attention now. Our crews include members with up to 28 years of experience, and our work is backed by our written 90-Day Done Right Promise – if something we touched isn’t right, one call brings us back.
Common Mistakes to Avoid
- Assuming a rocking paver just needs a reset. The paver isn’t the problem, the base under it is. If you don’t fix the cause, the stone will be rocking again by spring and often takes neighbors with it.
- Treating efflorescence as a structural problem. The white film on Santa Rosa pavers is cosmetic. Paying for a repair on efflorescence is paying for nothing. Get a second opinion before you sign anything.
- Ignoring a pool that’s gotten bigger. A pool that didn’t pool two years ago, and now pools after every heavy rain, is telling you water is going somewhere new. That’s a drainage call, not a wait-and-see.
- Trying to hide a bad install with sealant. Sealing over a failing field traps moisture, which can make the failure worse. Sealant is the last step after a repair, not a substitute for one.
- Cutting roots to solve uplift without a plan. Cutting a mature coast live oak’s root can kill the tree. A root barrier, properly placed, redirects the roots without the loss.
- Skipping the geotextile fabric on a rebuild. On Santa Rosa clay, going without fabric means the base gravel will migrate into the clay within a few years. It’s a small line item that pays back for a long time.
- Hiring a paver installer who doesn’t pull a permit. Santa Rosa residential driveway replacements typically require a permit, and the inspection covers things you can’t see once the pavers are down. If an installer tells you a permit is optional, that’s your sign to call someone else.
See the difference
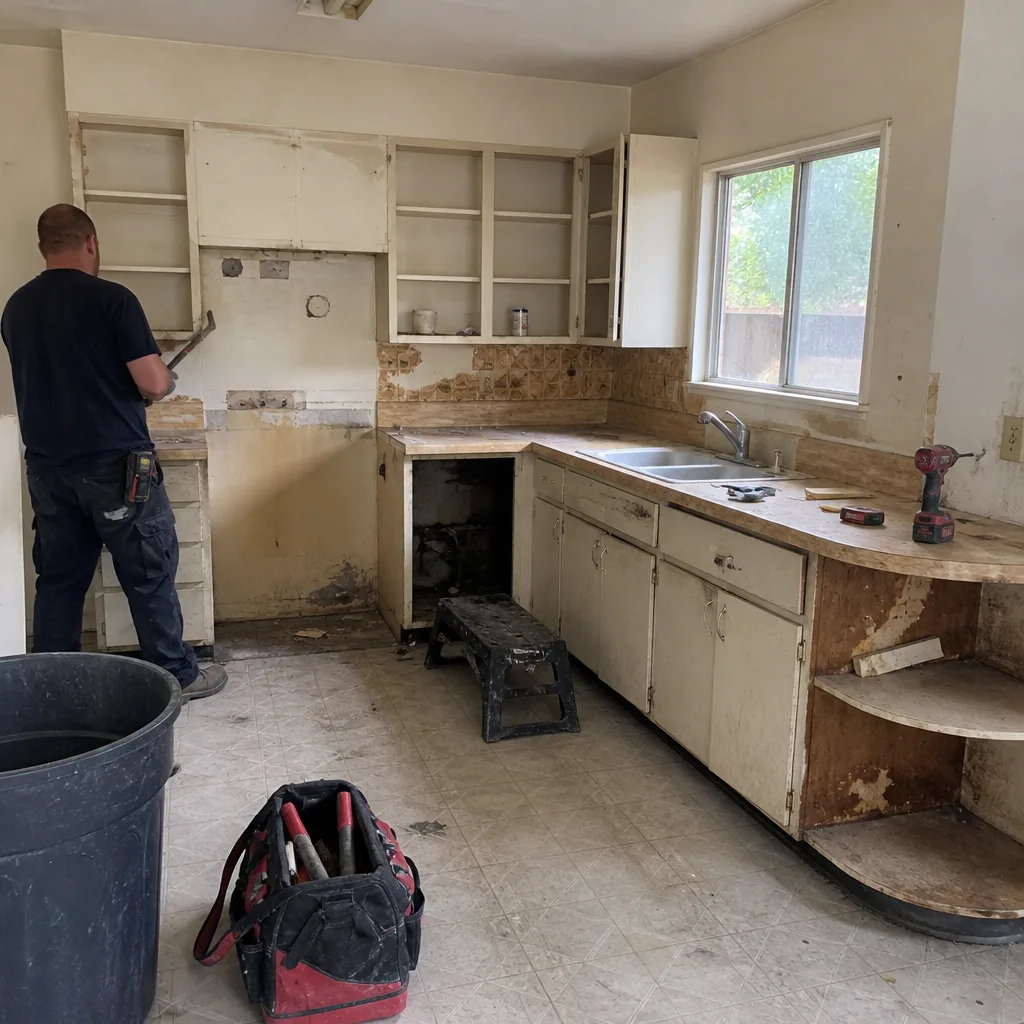 Before
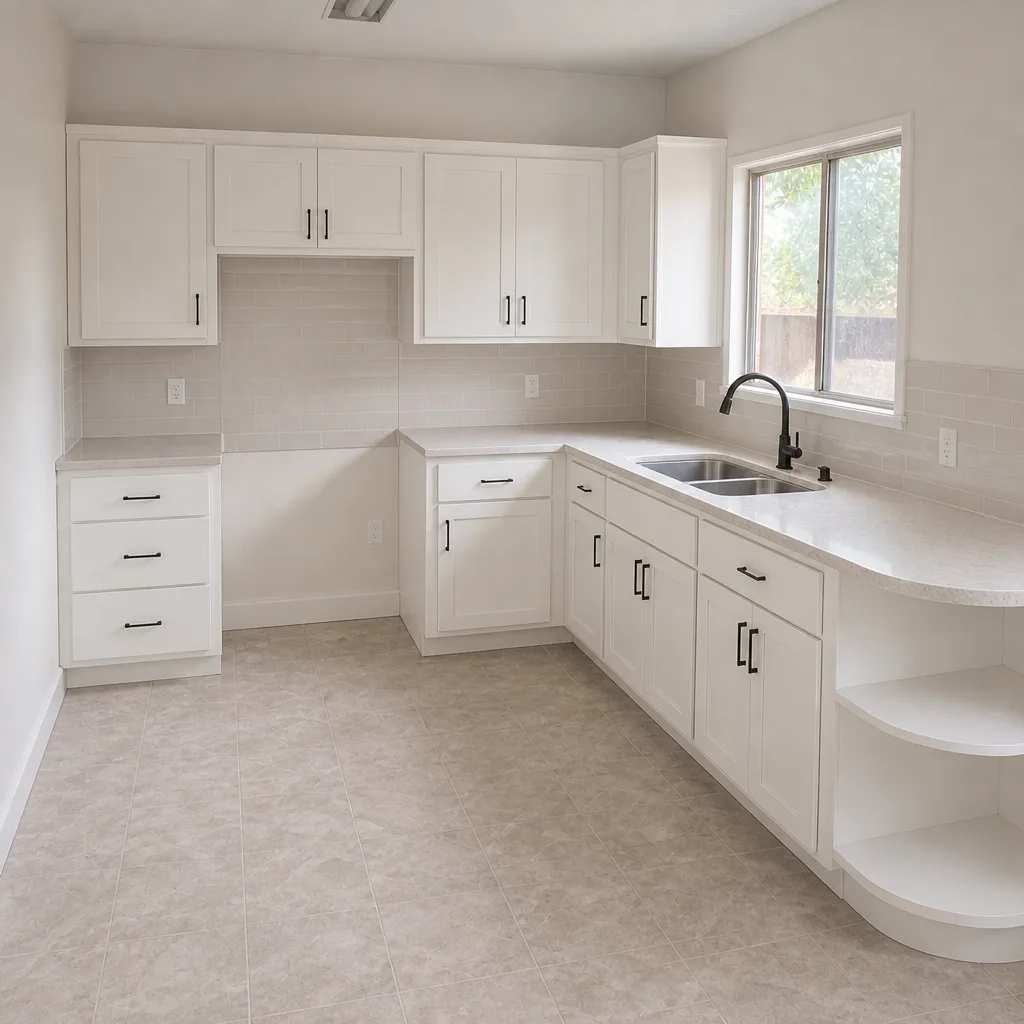 After
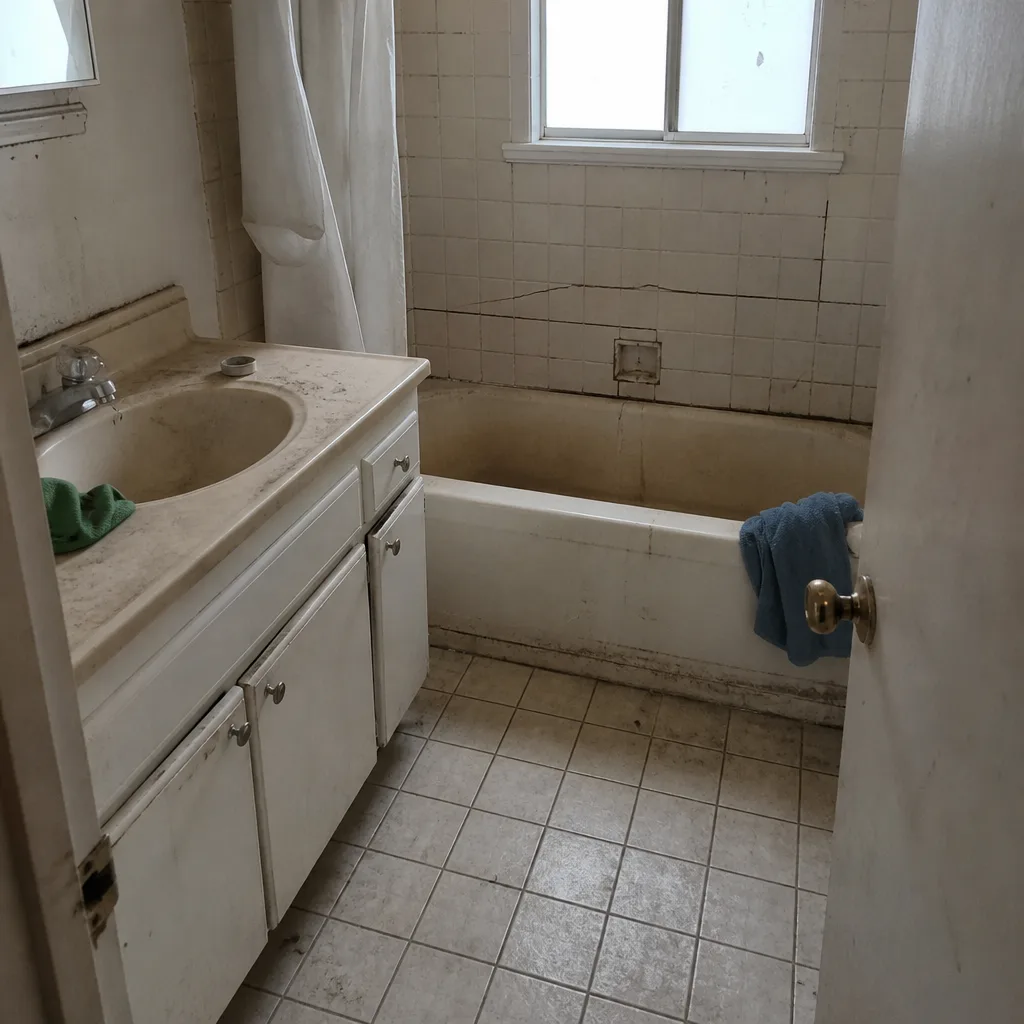 Before
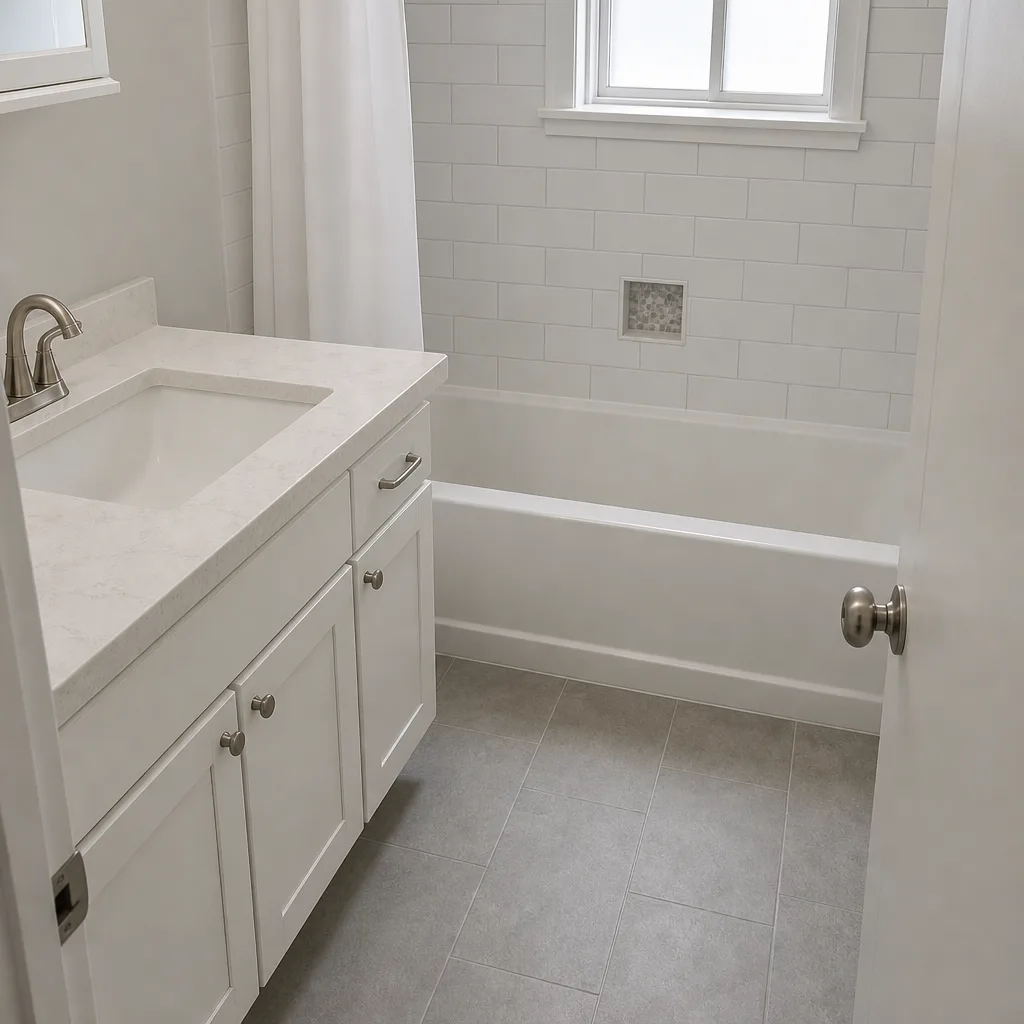 After
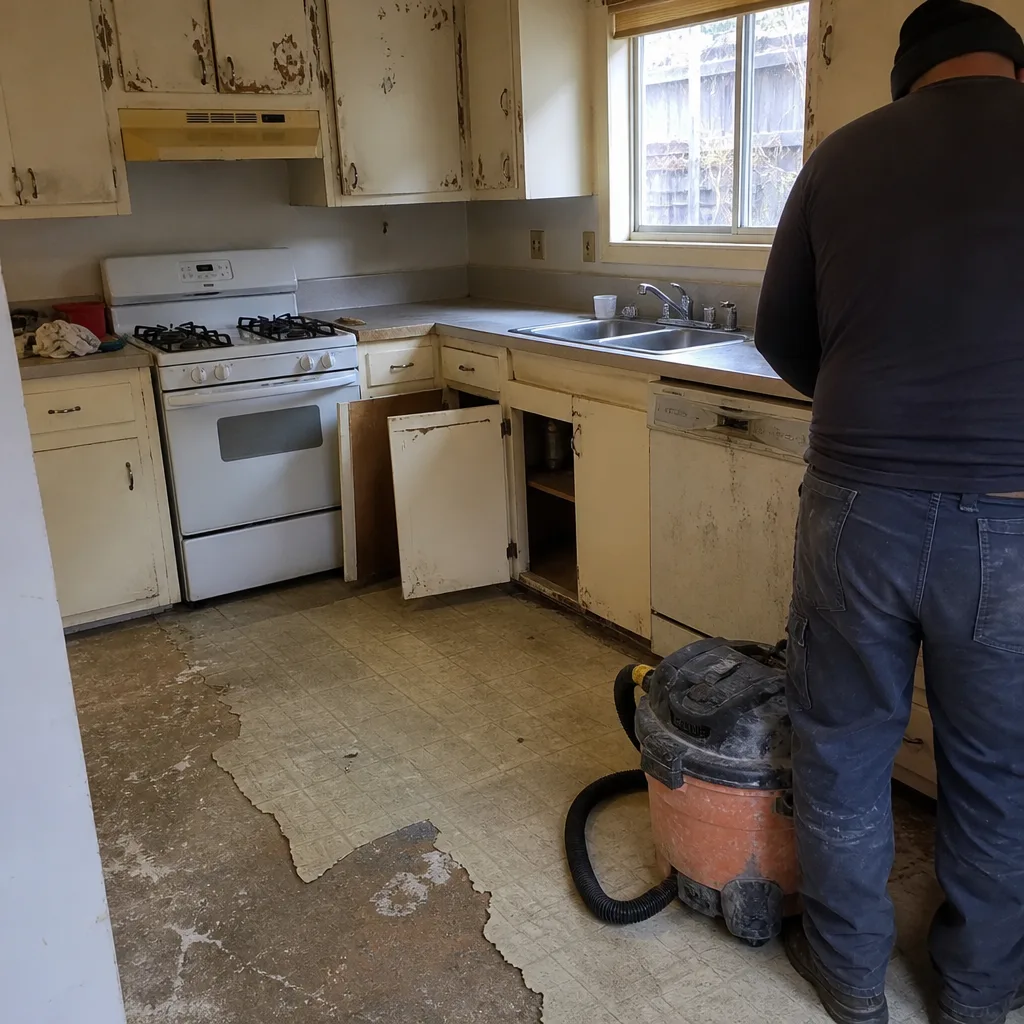 Before
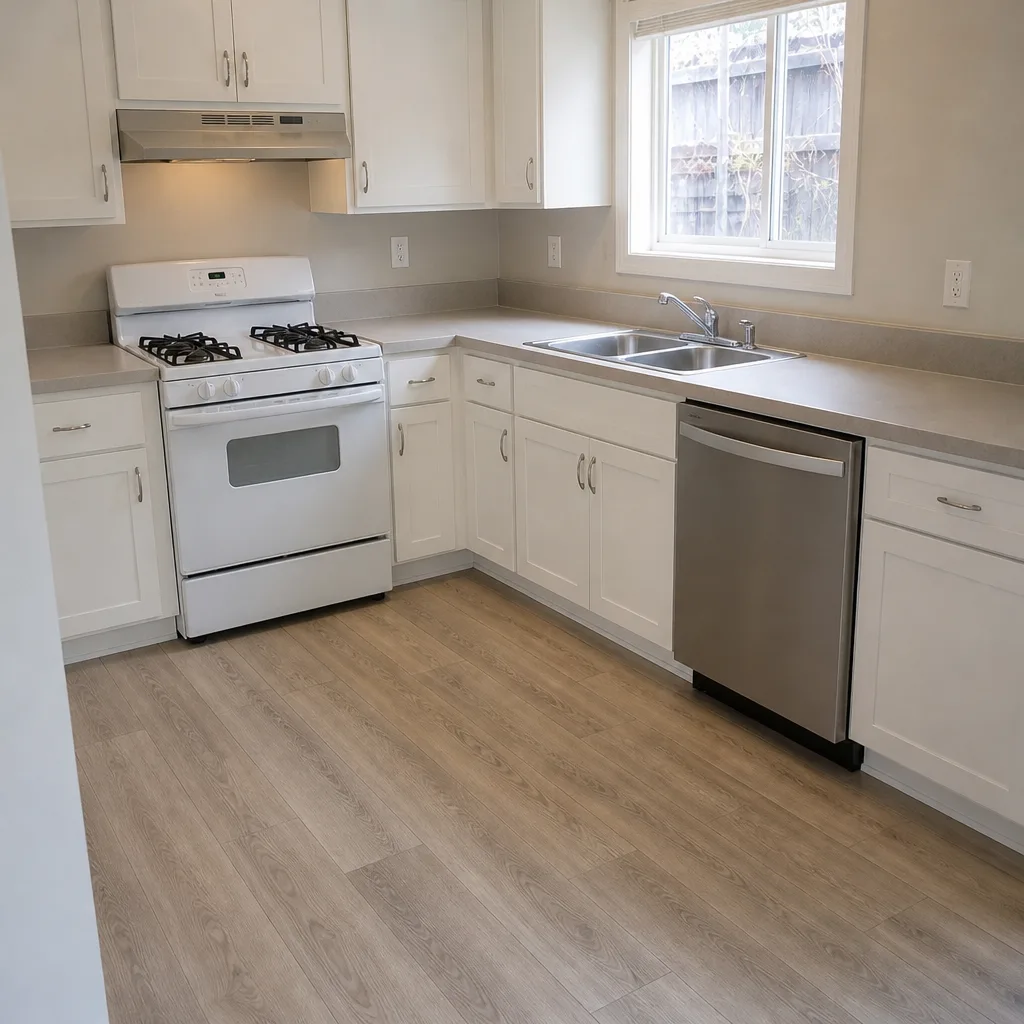 After
When to Call a Professional
Call a professional if any of these are true. Water pools in the same spot after every heavy rain and the pool has grown since last year. Two or more pavers rock when you step on them. The outer row of the field has migrated outward by a quarter inch or more. A section feels spongy underfoot, or an edge restraint has cracked or pulled away. A root-lifted band appears near a mature tree within 15 feet of the driveway. Any of these means something in the base or drainage has changed, and the fix is diagnosis, then repair. Barrett & Sons Construction offers free estimates in Santa Rosa – call (866) 864-4083. We’ll bring a level, dig a test hole, and tell you what we see.
Frequently Asked Questions
It’s serious if two or more pavers rock, if a section feels spongy underfoot, if the edge restraint has cracked or moved, or if water pools in a spot that didn’t pool two years ago. Those all point to a base or drainage failure. Efflorescence and minor staining are cosmetic and don’t require urgent attention. Call (866) 864-4083 for a free estimate, and we can tell you which category your driveway is in.
A properly installed driveway on a properly prepared base should hold up 25 to 30 years before it needs serious attention. Santa Rosa’s wet winters and clay soils shorten that window if the base was too shallow, geotextile was skipped, or the edge restraint was done cheaply. A driveway under 12 years old with migration and soft sections was almost certainly installed poorly, not worn out.
You can reset a single paver if the cause is clearly local, but a paver that’s been rocking for more than one rainy season is usually a base or water problem a reset won’t solve. A proper repair means lifting the section and finding out where the water is going. Call (866) 864-4083 if the rocking paver is one of several, if it’s near a low spot, or if the neighboring pavers move too.
Efflorescence is mineral salt migrating to the surface as moisture evaporates from the pavers. It’s normal, cosmetic, and fades over time. A specialty cleaner handles most cases. If the efflorescence is heavy and recurring, it can signal water moving through the field, which is worth a look, but the white film itself is not a structural warning sign.
Replacement of a residential driveway typically requires a permit in Santa Rosa, and the permit covers the base preparation and edge restraint. Small repairs on an existing driveway usually don’t. Any contractor who says a permit is optional for a full replacement is a red flag. Our crews pull permits and get inspections signed on every eligible job.
No, and it can make things worse. Sealing over a failing field traps moisture and can accelerate base decay. Sealant goes on after a repair, once the base and drainage are corrected. If someone is offering to seal over a problem area and calling it a fix, get a second opinion.
The Bottom Line
Most paver problems announce themselves long before they get expensive. A rocking paver, a pool that grew, an edge that drifted, a joint that wandered, or a section that feels spongy – each of those is a warning you can act on for a few hundred dollars, or one you can wait out and pay ten times more to fix. In Santa Rosa’s clay and under our local root pressure, these signals move faster than homeowners expect. Photograph what you see, measure it, check back in three months, and call when something grows. That’s the whole game.
If you’re ready to have someone look at your driveway, call (866) 864-4083 for a free estimate. We’ll walk the drive, dig a test hole, and give you a written line-item quote with no surprises – plus a second opinion for free if you already have an estimate from someone else. Whether you’re planning a bigger project like a Santa Rosa home addition or ADU that ties into new hardscape, or you just want someone to look at one wobbling paver, we’ll give it a real look and an honest answer.
Written by the team at Barrett & Sons Construction Santa Rosa.