Last updated November 18, 2026


Free written scope consultation - allowances, timeline, and change-order rules on paper before a single trade is scheduled
Fence Installation Troubleshooting: Common Problems and How to Fix Them
A leaning fence post is not a wood problem or a wind problem. In most cases it’s a footing problem, and you can tell which kind within ten minutes without touching a tool. In our experience across Santa Rosa, the difference between a fix that lasts fifteen years and one that fails by spring comes down to three installation decisions made long before the problem showed up: how deep the post went, how the concrete was mixed, and whether the lumber was dry when it went in the ground. This guide walks through the diagnosis for each, including the specific clay soil conditions we deal with here in Santa Rosa that make fence repair its own animal.
Quick Answer
Most fence problems trace back to three installation mistakes: posts set too shallow (under 24 inches in Santa Rosa’s clay), concrete mixed too wet or dry, or green lumber used without seasoning. Diagnosing which one you’re facing takes ten minutes and no tools. Ground-level rot shows a mushy base and crumbling wood. Inadequate depth shows the whole post pivoting at grade. Soil expansion shows lean that changes with the season. Each has a different fix, and only one calls for a full re-post.
Styles & brands we work with
- Kitchen remodeling
- Bathroom remodeling
- Home additions & ADU
- Roofing
- Windows & doors
- Driveway & pavers
- Fence
Table of Contents
- How do you diagnose a leaning fence post?
- Why Santa Rosa’s clay soil makes fence repair different
- Why fence boards warp, cup, or split within two years
- Gate sag: hinge, post, or frame?
- How to treat rust bleed from hardware on redwood and cedar
- Re-digging a post hole in Santa Rosa clay
- Common mistakes to avoid
- When to call a professional
How do you diagnose a leaning fence post?
You don’t need a level or a shovel. You need to look at three things: the base of the post, the soil around it, and the top of the post compared to its neighbors. Ten minutes of walking the line will tell you which of three failure modes you’re dealing with.
- Ground-level rot. Push on the post at knee height. If it moves while the ground stays put, and the base crumbles or feels soft when you press a key into it, the wood is gone below grade. This is the most common cause in Santa Rosa fences built with untreated or poorly rated pine.
- Inadequate concrete depth. The whole post pivots at grade, the concrete collar is visible and shallow, and after a good rain the line sags a half-inch overnight. This means the post was set in less than 24 inches of concrete, and Santa Rosa’s expansive clay shrugged it out of the ground.
- Soil expansion and settling. The lean changes with the season. Wet winter, posts lean. Dry summer, they pull back. If you’re seeing that pattern, the footing was undersized for clay, and the post may still be sound while the ground around it is not.
One more signature worth knowing: a post that leans but is solid at the base and doesn’t move when pushed is often the whole run settling under a rain gutter’s discharge line. Before you touch anything, walk the fence line and note where the downspouts empty. We’ve fixed dozens of fine Santa Rosa fences simply by redirecting a splash block.
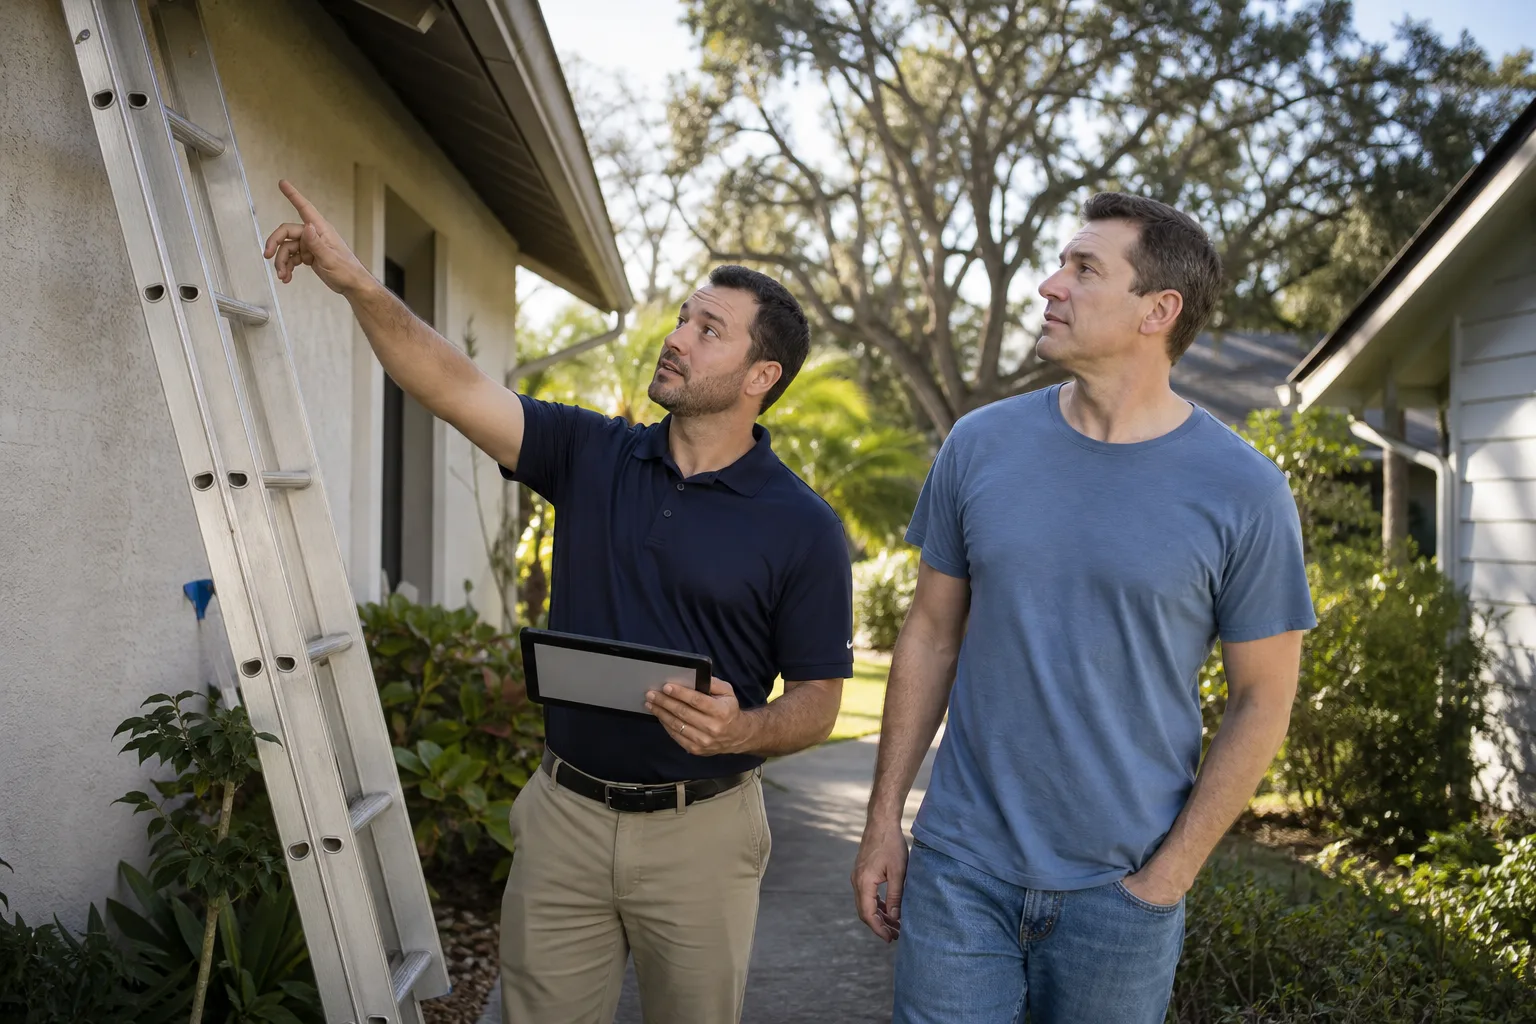
The diagnosis determines the fix. Rot means a new post. Shallow concrete means re-digging the hole and pinning the post correctly. Soil movement means a re-engineered footing, deeper with a wider bell. If you’re not sure which one you’re looking at, our crew can walk it with you during a free estimate.
Why Santa Rosa’s clay soil makes fence repair different
Santa Rosa sits on some of the most active expansive clay in Northern California. That clay swells when wet and shrinks when dry. It moves a couple of inches seasonally in the Rincon Valley and Bennett Valley flats, and it does that movement laterally, not just up and down. A fence post set to the county minimum of 24 inches in normal soil will still walk in clay over time if the footing is only 10 or 12 inches in diameter.
What we see in Santa Rosa more than anywhere else in the county: posts set to a 36-inch depth but only 8-inch hole diameter. That’s enough to hold in sandy loam. It is not enough to hold a 6-foot cedar fence in clay. The wider the concrete bell at the bottom, the more surface area resists the swell.
Two more local factors worth knowing:
- Winter rain concentration. Santa Rosa gets most of its annual rainfall between November and March. That concentrates the clay swell into a few months, so fence failures tend to show up in February and March, not gradually.
- Frost depth. Sonoma County’s frost depth is shallow, technically under 12 inches, but code still requires deeper footings for fences over 6 feet in many cases. The code is not the whole story here – the clay is what determines real footing depth.
If you’re installing a new fence in Santa Rosa clay, set posts to 30-36 inches depth with a 12-inch diameter concrete pour at minimum, and crown the concrete so water runs off. If you’re repairing, understand that the second set has to be tighter than the first, because the clay has already been disturbed around the old hole.
Why fence boards warp, cup, or split within two years
Boards that cup, split down the middle, or twist off their nails within the first 24 months are not a fastening problem. They are almost always green lumber: boards milled and sold before they dried to a stable moisture content. The board looks fine on install. Over the first two summers it dries, shrinks, and pulls against the nails, and you’re left with a row of pringles.
Redwood and cedar are the usual suspects because they’re the most common fence lumber in Santa Rosa, and green redwood is widely sold because it’s cheaper. There’s nothing wrong with the species. The problem is the moisture content at the time of installation. Kiln-dried or air-dried lumber moves a fraction of what green stock does.
If your boards are already on the fence, you have three options, ranked by cost:
- Leave them alone. Some cupping is cosmetic and doesn’t affect fence function. If boards aren’t splitting or pulling off the rails, this is often the right answer.
- Renail with ring shank or stainless screws. If boards have twisted off their fasteners but are still solid, a fastener upgrade gets you another decade for the price of hardware and labor.
- Replace the cupped boards. Only if the boards are cracked through or actively cupping off the rail. You can replace individual boards without tearing down the run.
Recourse on the original installer exists if you can prove green lumber was used and the fence was installed within the last two years, but it requires documentation of what was installed. This is why we write the lumber grade and moisture content onto every fence contract – so if there’s ever a question, the answer is on paper. If you’re facing an upcoming fence replacement in Santa Rosa and want a written scope, we can walk you through the options during a free estimate.
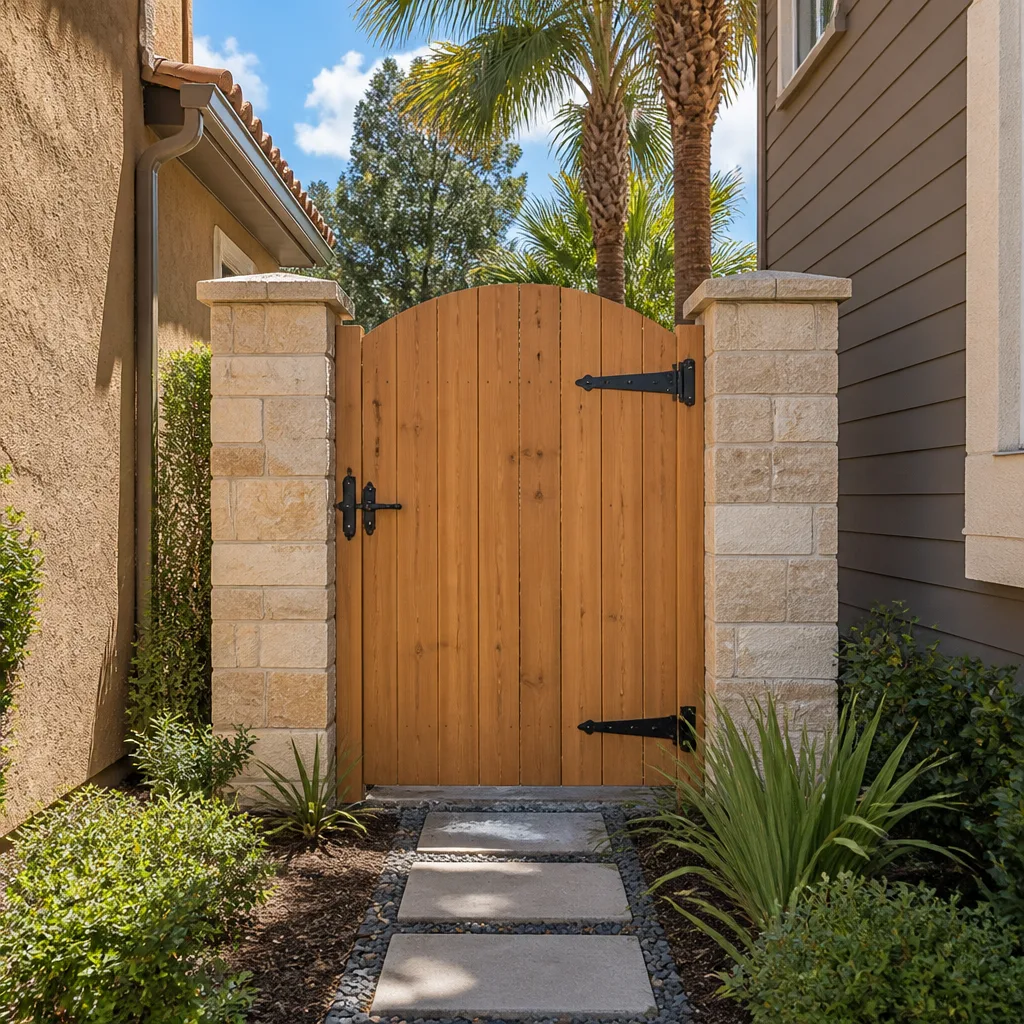
Gate sag: hinge, post, or frame?
Gate sag gets blamed on hinges more often than it should. In our experience, maybe one in four sagging gates is actually a hinge problem. The rest are the post moving or the gate frame never being built to carry its own weight. Here’s how to tell the difference in about two minutes.
- Hinge failure. The gate sags at the latch side by half an inch or less, hinges feel loose in the wood, or you see daylight around the hinge screws. Fix: replace the hinges and fill the old screw holes with a hardwood dowel and glue before re-driving.
- Post movement. The gate sags more than an inch, and the post it’s hung from leans. Push on the post at the top; if it moves, the gate weight is the symptom, not the cause. Fix: brace or re-set the post before rehanging the gate.
- Frame without diagonal bracing. The gate itself is out of square – measure the two diagonals, corner to corner. If the difference is more than 3/8 inch, the frame was built without a diagonal. Fix: add a diagonal from bottom-hinge corner to top-latch corner, then re-square and lock.
The diagnostic order matters. If you tighten hinges on a gate hung from a moving post, you’ll be back doing it again in six months. Check the post first, the frame second, the hinges last.
A properly built gate in Santa Rosa should have a diagonal brace and should be hung with three hinges minimum, not two, on anything over 36 inches wide. If you’re replacing a sagging gate, specify that on the scope in writing so there’s no question at the end.
How to treat rust bleed from hardware on redwood and cedar
Rust bleed on a redwood or cedar fence looks like a fence that’s failing. It isn’t. It’s iron oxide from the nails and hardware washing down the face of the wood after rain. The wood itself is fine, but the streaks are ugly and they get worse every wet season.
You don’t need to refinish the whole fence to fix rust bleed. Here’s what works:
- Identify the offending fasteners. Run a magnet along the streak lines. Every streak has a nail or screw head at the top of it. Those are the hardware pieces to replace.
- Replace with stainless. Hot-dipped galvanized works for most fences but stainless is what stops the problem entirely on redwood and cedar. The cost difference on a fence run is minor compared to labor.
- Treat the stains with oxalic acid. A mild oxalic acid wash removes the rust stain without damaging the wood surface. Brush it on, let it sit per the label, rinse thoroughly. This is a homeowner-safe product, but read the label and use gloves and eye protection.
- Seal the wood after the wood dries. A penetrating oil sealer on the affected boards slows future staining and adds years to the wood.
What you should not do is try to sand out rust streaks. The stain runs deeper than the surface, and sanding just removes wood without fixing the source. The source is the hardware. Fix that first, then clean.
Re-digging a post hole in Santa Rosa clay
Re-setting a post in the same hole is harder than it sounds in Santa Rosa. The clay around the old hole has been compacted by the original install, then expanded and shrunk for years. When you pull the old concrete, you’re left with a disturbed collar that’s softer than the surrounding soil. Set a new post in that hole without addressing the disturbance, and it will walk out within two or three seasons – sometimes sooner.
Here’s the process that actually holds in clay:
- Dig wider, not just deeper. Remove the old concrete and any soft clay out to a 16-18 inch diameter at the top, tapering down to a 12-inch bell at the bottom.
- Re-compact the walls. Tamp the sides of the hole with a hand tamper so the clay is back to native density. This is the step most people skip.
- Set the post 30-36 inches deep with a wider bell. The depth matters less than the bell. A narrow, deep hole in clay still fails.
- Use a high-early concrete mix. Fast-setting mix (rated 20-40 minutes) doesn’t slump into the clay while curing. Standard mix is fine in well-drained soil; in clay, the fast-set mix is safer.
- Crown the concrete above grade. Slope it away from the post so water sheds. Flat concrete holds a puddle at the base, which is the second-most common rot cause in Santa Rosa.
If the clay is actively saturated at the time of the repair, don’t pour. Wait for the soil to drain or you’ll be pouring a footing into a mudhole. Our crew checks soil moisture before we set any post, which is why we schedule fence repairs around Santa Rosa’s dry spells when possible.
Common Mistakes to Avoid
- Setting a post in the same hole without widening. The disturbed clay in the old hole is softer than the surrounding soil. A new post set there will fail faster than the first one.
- Pouring concrete into a wet clay hole. In Santa Rosa’s winter clay, wet soil never cures properly around the post, and the concrete slumps. Wait for dry soil or use fast-set mix.
- Using green (undried) lumber to save money. The price difference is real, but the failure curve over the first three years is steeper than the savings. Ask what moisture content you’re buying.
- Fixing a sagging gate by re-driving hinges only. If the post is moving, the hinge fix buys you months, not years. Fix the post first.
- Building a gate frame without a diagonal brace. Any gate over 30 inches wide needs a corner-to-corner diagonal or it will go out of square on its own.
- Staining over rust bleed without replacing the fasteners. The stain comes back every season because the source is still there. Replace with stainless first.
- Skipping the permit on a fence over 6 feet in Santa Rosa. Sonoma County and the City of Santa Rosa both have height and setback rules. Pull the permit – the inspector works for you, not for us, and a signed inspection on the fence is worth keeping when you sell.
When to Call a Professional
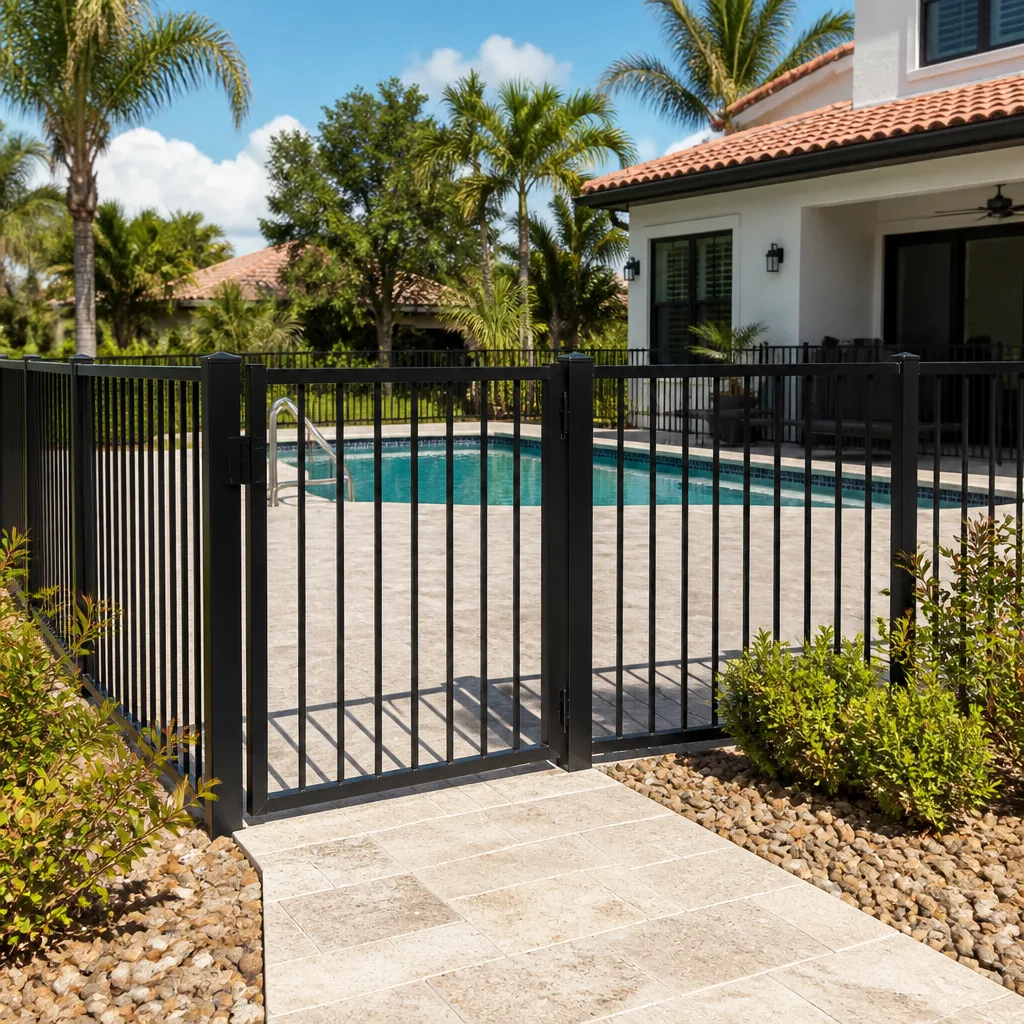
Fence repairs are DIY-able for a homeowner with a pickup, a post-hole digger, and a free weekend. They stop being DIY when any of these come up: the post is set in clay and needs widening, the fence run has multiple failing posts in a line, the gate frame needs re-engineering, or the fence height requires a permit. On those jobs, the second attempt at the repair is almost always more expensive than the first fix done correctly.
Barrett & Sons Construction Santa Rosa offers free estimates in Santa Rosa – call (866) 864-4083. We’re owner-operated, so the person who quotes the job is the one who signs the written scope, and any change during the job arrives as a written change order before work proceeds. Every fence job over what requires a permit gets one pulled, and every completed job carries our 90-Day Done Right Promise.
See the difference
 Before
 After
 Before
 After
 Before
 After
Frequently Asked Questions
Post replacement in Santa Rosa typically runs $250-$500 per post including digging, concrete, and the new post itself. The range depends on depth required, clay conditions, and whether the old concrete needs full removal. Call (866) 864-4083 for an exact quote – estimates are free and we’ll walk the fence with you.
Sometimes. If the post is sound at the base and only moved in the soil, we can sometimes re-plumb and re-set it in a widened hole. If the wood at grade is soft, the post has to be replaced – no amount of straightening will hold a rotted post.
Green lumber. Boards milled and sold before they dried shrink as they lose moisture and pull off their nails. Kiln-dried redwood or cedar is the fix on new installs; if you’re living with already-warped boards, replacing the cupped ones individually is usually the cheapest path.
30-36 inches deep with a 12-inch concrete bell at minimum for a 6-foot fence. County code minimums are shallower, but local clay movement makes shallow footings fail in a few seasons. If a contractor quotes a 24-inch post depth in Santa Rosa clay, ask why.
Repairs, usually not. New fences over 6 feet, or fences on a property line adjoining a corner lot, often do need a permit pull. We check the requirement on every job and pull the permit when it applies.
Most likely soil expansion around the hinge post. Santa Rosa clay swells with winter rain and pushes the post slightly. The gate follows. The fix is to re-set the post deeper and wider, not to replace the hinges.
The Bottom Line
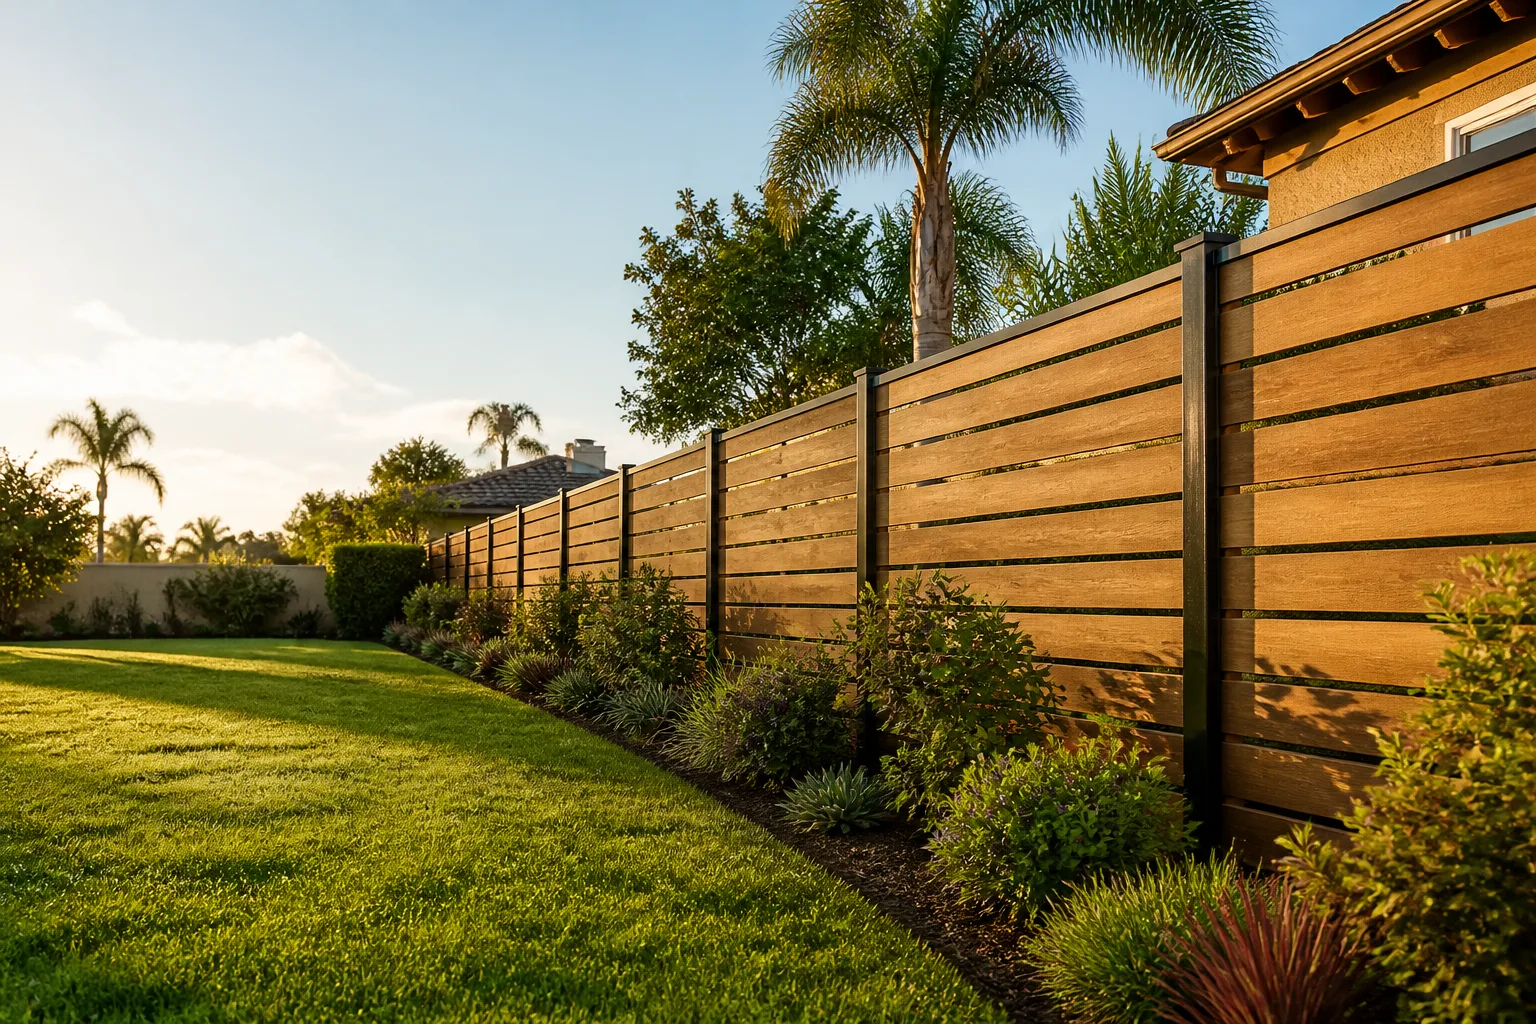
Almost every fence problem is a diagnosis problem before it’s a repair problem. Rot, shallow footings, and soil movement each present differently, and the wrong fix on the wrong diagnosis costs you the same repair twice. Santa Rosa clay makes that diagnosis more important than in most places, because the second set has to be wider and deeper than the first to hold. If you want a written scope, a fixed price, and no surprise invoice at the end, our crew will walk the fence with you and quote the repair in writing.
For driveway pavers and hardscape work that ties into a fence repair, see our Driveway & Pavers in Santa Rosa page. For full new fence installs, see Fence Installation in Santa Rosa. If a fence repair is part of a larger addition or ADU, see Home Additions & ADU in Santa Rosa. And for anything else on your property, our Barrett & Sons Construction Santa Rosa home page has the full scope.
Contact
Call (866) 864-4083 for a free estimate on any fence repair or replacement in Santa Rosa. We’re happy to walk your fence line, show you what’s actually failing, and put the fix in writing before any work starts. Proudly serving local communities for over 29 years – owner-operated, permits pulled, and every price change in writing before the work begins.
Written by the team at Barrett & Sons Construction Santa Rosa.