Last updated November 18, 2026

Free written scope consultation - allowances, timeline, and change-order rules on paper before a single trade is scheduled
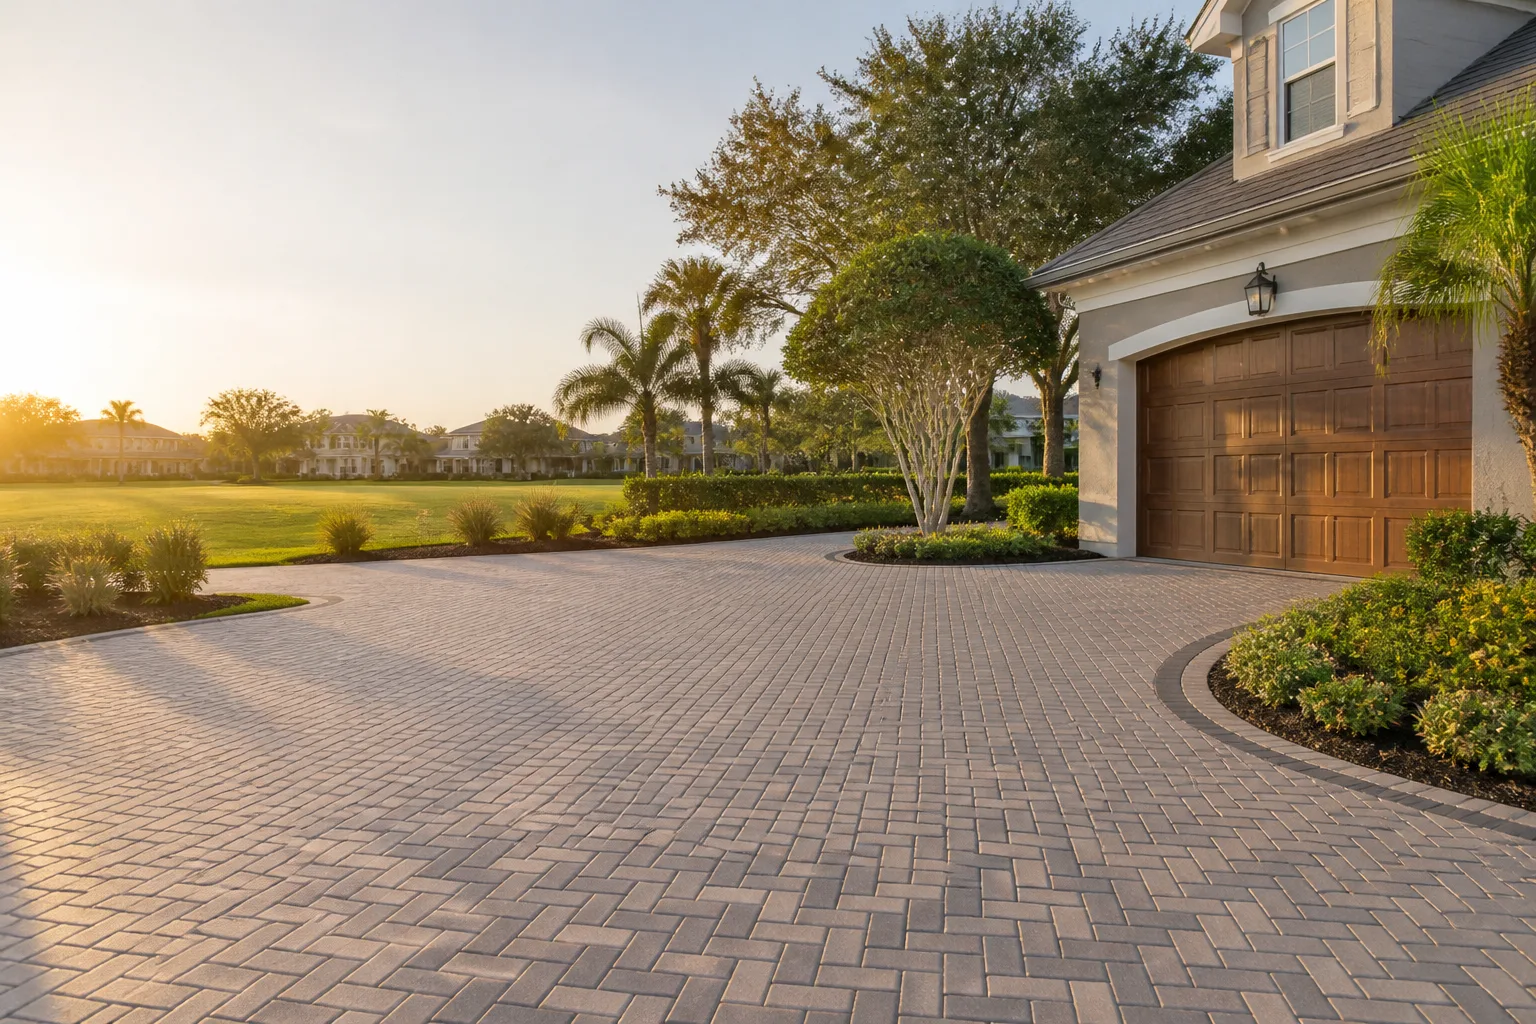
Driveway & Pavers Troubleshooting: Common Problems and How to Fix Them
That one sunken paver you’ve been driving over for two years isn’t the problem – it’s a symptom. Treat the symptom without finding the cause and you’ll spend $400 twice instead of $400 once. We’ve walked hundreds of driveways across Santa Rosa, from the flat lots off Coffey Park to the sloping front yards up in Rincon Valley, and the pattern almost never changes: a homeowner patches one paver, the neighbor’s tree keeps growing, the winter rains keep washing, and by the next spring there are three more dips. This guide teaches you to diagnose before you spend a dollar – to figure out whether you’re looking at a base issue, a drainage issue, or an installation shortcut, because each one has a different fix and a different price tag.
Quick Answer
Most driveway paver problems in Santa Rosa come down to one of three root causes: a failing base (the crushed rock and bedding layer under the pavers), poor drainage (water trapped under or against the surface), or a shortcut during installation (missing edge restraint, thin base, wrong joint sand). Isolated settlement in one or two pavers is usually fixable in an afternoon for a few hundred dollars. Broad, repeated settlement across a whole section almost always means the base failed and the pavers need to come up, not just be tapped back down.
Styles & brands we work with
- Kitchen remodeling
- Bathroom remodeling
- Home additions & ADU
- Roofing
- Windows & doors
- Driveway & pavers
- Fence
Table of Contents
- How to diagnose a paver problem before you spend a dollar
- Why are my driveway pavers sinking and shifting?
- Why does joint sand keep washing out in Santa Rosa winters?
- How do I tell oil, efflorescence, and rust stains apart?
- What can I do about tree roots lifting the pavers?
- Why is a paver rocking or cracking at the edge?
- How do I stop weeds growing between pavers?
- What does paver repair cost in Santa Rosa?
How to diagnose a paver problem before you spend a dollar
The single most useful skill in paver troubleshooting is learning to tell isolated settlement from systemic base failure. You do this on foot, with no tools, in about five minutes.
Walk the whole driveway slowly, and note every spot that feels low or spongy underfoot. Then stand back and look at the surface with the sun raking across it at a low angle – the raking light exaggerates high and low spots that are invisible in flat midday sun. This step matters more than any inspection you can pay for.
- Mark the low spots. Drop a straight 8-foot board or a level across the surface and see how far it rocks. A dip of half an inch or less in a single spot is usually a surface issue. A dip of an inch or more, or a whole area that slopes toward the house or the street, is a base or drainage issue.
- Count the failures. One or two sunken pavers scattered around? That’s isolated settlement. A cluster, a long strip, or a pattern that repeats every few rows? That’s base failure.
- Look at the edges. If the perimeter pavers are spreading outward or you can see a gap between the paver and the ground, the edge restraint has failed.
- Watch the water. After a real Santa Rosa rain, walk the driveway and see where water pools and how long it stays. Water sitting against the surface hours later is a drainage problem.
- Press the joints. Poke a screwdriver into the joint sand. If it disappears three inches down in a week, the sand isn’t locking (wrong sand) or the base is shifting underneath (base failure).
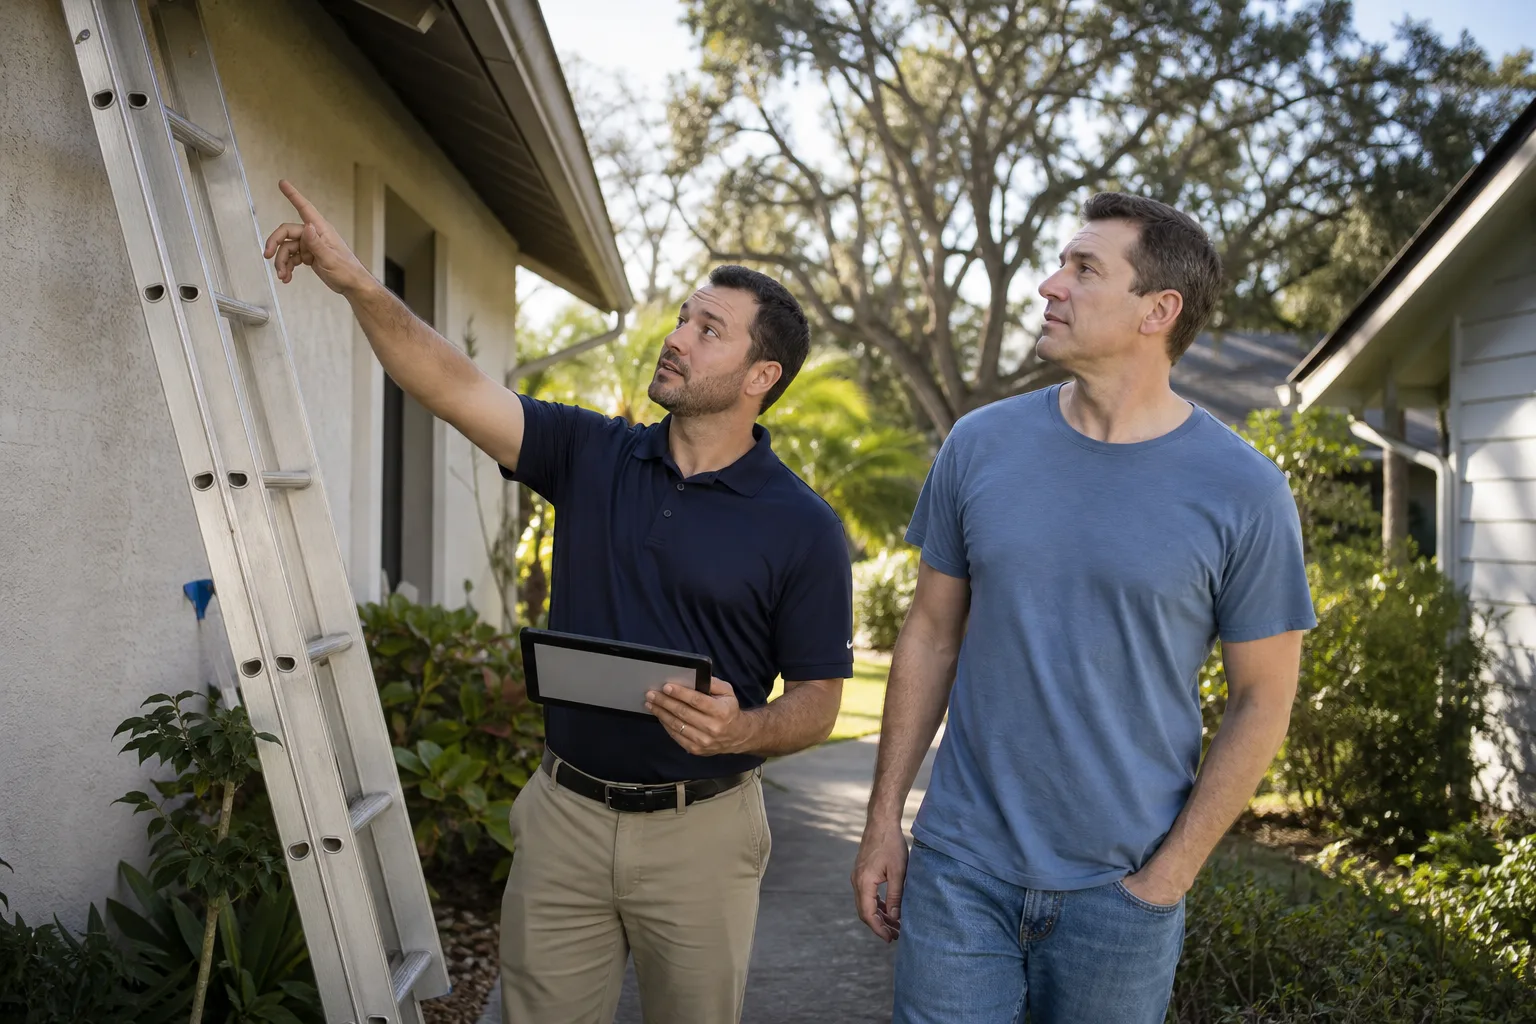
That five-minute walk tells you whether you’re looking at a $250 afternoon job or a $3,000 to $6,000 excavation job. The rest of this guide goes through the specific problems you’d find. If you’d rather have someone who does this every day walk it with you, our crews are glad to – a free estimate costs you nothing and tells you exactly which bucket you’re in. You can read more about our Driveway & Pavers in Santa Rosa work here.
Why are my driveway pavers sinking and shifting?
Pavers sink because the base under them failed. Interlocking pavers are only as good as the crushed rock base and the bedding layer of sand they sit on, and when that base is too thin, not compacted in lifts, or made from the wrong material, the pavers will settle – unevenly.
The most common root causes we see in Santa Rosa:
- Base too thin. A driveway taking vehicle loads needs a compacted base of roughly 6 to 8 inches of crushed rock, compacted in 2-inch lifts. Many short-cut installations use far less. That savings in labor and gravel shows up two winters later as dips.
- Clay soil handled wrong. Much of Santa Rosa sits on clay soils that expand and shrink with the seasons – wet in the winter, dry and stiff in the summer. If the installer didn’t excavate deep enough or didn’t install separation fabric over the clay subgrade, the clay moves and the pavers follow.
- No edge restraint, or a weak one. The pavers are held in place by the edge. When the edge gives way, the whole field spreads.
- Roots and utility activity. Tree roots and buried utilities cause point settlement that’s not the same as base failure.
Systemic settlement needs excavation – pulling the affected section, re-grading and re-compacting a proper base, re-installing with edge restraint. Isolated settlement of one or two pavers can sometimes be lifted and re-bedded on a properly compacted patch in a few hours. Re-bedding a paver on top of a failing base is the $400-twice job the opening warned about.
Why does joint sand keep washing out in Santa Rosa winters?
Joint sand washes out in wet climates because regular sand weakens when it’s saturated and drains away. Santa Rosa gets about 30 inches of rain between about October and April, and a driveway on a slope sheds water across the surface and into the joints. Plain sand loses its interlock and slowly disappears.
The fix is polymeric sand – a sand that, once wetted, cures into a flexible rubbery joint that locks the paver field, resists water flow, and blocks weeds. But not all polymeric sands hold up in a wet climate, and the wrong product for Santa Rosa fails.
What actually holds up here:
- Polymeric sand rated for vertical or slope applications. These cure harder and hold on slopes, where most other products wash out.
- Products with a moisture-activation formulation designed for cold, wet joints. They set up before the first heavy rains hit them.
- Two-part resin-based joint sand for high-traffic driveways. These cure harder than standard polymeric sand and are harder to displace, at a higher material cost.
Application matters as much as the product. The joint must be clean and dry, the cavity filled to within an eighth of an inch of the paver surface, and the excess swept off before water is applied. If the installer doesn’t wait for dry weather or doesn’t wash and compact the sand correctly, even good product will fail. If you’re ready to have a crew refill and restore the joints properly, our Barrett & Sons Construction Santa Rosa home page has the full picture of how we work. When we redo joints, we use brands we can stand behind – and we’ve put in enough driveway paver systems with Belgard and Techo-Bloc edge restraint and joint products that we know what survives a Santa Rosa wet season.
How do I tell oil, efflorescence, and rust stains apart?
The three common paver stains look similar at a glance but each needs a completely different cleaner. Using the wrong one makes the stain permanent – a rust stain treated with an acid cleanser can etch the paver permanently, and oil scrubbed with the wrong solvent spreads.
Oil stains from the car or the mower look dark and greasy, and they darken a paver surface without changing its texture. They’re manageable with a degreaser if addressed quickly. The mistake is scrubbing with soapy water and a stiff brush – which drives oil deeper. A poultice that draws the oil up, or a properly diluted degreaser applied and then rinsed, works better. On a sealed driveway, oil stays on top and is easy to lift. On unsealed pavers, oil penetrates and the fix is harder.
Efflorescence looks like a white, powdery bloom or a hazy film on the surface, and it’s a natural byproduct of the cement and salts in the paver or base moving to the surface with moisture. It’s not a stain – it’s a sign water is moving through the paver system. The fix is usually to clean with an efflorescence remover and address the drainage so water doesn’t keep moving through the pavers. If it keeps returning, that’s a drainage issue.
Rust stains are orange and sharply defined, often where a metal edge restraint, a lawnmower blade, or a piece of rebar has touched the paver. These need a dedicated rust remover that targets iron – not a generic acid wash. Rust stains that keep coming back in the same spot usually point to a rusty edge restraint or a metal object under the pavers; cleaning the stain without fixing the source just shows you the stain again next spring.
What can I do about tree roots lifting the pavers?
Tree roots lift pavers by growing between the base and the pavers and pushing upward as they expand. In Santa Rosa, liquid amber (sweetgum) is the most common culprit – it has a shallow, aggressive root system that loves growing under and into paver beds. Plane trees and some maples cause the same trouble, and mature trees in older neighborhoods like the West End and up around Howarth Park are common sources.
What you can realistically do without removing a healthy tree:
- Re-route the paver edge. If the tree is at the edge of the driveway, moving the paver edge restraint a foot or two away from the trunk and installing a root barrier between the tree and the pavement buys years.
- Cut the offending roots without killing the tree. In many cases a certified arborist can cut specific roots that are lifting the pavers without structural harm, especially on a healthy, established tree. That’s their call, not ours.
- Rebuild the affected section on a deeper base. A root that’s lifted pavers usually continues to push. In the affected section, pulling the pavers back, digging out the root, and rebuilding on a base engineered for that site stops the problem for that section.
- Live with the natural slope. On mature trees, the honest answer is sometimes that the paver surface has to be re-graded around the root and re-laid at an angle that follows it – not lifted flat, but set to move with the tree.
Removing a large mature tree is the last resort, and a decision that belongs to an arborist and the homeowner, not a paver crew. If the tree is protected, in a Santa Rosa heritage register, or part of the streetscape, that’s a separate conversation. Our job is the pavement around it.
Why is a paver rocking or cracking at the edge?
A rocking or cracked paver at the edge is nearly always a sign the edge restraint failed or was never installed. Interlocking pavers depend on a continuous edge – a concrete curb, an aluminum or plastic edge restraint spiked into the base – to hold the field and stop the pavers spreading and rocking.
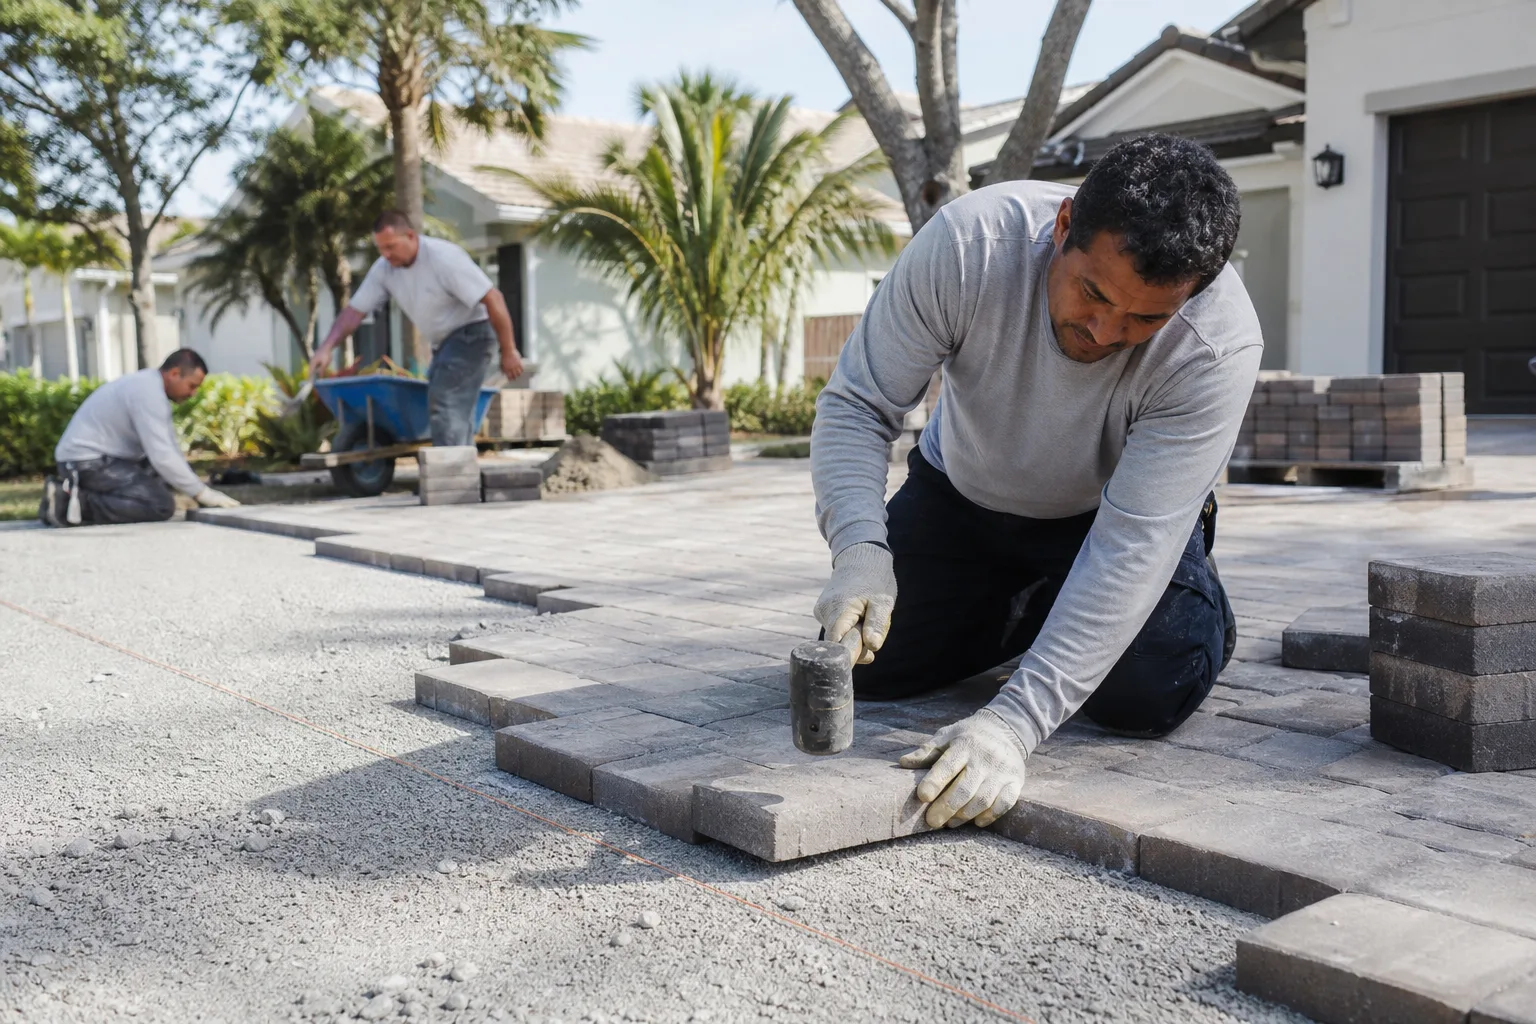
When the edge restraint fails, the outer row of pavers loses its lateral support, rocks under foot and under a tire, and the field starts to spread outward. The corners of the paver chip, and eventually a paver cracks. If you catch it early, this is one of the cheapest fixes on the whole driveway – a new edge restraint and a re-set of one row, typically a few hundred dollars.
Catching it early matters because delaying multiplies the repair. Once the restraint has been missing long enough, the pavers have spread and the base under the edge has loosened, and the fix moves from “re-set a row” to “excavate and rebuild the edge.” If you’re within a warranty window with the contractor who installed it, this is the kind of failure worth documenting with photos and a written note to the installer. The written record – photos with dates, notes on what you saw – gives you a clear basis for a claim. It’s also the kind of thing that written change orders and a warranty in writing make easy to enforce. If the original installer is out of the picture, we can give you a second opinion free of charge. Our crews are happy to re-secure edge restraint, re-bed the spread pavers, and redo the joint sand in one visit – read more about Fence Installation in Santa Rosa as well if you’re also tackling the property boundary in the same season.
How do I stop weeds growing between pavers?
Weeds grow in paver joints when the joint sand has washed out or was never filled properly. The fix isn’t spraying – it’s restoring the joint. A poly sand joint that’s properly filled and cured blocks light and water from reaching the soil below, and the weeds have nowhere to root.
What works, in order:
- Clean the joints thoroughly. Pull weeds by hand and use a wire brush to clear the joint to its full depth. Don’t spot-spray a whole driveway for one weed; the spray doesn’t fix the joint that’s letting the weed in.
- Refill and compact with proper polymeric sand. This is the step that fixes the problem; everything before it just clears the way.
- Water the sand in correctly – twice, lightly, so the surface seals and the joint cures hard.
- Avoid the shortcut fixes. Vinegar, bleach, and salt kill the weed you see but don’t stop the next one, and bleach and salt can damage the paver surface.
A properly filled and cured poly joint keeps weeds out for years. If you’re seeing weeds flush every year, the joint sand is the likely culprit.
How do I handle weeds in Santa Rosa’s growing season?
Santa Rosa’s wet winters followed by warm dry summers give weeds a long growing window. The pattern is predictable: the winter rain softens the joint sand and seeds germinate in early spring, then the summer heat drives fast growth. If you’re seeing weeds in June after a good winter, they came from somewhere during the rain. That’s a sign the joint needs restoring, not that the winter was unusually bad.
One quick test: drag a stiff broom across the surface after the first dry stretch in spring. If more than a handful of joint sand comes loose, the joints need attention. If only a little comes up, the joints are healthy. That broom test is the cheapest diagnostic we know for the joint issue. If your joints fail it and you’re ready to re-do them properly for the long haul, we can quote that as a small job.
What does paver repair cost in Santa Rosa?
Paver repair in Santa Rosa typically runs from about $250 for a small re-set of one or two pavers to $6,000 or more for a section excavation and rebuild. The spread is entirely about whether you’re looking at isolated settlement or base failure.
- Resetting 1-2 isolated pavers: $250-$450
- Re-sanding the joints on a typical driveway: $600-$1,400, depending on square footage and product
- Replacing a failed edge restraint: $400-$900 for a typical edge run
- Re-setting a whole row after edge failure: $500-$1,200
- Excavating and rebuilding a section on a proper base: $25-$45 per square foot, so $3,000-$6,000 for a typical section
- Full driveway replacement on a properly prepared base: roughly $18-$35 per square foot, or $7,000-$18,000 for a typical Santa Rosa driveway
Those numbers are for the actual work, not a phone quote. Any good contractor should walk the driveway, diagnose which problem you’re looking at, and give you a written line-item quote before you commit. The most expensive mistake isn’t the cost of the correct repair – it’s paying twice for a quick fix that gets re-torn out next year. Our work is backed by our written 90-Day Done Right Promise: if it’s not done right, one call brings us back. For a free estimate, call (866) 864-4083.
Common Mistakes to Avoid
- Re-bedding pavers on the same failing base. A paver tapped back down over loose, uncompacted base comes up again the first wet winter. If the base is the problem, fix the base – not the top two facing pavers.
- Using regular sand to refill joints. It washes out again, and it fails faster in Santa Rosa’s wet climate. Use proper polymeric sand.
- Treating every stain with the same cleaner. Rust remover will etch a paver if it hits oil stains; general cleaner will spread oil. Match the cleaner to the stain type.
- Not pulling the existing paver up to inspect because it’s “probably fine.” Lifting a paver and looking at the base costs nothing and stops you from guessing. If the base is soft under five inches, it’s the base – not the paver.
- Assuming a crack means a warranty is void. Many edge restraint failures from installation shortcuts are exactly the failures a good warranty covers. Document with photos and a written note before you do anything.
- Patching tree root damage with a paver cap instead of a root barrier. The root keeps growing; the cap lifts again. Fix the source.
- Hiring off a phone quote. A paver problem needs a driveway walk. A quote without an on-site diagnosis is a number with a date on it, nothing more.
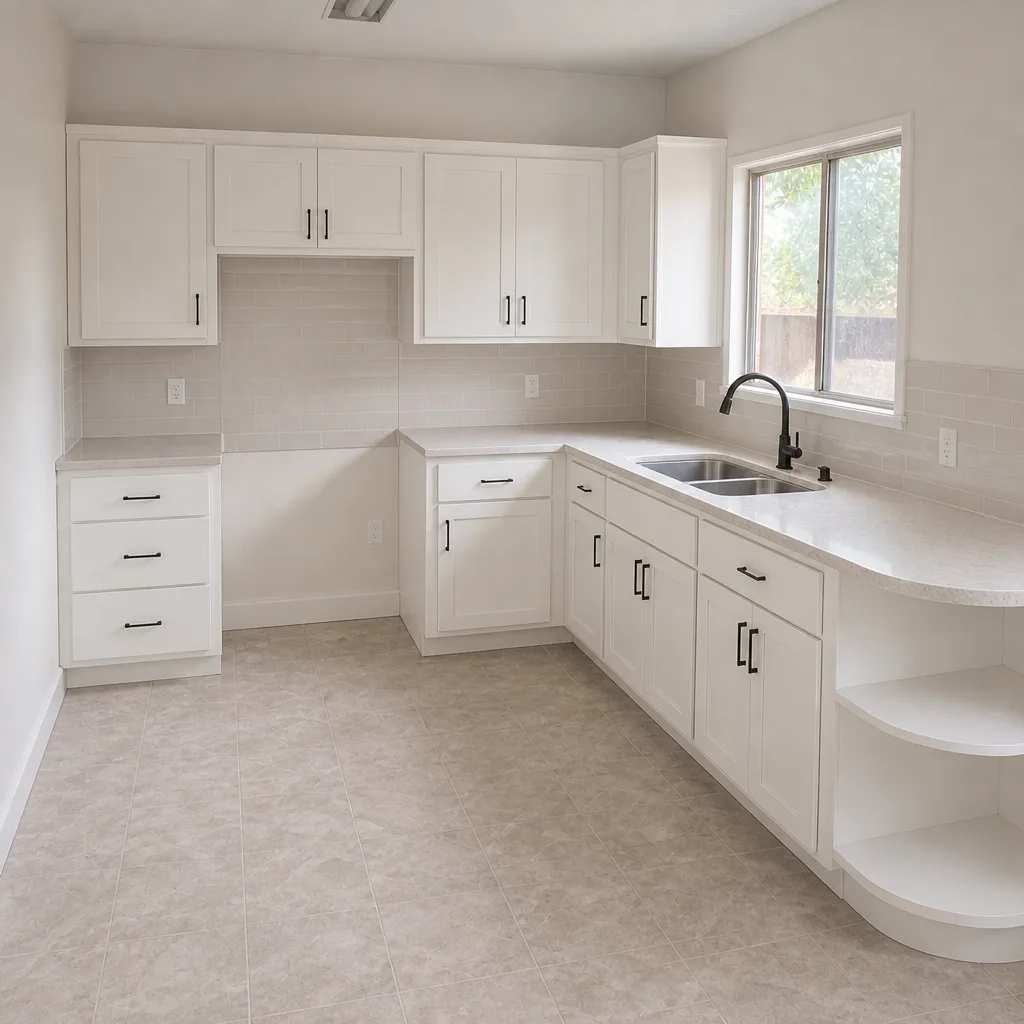
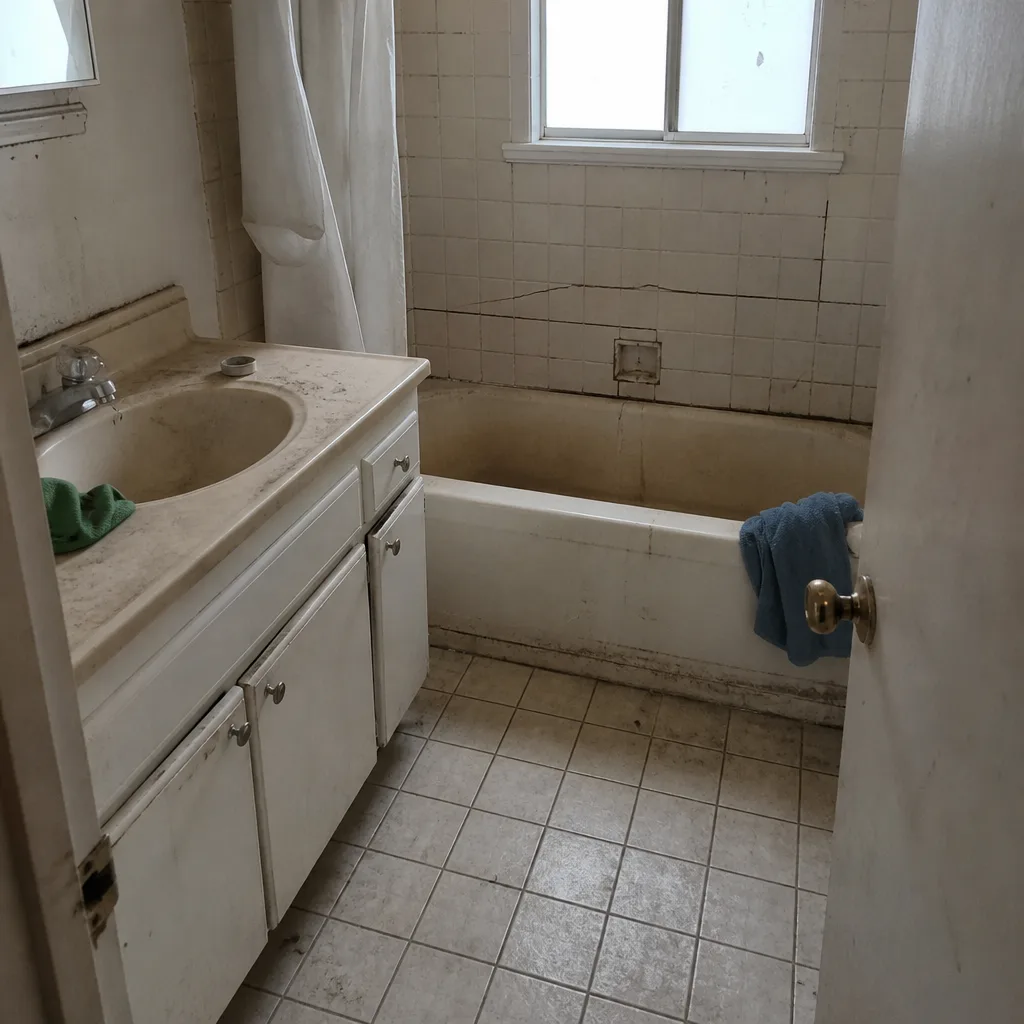
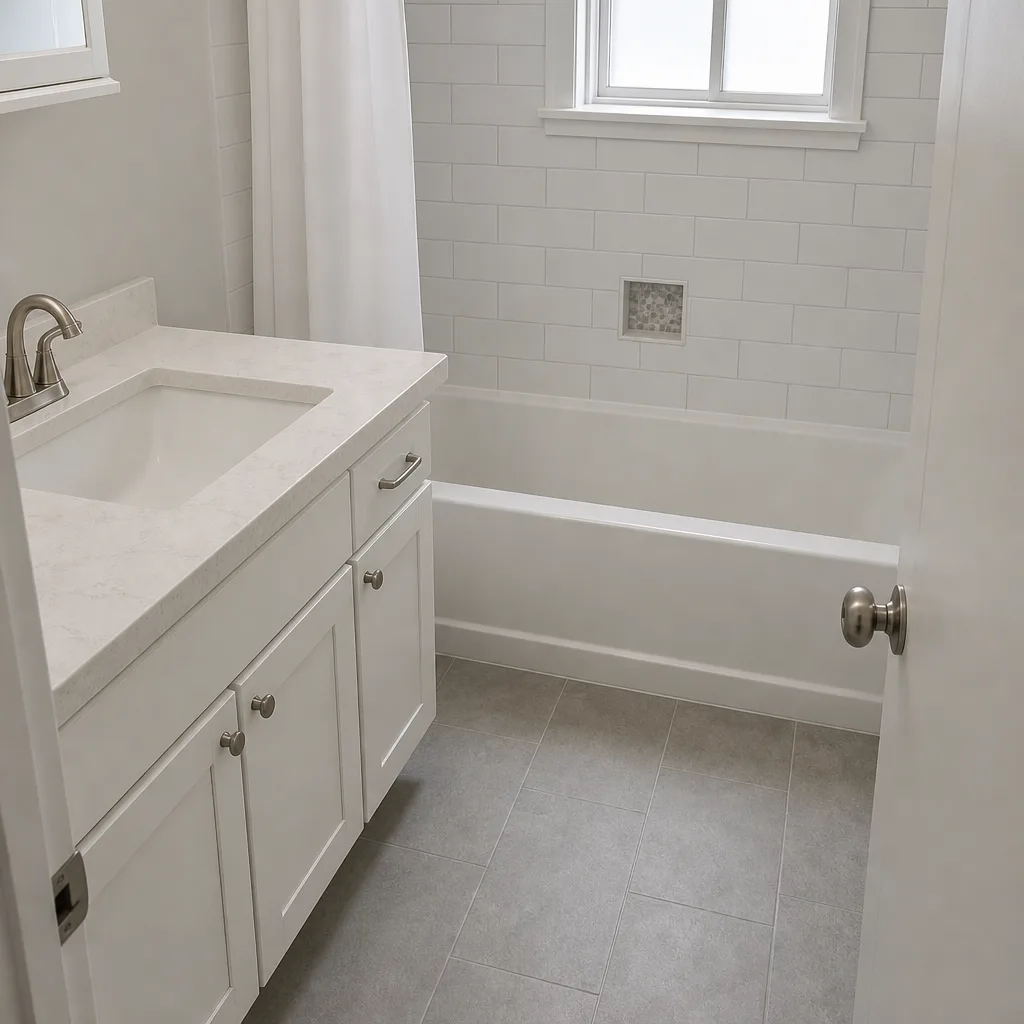
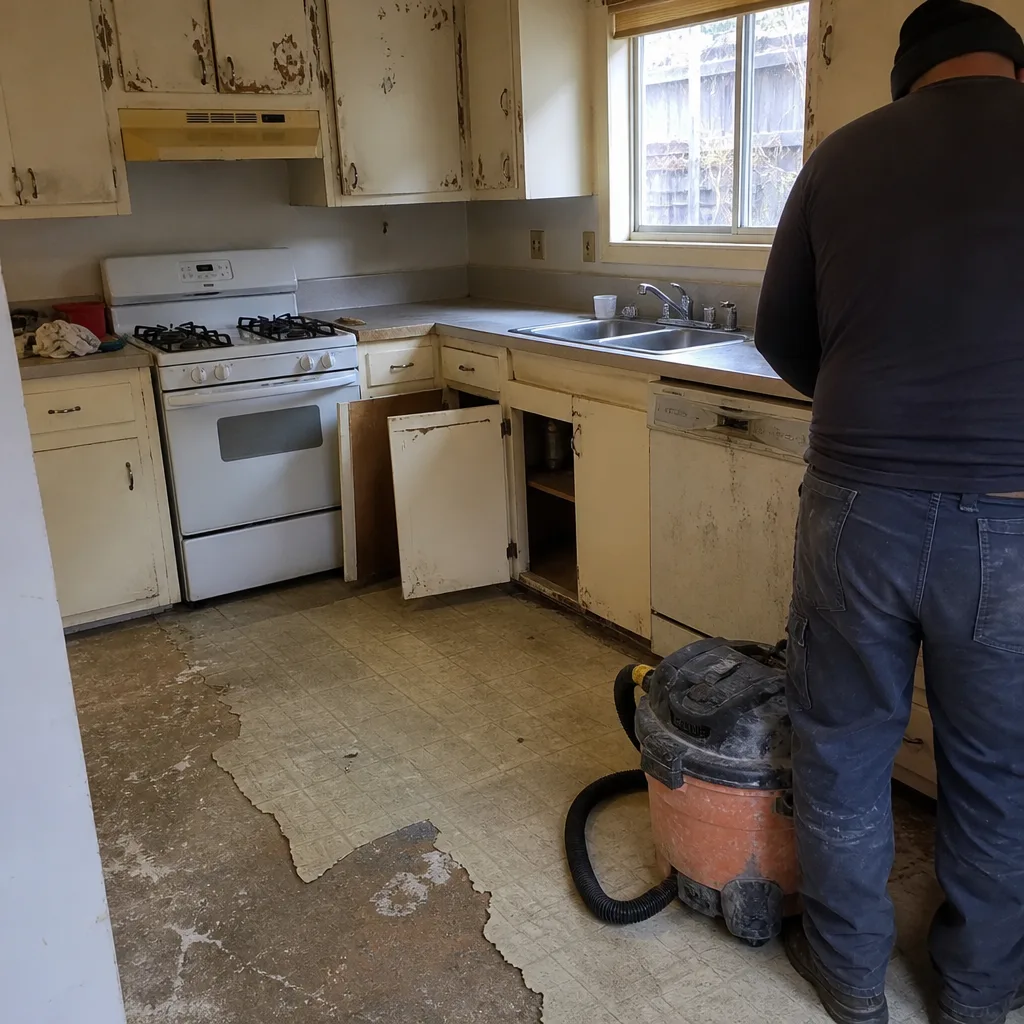
See the difference
 Before
 After
 Before
 After
 Before
 After
When to Call a Professional
Some paver problems are genuinely a Saturday afternoon job. Others need a crew, a truck, and a compaction plate – and getting those wrong costs more than fixing the original problem. Call a professional when: the dip is deeper than half an inch across more than one paver, the whole section settles or spreads, water pools against the house or street after rain, a whole section of pavers rocks underfoot, or a paver system has failed inside a warranty window and you need documentation and a full diagnosis. If the base has failed, if the edge restraint has spread, or if the joint has failed across the whole driveway, that’s a crew job. If you’re also planning the front of the house this year, our Home Additions & ADU in Santa Rosa team can help scope the whole sequence. Barrett & Sons Construction Santa Rosa offers free estimates in Santa Rosa – call (866) 864-4083.
Frequently Asked Questions
No – a concrete cap over a failed paver base fails almost immediately, because the poured slab is only as stable as what’s under it. The correct fix is to remove the failing pavers, repair or rebuild the base, and re-install. A concrete cap also usually triggers permit questions in Santa Rosa and adds cost on top of the real repair. Call (866) 864-4083 for a free estimate on the correct fix.
Repeat settlement in one spot almost always means an underlying cause the previous fix didn’t address – a soft spot in the subgrade, an old utility trench that wasn’t recompacted, or a root growing into the base. Filling and re-bedding is a temporary fix. Call (866) 864-4083 for a free estimate to diagnose it once and fix it properly.
It shouldn’t, and on any job we take on, it won’t – every price change comes to you as a written change order before work proceeds. If a crew opens the base and finds conditions no one could see, you’ll get a written scope and price to approve before the work continues, not a surprise invoice at the end. Call (866) 864-4083 to schedule a free written estimate.
A small re-set of one or two pavers takes a few hours. Re-sanding the joints on a typical Santa Rosa driveway takes most of a day. Excavating and rebuilding a section takes 2-5 days depending on size and weather. Call (866) 864-4083 for a free estimate and a realistic timeline for your specific driveway.
Most paver repair and replacement work does not require a building permit, but significant changes to grading and drainage, or work in a public right-of-way, may need one from the City of Santa Rosa. If it’s a repair or a like-for-like replacement, permits usually aren’t required – but a contractor who pulls permits on eligible jobs and knows the local requirements is a good safeguard. If you’re also planning work with a Belgard or Techo-Bloc paver system, our crews know the local picture. Call (866) 864-4083 for a free estimate and a straight answer on permits.
That’s a sign the installation had a base or drainage flaw, and it’s almost always a warranty issue. Take dated photos, document the spots, and notify the installer in writing. If you’re within the warranty window, that’s your best move. If the installer is out of the picture, we can give you a free second opinion on the written estimate to fix it right. Call (866) 864-4083.
The Bottom Line
Every paver problem you’ll see on a Santa Rosa driveway traces back to a base issue, a drainage issue, or an installation shortcut – and knowing which one you’re looking at is what separates a $400 fix from a $4,000 rebuild. Isolated sinking in one or two pavers, sand washing out in the joints, a single stain – those are manageable as a targeted repair. Broad settlement, whole sections spreading, water pooling against the house, or repeated failure after a previous repair – those are a base or drainage job and a shovel, not a brush. The single best move before you spend a dollar is a slow walk of the driveway with the sun raking across it, and a written line-item quote from a crew that will stand behind their diagnosis. We’ll walk yours with you, diagnose it against the three root causes above, and put everything in writing.
Barrett & Sons Construction Santa Rosa – owner-operated, permits pulled, written change orders on every job, and our written 90-Day Done Right Promise on every completed job. Call (866) 864-4083 for a free estimate.
Written by the team at Barrett & Sons Construction Santa Rosa.