Last updated November 18, 2026


Free written scope consultation - allowances, timeline, and change-order rules on paper before a single trade is scheduled
Driveway & Pavers Maintenance Schedule: What to Do and When
Sealing your pavers every year sounds responsible. It’s one of the fastest ways to trap moisture, cause spalling, and put your material warranty in question. We’ve pulled failing sealer off driveways in Santa Rosa where the homeowner did everything “right” by a label’s instructions and still ended up with a milky, flaking mess after two wet winters. The right interval is almost always longer than a once-a-year habit suggests. This guide lays out a maintenance schedule built around Sonoma County’s actual seasons – a dry stretch from roughly May through September and a rainy one from October into March – so you know what to do each month, how to test whether re-sealing is even needed, and which tasks actually protect your investment.
Quick Answer
Most paver driveways in Santa Rosa need a full clean and joint-sand top-off once a year, usually in early fall before the rains, and a fresh coat of sealer only every three to five years – and only after a water-bead test confirms the old sealer has worn through. The single highest-value task on the whole schedule is keeping joint sand topped up; skip it and pavers shift, edges unravel, and weeds move in.
Styles & brands we work with
- Kitchen remodeling
- Bathroom remodeling
- Home additions & ADU
- Roofing
- Windows & doors
- Driveway & pavers
- Fence
Table of Contents
- Why a Midwest Maintenance Calendar Fails in Santa Rosa
- Month-by-Month Paver Maintenance for Santa Rosa
- The Water-Bead Test: Do You Actually Need to Seal?
- Joint Sand: The Highest-ROI Task Nobody Does
- Pressure Washing Without Wrecking Your Pavers
- Handling Stains, Efflorescence, and Wet-Season Problems
- Keeping a Maintenance Log (and Why It Pays Off)
- When It’s Maintenance and When It’s a Repair
Why a Midwest Maintenance Calendar Fails in Santa Rosa
Most paver care advice on the internet was written for climates with hard freezes, heavy snow, and a short growing season. Santa Rosa doesn’t work that way. Our winters are wet and mild rather than frozen, and our summers are bone dry. That changes the maintenance math in ways a generic four-season template misses entirely.
Here’s the practical difference. In a freeze-thaw climate, the enemy is water getting into joints and expanding as ice. In Santa Rosa, the enemy is the rainy season saturating the base and joint sand from October through March, followed by months of dry heat that pull moisture back out and shrink clay soils underneath. That wet-dry swing is what loosens joint sand and lets pavers rock. If your driveway sits on expansive clay – common in parts of Rincon Valley and the hills east of town – the movement is more pronounced than on the sandy loam you’ll find closer to the river.
What that means for timing:
- Pre-rain prep matters most. Get joint sand topped off and drainage checked in September and early October, before the first real storm.
- Sealing in peak summer is usually a mistake. Sealer needs moderate temperatures and no rain for a stretch. Late spring or early fall gives you a better window than a 95-degree July afternoon.
- Post-rain inspection is where you catch problems early. Walk the driveway after the first big storm of the season and look for ponding, sand washout, and rocking pavers.
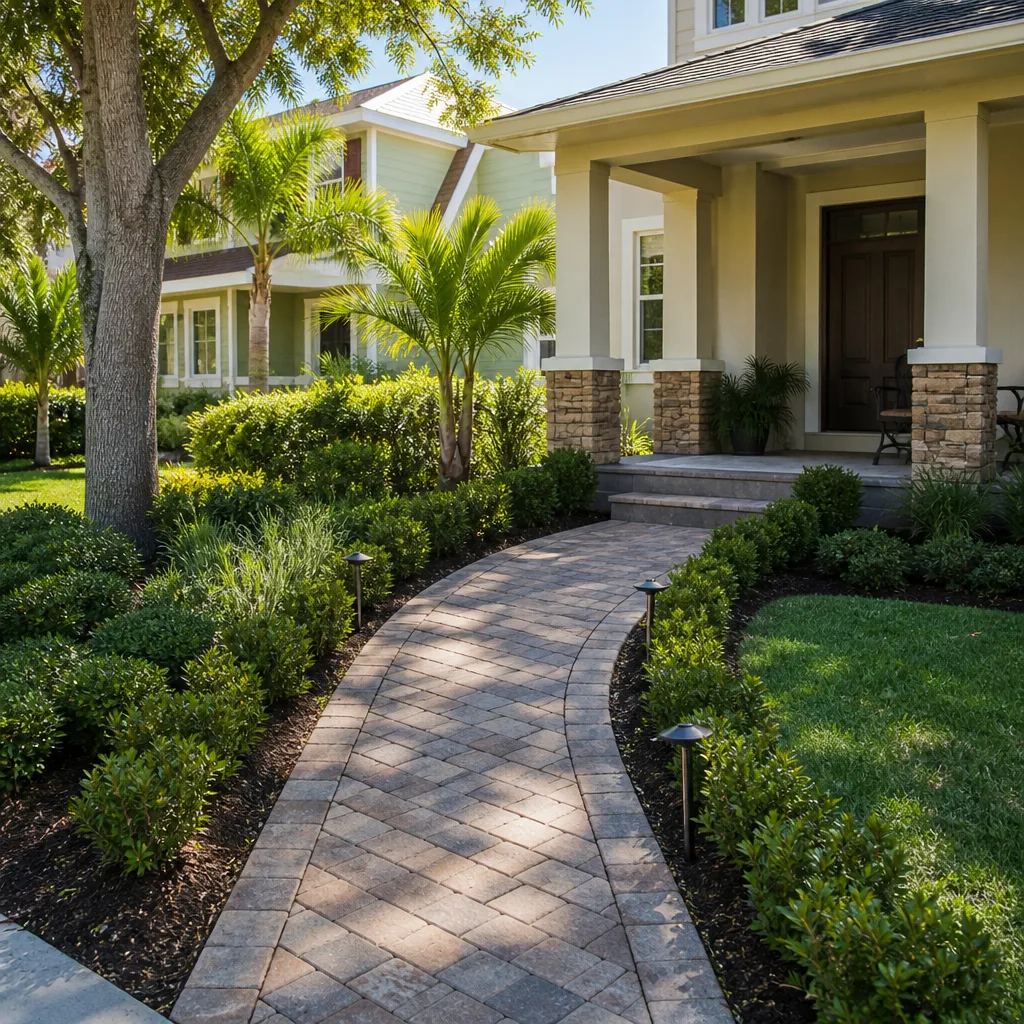
This is the same seasonal logic we apply on any Driveway & Pavers in Santa Rosa project – base prep and drainage get designed around our wet-season water, not a generic spec sheet.
Month-by-Month Paver Maintenance for Santa Rosa
This is the schedule we’d hand a homeowner if they asked us to write it down on the back of an estimate. Fifteen minutes in most months, a couple of hours in the fall. That’s it.
October through March: the wet season
- October: Final pre-rain walkthrough. Top off joint sand, clear debris from drainage channels and any French drains, and check that water flows away from the house, not toward it.
- November through February: After each big storm, do a five-minute visual check. Look for standing water more than 24 hours after rain, sand washing out at the edges, and any paver that moves underfoot. Pull weeds while they’re small and the ground is soft.
- March: End-of-wet-season assessment. This is the month you note any settling, efflorescence (the white chalky haze), or joint problems to address in the dry months.
April through September: the dry season
- April: First deep clean of the year once the rain stops for good. Sweep, spot-treat stains, and inspect joints.
- May: Good window for re-sealing if your water-bead test says it’s due (more on that below). Moderate temps, no rain.
- June through August: Light upkeep. Sweep, pull weeds, spot-clean. Watch for new efflorescence if you irrigate nearby.
- September: The big one. Deep clean, joint sand top-off, drainage check. This is the task that sets your driveway up to survive the winter.
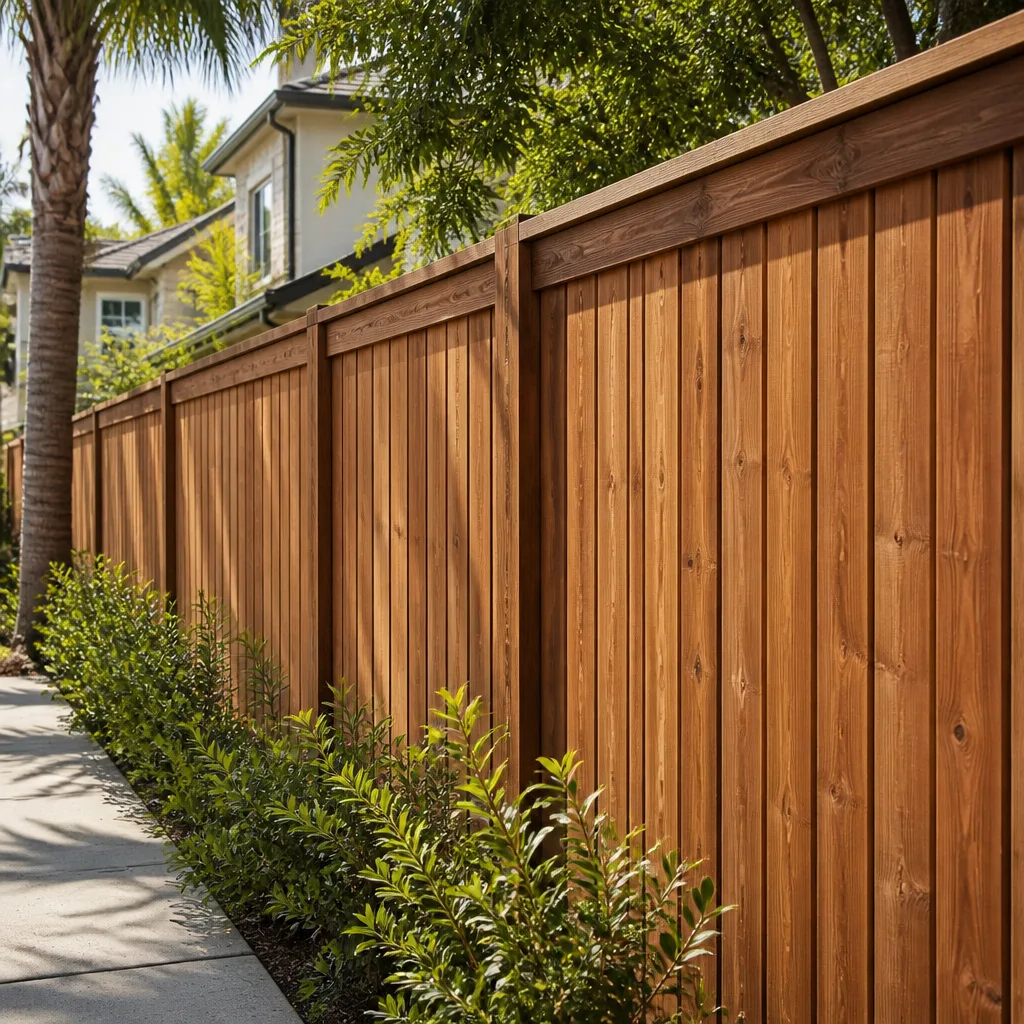
If you’re planning bigger changes this year, like widening the drive or adding a patio that ties into the yard, the same seasonal thinking applies to fences and structures – our Fence Installation in Santa Rosa work gets scheduled the same way, before the ground gets saturated.
The Water-Bead Test: Do You Actually Need to Seal?
Don’t seal on a calendar. Seal on evidence. Sealer wears off unevenly, and re-applying over a partially worn coat is exactly how you get the cloudy, peeling failure we described at the top.
The test takes thirty seconds. Here’s the sequence:
- Pick a representative spot – somewhere the driveway actually takes traffic, not a corner under the eaves.
- Pour a small cup of water on the surface.
- Watch what happens for 30 to 60 seconds.
- If the water beads up and sits on top, the sealer is still doing its job. Leave it alone.
- If the water darkens the surface and soaks in, the sealer has worn through. Time to plan a re-seal.
- Test two or three spots. Patchy results mean a partial re-seal or a clean-and-reseal in the worn areas only.
One more thing. Sealing is partly cosmetic – it deepens the color and makes the surface easier to sweep. If your pavers still bead water and you just like the look fresher, that’s a want, not a need. And if your pavers are travertine or a softer tumbled concrete, talk to the manufacturer’s spec before you seal at all. Some surfaces want a breathable penetrating sealer, never a film-forming one. For new installs we generally install Belgard and Techo-Bloc products, and both publish clear guidance on sealer compatibility – worth reading before you buy a jug at the hardware store.
Joint Sand: The Highest-ROI Task Nobody Does
If we could get homeowners in Santa Rosa to do exactly one thing on this list, it would be this. Joint sand is what locks pavers together into a single surface. Let it wash out or settle, and every paver starts working independently – which means edges creep, the pattern opens up, weeds colonize, and water gets into the base where it does the expensive damage.
It’s also cheap and easy to fix. A bag of polymeric joint sand and an afternoon of your Saturday costs a fraction of resetting a settled edge. Here’s how it’s done correctly:
- Clean the joints first. Blow or sweep out loose dirt, old sand, and weeds. Sand won’t lock in over debris.
- Wait for a dry stretch. Joint sand needs dry pavers and no rain predicted.
- Sweep the sand into the joints, working at an angle across the pattern.
- Tamp the pavers lightly to work sand down into the joints, then top off again.
- Mist with water if using polymeric sand, per the product’s instructions, and let it cure without foot traffic.
Check your joints in September and again in March. If the sand level has dropped noticeably below the paver chamfer, it’s time to top off. On a driveway with real runoff, plan on this annually. On a sheltered patio, every other year is often enough. For new hardscape installs we build this into the handoff so you know exactly what to check and when.
Pressure Washing Without Wrecking Your Pavers
A pressure washer is a good tool pointed at the wrong setting and a wood chipper pointed at the right one. We’ve seen homeowners blow out years of joint sand in ten minutes with a zero-degree nozzle, then wonder why the pavers went loose by spring.
The settings that work:
- Nozzle: Use a wide fan tip – 25-degree for general cleaning, 40-degree for softer surfaces. Never a zero-degree pin tip on pavers.
- Pressure: Keep it around 1,500 to 2,000 PSI on concrete pavers. Drop lower – 1,000 to 1,200 PSI – for travertine or any tumbled or softer surface.
- Angle: Hold the wand at about 45 degrees and keep it moving. Never spray straight down into the joints, which is what excavates the sand.
- Distance: Keep the tip at least 12 inches off the surface. Closer isn’t cleaner; it’s more damage.
- Detergent: Use a paver-safe cleaner, not bleach, and rinse thoroughly. Bleach will etch and discolor some surfaces.
If your pavers have a film-forming sealer that’s starting to peel, pressure washing is how you strip the old coat before resealing – but that’s a job where the setting matters even more, and where a misstep means redoing the whole thing. Honestly, if the surface is travertine or you’re unsure what sealer is on there, this is the point to call someone who does it for a living.
Handling Stains, Efflorescence, and Wet-Season Problems
Not every dark spot is a stain, and not every white haze is a cleaning problem. Knowing which is which saves you from scrubbing a finish off your pavers trying to fix something that isn’t dirt.
Efflorescence is the white, chalky film that shows up after wet weather. It’s salt migrating to the surface from the base and the pavers themselves. It usually resolves on its own with a light sweep or a dry-brush, and it tends to be worst in late winter. Don’t seal over it. Efflorescence under a sealer becomes a permanent cloudy haze.
Organic stains – leaves, moss, tree tannins – often come from overhead trees. A paver-safe cleaner and a soft brush handle most of them. If you’ve got oak canopy over the drive, plan an extra spring cleaning.
Oil and rust need targeted treatments. Rust from a lawn mower or a metal downspout usually wants a dedicated rust remover made for pavers. Oil wants a poultice, not a pressure blast.
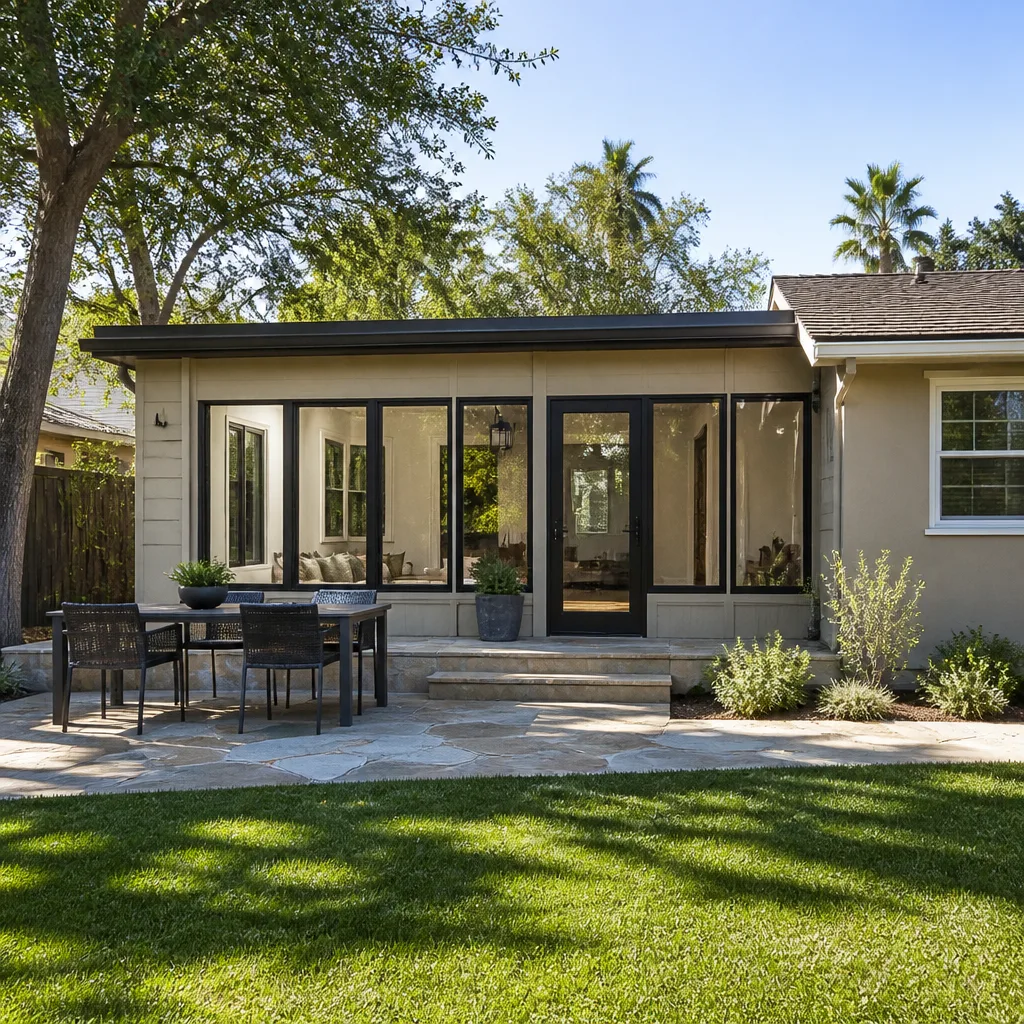
Wet-season problems are the ones to catch early: ponding that lasts more than a day, pavers that rock when you step on them, and sand washout at the drive apron. A little settling that shows up in February is often the first sign a base issue is developing. Catch it in March and it’s a small fix. Ignore it for a couple of seasons and you’re looking at resetting a section – or worse, reworking base drainage. On larger projects, drainage is where we start, whether it’s a driveway or a Home Additions & ADU in Santa Rosa where water has to move around the new footprint.
Keeping a Maintenance Log (and Why It Pays Off)
Write it down. A simple note on your phone or a clipboard in the garage tracks five things: the date of each cleaning, the date and product used for each sealing, any joint sand additions, any spot repairs, and photos of anything unusual.
Why it matters:
- Warranty claims. If your sealer fails within its stated life, a log showing the application date, product, and weather conditions is the difference between a replacement and a shrug.
- Home sale documentation. When a buyer’s inspector asks how old the pavers are and whether they’ve been maintained, a log answers for you. It also helps your agent price the hardscape fairly.
- Your own memory. Most of us can’t remember whether we sealed two years ago or four. The log tells you, so your water-bead test is a confirmation, not a guess.
- Sequencing. If you’ve done other work on the property, like roof or gutter work using GAF or Tamko materials, the log helps you see which projects came before others and why a given problem showed up when it did.
When we finish a driveway or hardscape install, we hand over a short maintenance sheet as part of the job. It’s how we document that every part of the work, from permits pulled to materials used, was done to spec and backed by our written 90-Day Done Right Promise.
When It’s Maintenance and When It’s a Repair
Most of this guide is maintenance – things you can and should do yourself. A few situations cross the line into repair, and treating them as maintenance makes them worse.
Maintenance is cleaning, joint sand, sealer, weed control, and stain treatment. It’s what you do to a driveway that’s structurally sound.
Repair territory looks like this:
- Settling that creates a trip hazard or ponding that lasts past a day or two. That’s a base problem, not a surface problem. It may need lifting or re-setting a section.
- Edges that are creeping or spreading. Usually a sign the edge restraint has failed. That’s a proper repair.
- Pavers that rock underfoot. Rocking means the bedding layer has lost integrity. Re-sealing won’t fix it.
- Widespread efflorescence that won’t resolve with dry brushing when the weather is dry.
- Warranty or failure questions on a relatively new install. That’s a conversation with whoever did the work, backed by your log.
If you’re not sure which category you’re in, a walkthrough settles it fast.
Common Mistakes to Avoid
- Sealing every year. Re-applying over a partially worn coat traps moisture and peels. Test with water before you buy a jug.
- Pressure washing with a pin tip. A zero-degree nozzle strips years of joint sand in minutes and can etch soft surfaces. Wide fan tip, moderate pressure, keep it moving.
- Skipping the fall joint sand top-off. This is the single biggest reason driveways in Santa Rosa go loose over winter. It’s also the cheapest fix on the list.
- Sealing over efflorescence. The white haze is salt, not dirt. Seal it in and it’s permanent until you strip the sealer.
- Ignoring ponding after storms. Water that sits for a day is already telling you the drainage needs attention. Waiting a season turns a small fix into base work.
- Using the wrong sealer on travertine or tumbled pavers. Film-forming sealers on breathable surfaces cause spalling. Check the manufacturer’s guidance before applying anything.
- No written record. If a warranty question or a home-sale inspection comes up in five years, a pile of guesses doesn’t help you. Keep the log.
See the difference
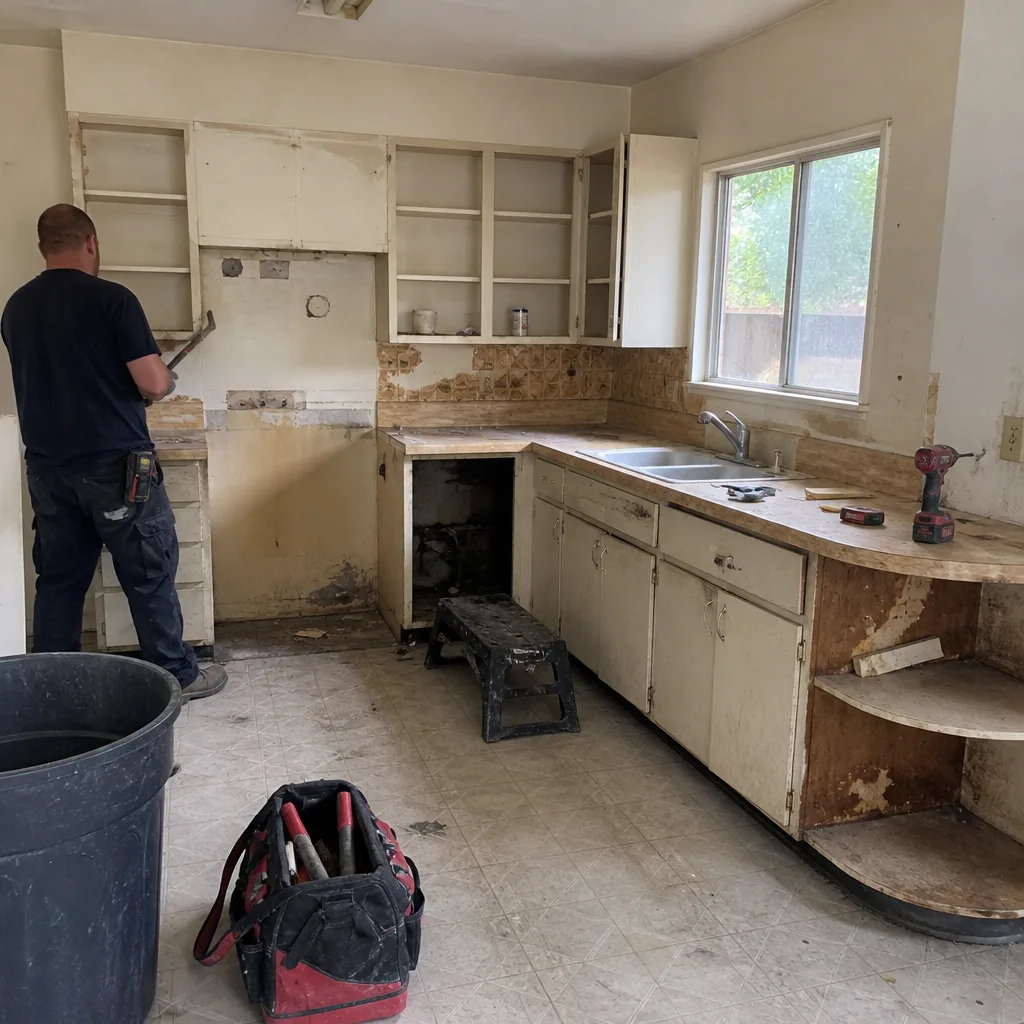 Before
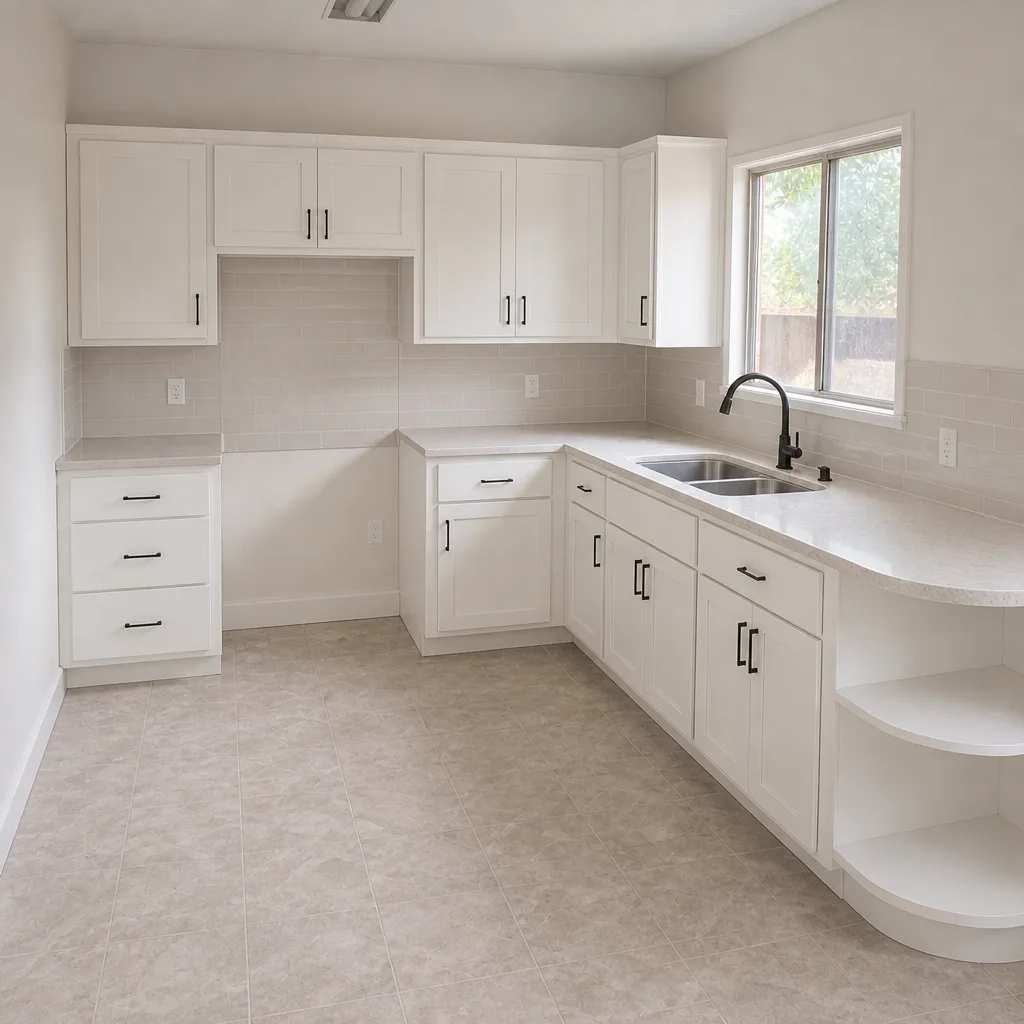 After
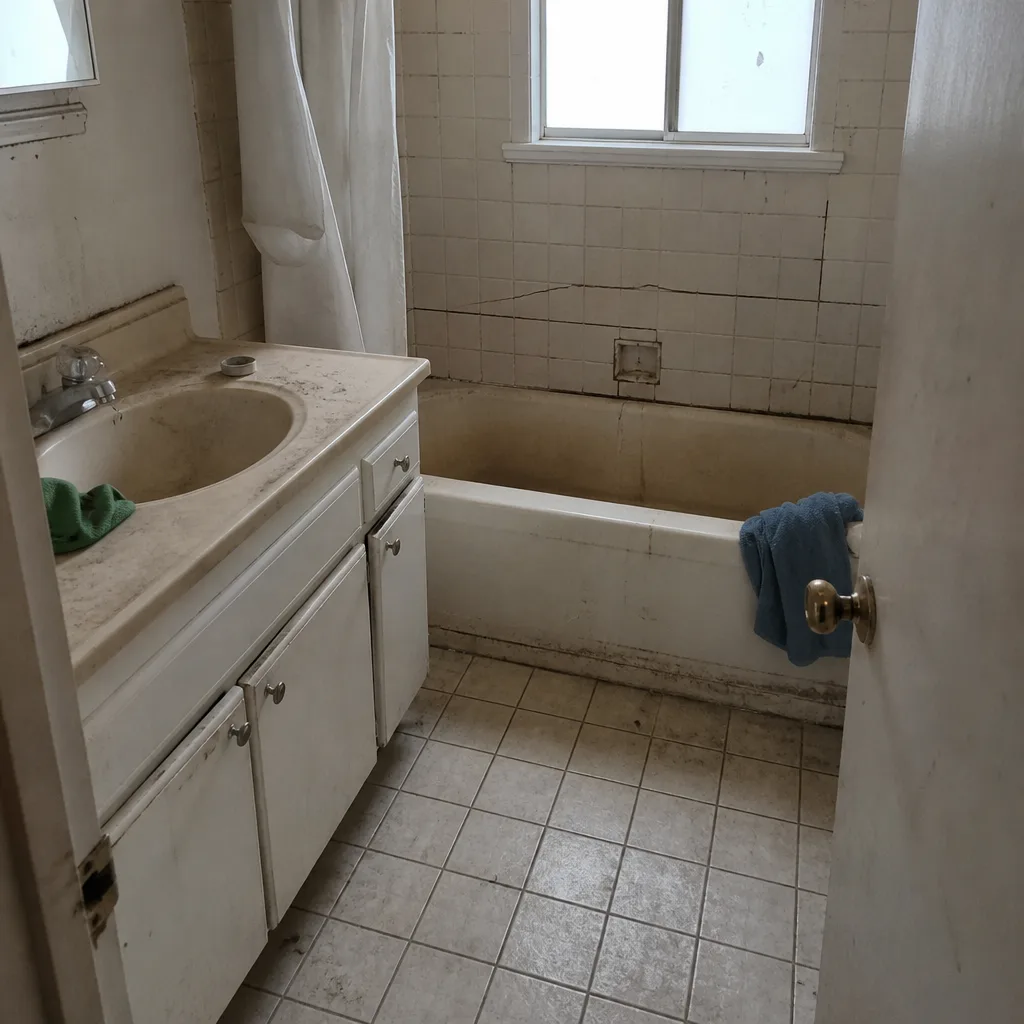 Before
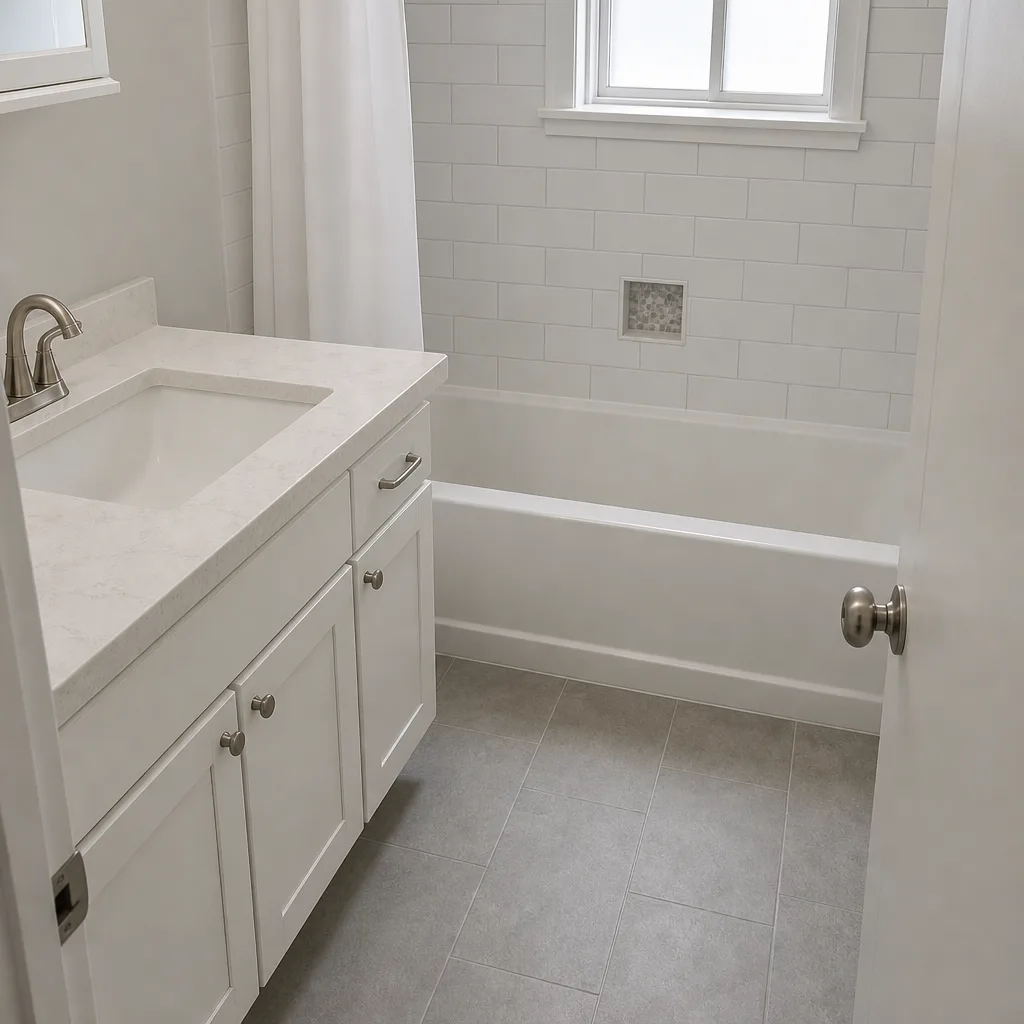 After
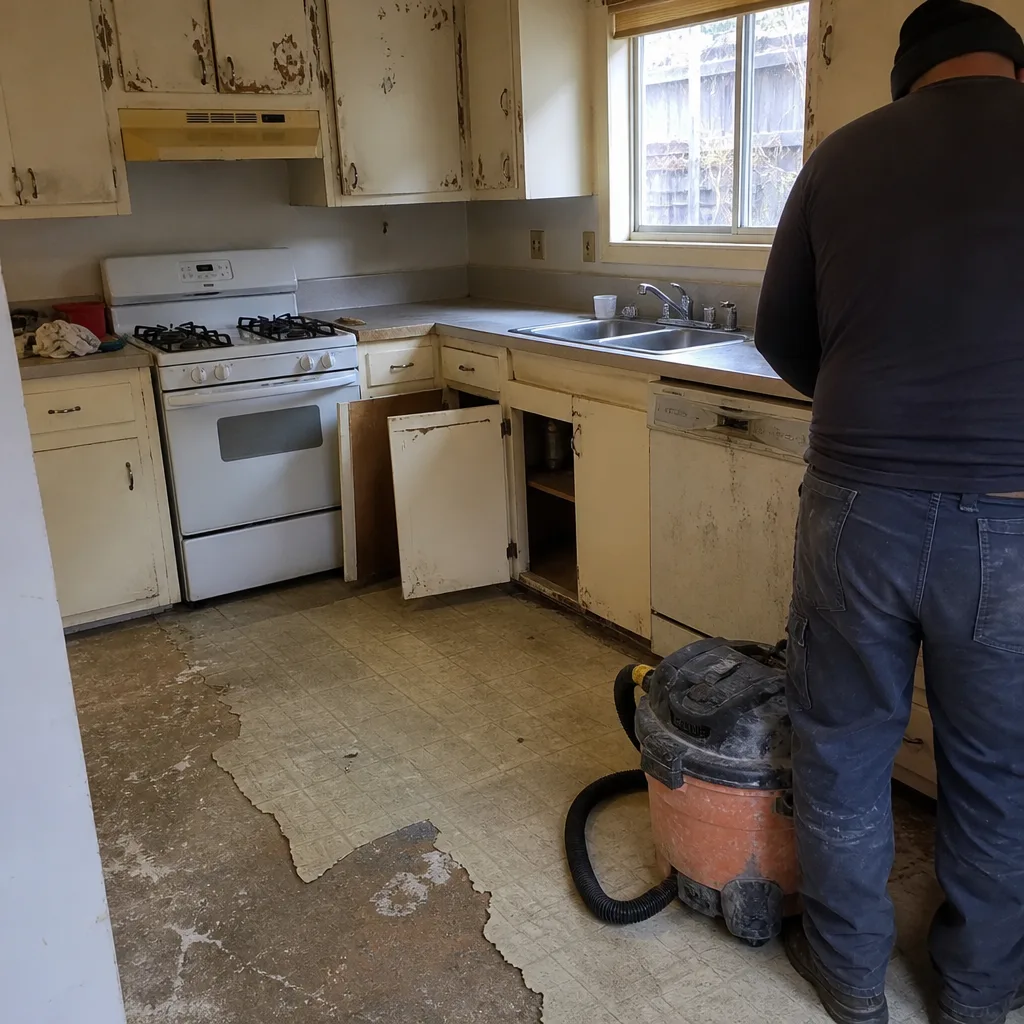 Before
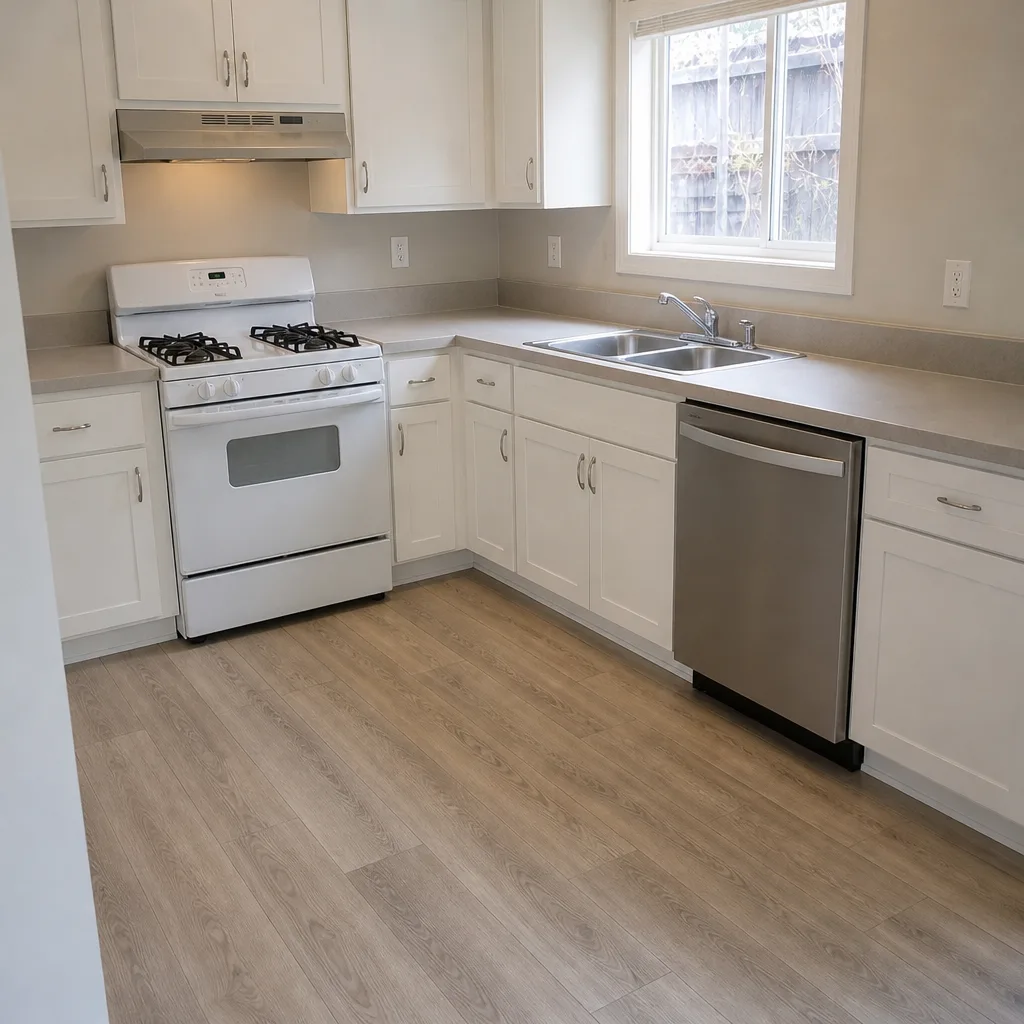 After
When to Call a Professional
Most of the schedule above is a homeowner job. Call someone when the problem is structural rather than cosmetic: settling that creates a trip hazard, rocking pavers, creeping edges, drainage that isn’t moving water away from the house, or widespread efflorescence that won’t clear. If you’re resealing after stripping an old, failing coat, and especially if the surface is travertine or an unknown sealer is on there, a pro is worth it. And if you’re planning a new driveway, patio, or walkway and want the base and drainage built for Sonoma County’s wet season from the start, that’s a design-and-install project. Barrett & Sons Construction Santa Rosa offers free estimates in Santa Rosa – call (866) 864-4083. We’ll walk the driveway, tell you what’s maintenance and what’s repair, and put the scope in writing before any work happens.
Frequently Asked Questions
Every three to five years, and only when a water-bead test shows the old sealer has worn through. Annual sealing traps moisture under a fresh coat and is a leading cause of peeling and spalling. Call (866) 864-4083 if you’d like us to look at it – estimates are free.
Late spring or early fall – typically May or September – when temperatures are moderate and no rain is forecast for at least 48 hours. Peak summer heat can cause the sealer to cure too fast and dry unevenly. Call for an estimate if you’re planning to reseal this year.
Yes, but at lower pressure, usually 1,000 to 1,200 PSI, with a wide 40-degree fan tip and the wand kept at a 45-degree angle. Travertine is softer than concrete pavers and etches easily. Call (866) 864-4083 if you’re unsure what surface you have or what sealer is on it.
That’s efflorescence – salt migrating to the surface from the base and the pavers after wet weather. A dry brush usually handles it, and it tends to resolve on its own in dry weather. Don’t seal over it. Call us for a free second opinion if it won’t clear.
Routine maintenance – cleaning, joint sand, sealing – doesn’t require a permit. New driveway installation or significant structural repair may, depending on scope and what part of the property the work touches. On any eligible job we pull the permits and get inspections signed – the permit inspector works for you, not for us. Call (866) 864-4083 to talk through your project.
Most routine maintenance is DIY and costs a couple hundred dollars a year in materials – a bag or two of joint sand, a paver-safe cleaner, and a sealer every few years. Professional cleaning and resealing of a typical driveway runs several hundred to over a thousand dollars depending on square footage and surface. Call (866) 864-4083 for a written, no-surprise estimate on your specific driveway – no phone quote that turns into a different bill at the door.
The Bottom Line
A paver driveway in Santa Rosa lasts decades if you give it about fifteen minutes four times a year. The whole thing comes down to four habits: top off the joint sand every fall before the rains, keep a water-bead test going and only seal when it says to, pressure wash with a wide fan tip and moderate pressure, and write down what you did and when. Skip the annual over-sealing that traps moisture, and don’t ignore ponding or rocking pavers after the first big storm. Catch those in March and they’re small fixes. Let them ride and they get expensive. If you want a walkthrough or you’re planning a new drive, call us – the estimate is free and the scope is in writing.
If you’re comparing written estimates, or just want a second set of eyes on a bid you’ve already got, our free second opinion on any written estimate is one phone call. We’re local, we publish our license number, and every crew on a Barrett & Sons job carries the same name on the paperwork as the crew on-site. From routine hardscape upkeep to a brand-new driveway, patio, or Barrett & Sons Construction Santa Rosa home, we’re twenty minutes away and we answer the phone with a live person, 24/7.
Call Barrett & Sons Construction Santa Rosa at (866) 864-4083 for a free estimate. Standing offers: $40 Off Any Repair Over $200, Free Second Opinion on Any Written Estimate, No Trip Charge Inside the County, and a permanent 10% Senior & Veteran discount. Ask anyone on your street – or look up the license number yourself.
Written by the team at Barrett & Sons Construction Santa Rosa.