Last updated November 18, 2026








Free written scope consultation - allowances, timeline, and change-order rules on paper before a single trade is scheduled
Bathroom Remodeling Maintenance Schedule: What to Do and When
Grout doesn’t fail at year five because it was installed wrong. It fails because nobody resealed it at month three. That’s the part almost no homeowner gets told. The first season after a remodel is when most preventable problems get their start, and the fixes are small if you catch them early: a bead of caulk here, a re-grout there, a fan that actually moves air. Wait until something goes wrong and you’re looking at a tear-out instead of a touch-up.
This guide lays out a real maintenance schedule for your new bathroom, organized by what to check at 30 days, 90 days, and 365 days, then by season after that. We’ve built and remodeled enough bathrooms around Santa Rosa to know which failures show up early and which ones are quietly building. You’ll get the checklists, the timing, and the difference between a job you can do on a Saturday morning and one that means calling someone.
Quick Answer
Maintain a newly remodeled bathroom on this schedule: 30 days after the job, check caulk lines and test the exhaust fan; 90 days after, reseal grout and stone and inspect every joint; 365 days after, do a full moisture and fixture pass. After the first year, reseal natural stone every 6 to 12 months, porcelain and ceramic roughly every 12 to 24 months, and test the exhaust fan twice a year. Santa Rosa’s dry summers and wet winters make joint movement routine, so caulk checks matter more here than in a stable climate.
Styles & brands we work with
- Kitchen remodeling
- Bathroom remodeling
- Home additions & ADU
- Roofing
- Windows & doors
- Driveway & pavers
- Fence
Table of Contents
- The First 30 Days After Your Remodel
- Day 90: The Break-In Check That Prevents Big Failures
- Day 365: The One-Year Full Inspection
- Resealing Schedule by Material: Stone vs. Porcelain vs. Ceramic
- Exhaust Fan Maintenance in Santa Rosa’s Climate
- Maintenance Caulk vs. Expansion Joint Failure
- The Seasonal Log That Protects Your Warranty
- Common Mistakes to Avoid
The First 30 Days After Your Remodel
The month after the crew leaves is the quietest and the most revealing. New tile and grout are still curing, caulk is still flexing into its final shape, and fixtures are settling. You’re not doing maintenance yet. You’re watching. This is the break-in period, and your only job is to look for early signals and write down what you see.
Here’s the 30-day pass:
- Walk the caulk lines at the tub rim, the shower floor where it meets the wall, and around the vanity backsplash. Run a fingertip along each. A hairline white gap forming at a curve isn’t a disaster yet, but note it. If it’s a clean separation at the shower floor joint, don’t fix it yourself. That’s a movement joint and it should be assessed before you touch it.
- Test the exhaust fan with a single square of toilet paper (full test below). A fan that won’t hold the tissue to the grille is moving far less air than its rating claims.
- Look at the shower floor and the base of the toilet for dark spots, soft grout, or any discoloration. New tile doesn’t grow mold in 30 days if water is draining and drying properly. If it does, something’s holding moisture.
- Check every fixture connection under the vanity and behind the toilet for a single drop of water. A weeping supply line is a five-minute fix now and a floor repair later.
- Run the hot water at all faucets for a minute and cycle the shower valve from cold to hot and back. Note any temperature that fights you.
Write all of it down, even the things you’re not sure about. In our experience, including on jobs we’ve done around Santa Rosa, a homeowner who noticed a soft grout line at day 20 and called us then saved themselves a re-grout at year two. If you hired Barrett & Sons, day 30 is also the right time to call if anything on the punch list didn’t land. That’s what the 90-Day Done Right Promise is for: if it’s not done right, one call brings Tom back.
Day 90: The Break-In Check That Prevents Big Failures
Day 90 is the most important date on this whole schedule, and it’s the one almost nobody keeps. By now the grout has fully cured, the caulk has made its first seasonal flex, and any small weakness has had time to show itself. This is where resealing begins and where you separate a $40 afternoon from a $4,000 repair.
The 90-day sequence:
- Reseal grout in the shower and on the floor if the tile is natural stone, and check every grout line for cracking, crumbling, or darkening. Dark grout that wasn’t dark at install means moisture is getting in from behind.
- Re-inspect all caulk joints against what you noted at day 30. A joint that opened further between 30 and 90 days is telling you the two surfaces are moving independently. That’s normal in a new build. It’s the depth of the gap that decides whether you re-caulk or call.
- Test the fan again and compare it to day 30. If airflow has dropped in 60 days, something’s obstructing it or the duct run wasn’t sealed properly at install.
- Check the shower pan and the tile transition to the floor for any hollow sound when you tap. A hollow tile near the drain is worth a conversation.
- Look at the trim and baseboard for swelling or lifting. In an older home, plumbing wall movement shows up at the baseboard first.
Santa Rosa sits in a climate that oscillates hard between a dry, hot summer and a wet winter. That swing pushes on tile, grout, and caulk joints in a way that a stable coastal climate doesn’t. A 90-day reseal on natural stone isn’t obsessive here. It’s the practical answer to a real local condition. Skip it and you’re resealing a stained, water-soaked stone at year three instead.
Day 365: The One-Year Full Inspection
The first anniversary of your remodel is the point where “new” is over and the bathroom becomes a room you maintain. This is also where your documentation starts earning its keep. If a warranty issue ever comes up, a written log of what you checked and when is your evidence.
Run this full pass once a year:
- Moisture sweep: feel the grout and caulk at every wet location. Press a dry paper towel against the shower floor tile for 30 seconds and check the corners. Dampness that doesn’t dry in a day is a drainage or ventilation signal.
- Fan performance: re-test the tissue pull. Listen for a rattle or a slow spin that wasn’t there a year ago.
- Fixture seals: check the toilet base, the shower valve escutcheon, and the vanity faucet bases for staining or softness.
- Drain speed: time how long the shower and sink drains take to clear. Both slowing at once usually means a shared vent or trap issue, not a clog.
- Exhaust vent exterior: check the outside flapper and screen at the roof or wall cap. A stuck flapper blocks exhaust and pushes moist air back into the bathroom. Bird nests and wasp nests find these caps in Santa Rosa’s open-eave construction more often than people expect.
- Reseal threshold: check the last reseal date on your log and schedule the next one based on the materials in the room.
If you’ve added on since your remodel, or the bathroom shares a wall with a new addition, use the same inspection rhythm on the shared wall. Movement from a new structure settles into the old plumbing wall for a couple of years. We handle those transitions on our Home Additions & ADU in Santa Rosa jobs and always flag the shared bath wall to the homeowner for exactly this reason.
Resealing Schedule by Material: Stone vs. Porcelain vs. Ceramic
Competitors lump every tile into one reseal recommendation. That’s wrong, and the schedules are not close. Reseal too often and you’re wasting weekends. Reseal too rarely and you’re buying a re-grout. The material in your tile and grout decides the interval.
- Natural stone (marble, travertine, slate): most installer-sealed stone needs a refresh in 6 to 12 months for a shower floor and 12 to 18 months for a wall. Water soaks into stone; it doesn’t sit on top. If a water droplet no longer beads on the surface, it’s due.
- Porcelain tile: the tile itself barely needs sealer, but the grout does. Plan on 12 to 24 months for grout reseal in a shower, 24 to 36 months for floor tile outside the shower. Porcelain is dense and forgiving.
- Ceramic tile: similar to porcelain for the tile face, but ceramic grout joints in a wet zone tend to go first. Treat shower grout on a 12-month cycle and check every 6 months.
- Epoxy grout: epoxy is the outlier. It doesn’t need routine resealing, but it does need inspection. A crack in epoxy grout is a structural signal, not a maintenance one.
For the record, premium brands last the same whether or not they’re sealed correctly, and the seal is what carries the room. On our bathroom jobs we use written allowances for every material so you know exactly what’s going in and what its maintenance interval will be. That’s the principle behind all our work: an allowance that isn’t on paper is a surprise waiting for a date.
Exhaust Fan Maintenance in Santa Rosa’s Climate
Your exhaust fan does more to protect the bathroom than any sealer you’ll ever buy. It’s also the most neglected piece of equipment in the room. In Santa Rosa’s dry summers, homeowners don’t think to check it, and in our wet winters the fan is the only thing standing between the shower moisture and the framing. A fan rated at 110 CFM can be moving 40 CFM by year three and you’d never know by ear.
Here’s the home test for output, called the tissue test:
- Turn the fan on and let it run for two minutes.
- Hold a single square of toilet paper up to the grille, flat against it.
- Let go.
If the fan holds the tissue flat, you’re in the working range. If the tissue falls, or only sticks at the center, the fan is moving far less air than it should. That means one of four things: a dirty grille, a clogged blower wheel, a blocked duct, or a flapper that isn’t opening. For a bathroom in the 50 to 100 square foot range, you want a fan that clears the mirror and pulls the tissue without a fight.
What to do: clean the grille with a vacuum brush every 3 to 6 months, and wipe the blower wheel once a year. If the fan still won’t hold tissue after cleaning, it needs inspection. It may be the duct run, it may be the fan, and it’s not something to guess at. Keep the fan running for 20 minutes after a shower, not 2. That 20-minute rule does more for your grout than any sealer on the market. If your fan is failing and you’re at the end of its life, it can be replaced on its own, or as part of a broader refresh. The same crew that runs our Driveway & Pavers in Santa Rosa projects often finds bath vent issues during exterior work, so we keep an eye out for it.
Maintenance Caulk vs. Expansion Joint Failure
This is where most homeowners either do too little or do the wrong thing. There are two kinds of joints in a bathroom, and they need two completely different responses. Confuse them and you’ll seal up a moving joint, watch it crack again in 6 weeks, and give up.
Maintenance caulk is the bead at the tub rim, the vanity backsplash, and the wall-to-tub seam. This caulk meets the edge of a fixture and it’s meant to be flexible. If it cracks or pulls away, you can replace it yourself. Remove the old bead with a plastic scraper, clean the seam with denatured alcohol, let it dry completely, and lay a fresh bead of 100% silicone or a siliconized acrylic in matching color. Tool the bead with a wet fingertip. Done.
Expansion joint failure looks similar but it isn’t. It shows up at the shower floor where tile meets tile, at the interior corners of a tiled shower, and at any place where two tiled surfaces change plane. These joints are supposed to move. When they open at the floor-to-wall transition and the gap gets deep, when you can see the backer or a crack forms along the tile edge, the problem is underneath, not at the surface. Sealing that joint with caulk only hides it, and the moisture keeps working its way into the wall. Call a professional for this one. That’s not a job for a tube of silicone, and it’s the single call that keeps a shower from becoming a tear-out.
Rule of thumb: if the joint is at the edge of a fixture, it’s maintenance. If the joint sits between two tiled surfaces or at a plane change, it’s a movement joint. Watch it. Don’t seal it yourself.
The Seasonal Log That Protects Your Warranty
You don’t need software for this. A spiral notebook in the vanity drawer works. What matters is that you write it down as you check, with dates, and that you know where the notebook is three years from now. If you ever have a warranty conversation, that log is proof of upkeep and it changes the conversation entirely.
Log these fields each pass:
- Date of each inspection.
- Item checked (caulk at tub rim, fan tissue test, stone reseal, drain speed).
- What you found in plain terms.
- Action taken (resealed, re-caulked, called, watched).
- Who did it (DIY or the crew).
- Photos if something looks off, one or two phone shots taken at the same angle each time.
Then commit to a simple seasonal rhythm:
- Spring: check exterior vent, test fan, inspect caulk after a wet winter.
- Summer: reseal stone if due, clean fan blower, check grout in the shower.
- Fall: caulk inspection ahead of the wet season, drain speed check.
- Winter: moisture sweep, look for condensation on the mirror taking longer to clear than last year.
Three years of entries in a notebook is worth more than any verbal “I checked it.” If you’ve got a full home worth of upkeep, the log can travel right alongside your exterior maintenance, from the bath vent to the Fence Installation in Santa Rosa and everything in between. Barrett & Sons backs every eligible job with the 90-Day Done Right Promise, in writing on the contract, and the log is the companion to that promise.
Common Mistakes to Avoid
- Sealing grout while it’s still damp. Sealant traps moisture into the grout instead of keeping it out, and mold sets in within months. Wait until the grout reads dry to the touch for 24 hours, not just until it looks dry.
- Using the fan for 2 minutes after a shower. Twenty minutes is the working number. The mirror clears in 2 minutes, but the walls and grout are still holding water, and that’s what the fan is for.
- Suction-cupping a new shower wall. A suction handle on freshly installed tile in the first 30 days puts load on grout that hasn’t fully cured. In Santa Rosa homes with older framing behind the new wall, that stress finds the weakest joint. Wait until the 30-day mark.
- Caulking a movement joint. See the expansion joint section. The caulk cracks again in weeks and the moisture keeps moving behind the tile.
- Ignoring a hollow tile near the drain. A hollow sound on tap means the tile has lost bond to the thinset. Small today, a loose tile and a water path tomorrow.
- Forgetting the exterior vent cap. A stuck flapper or a nest in the cap forces moist air back inside. Check the cap at each seasonal pass, not once a decade.
- No written log. If you can’t prove when you resealed and who did it, a warranty discussion gets harder than it needs to be. Write it down the same day.
See the difference
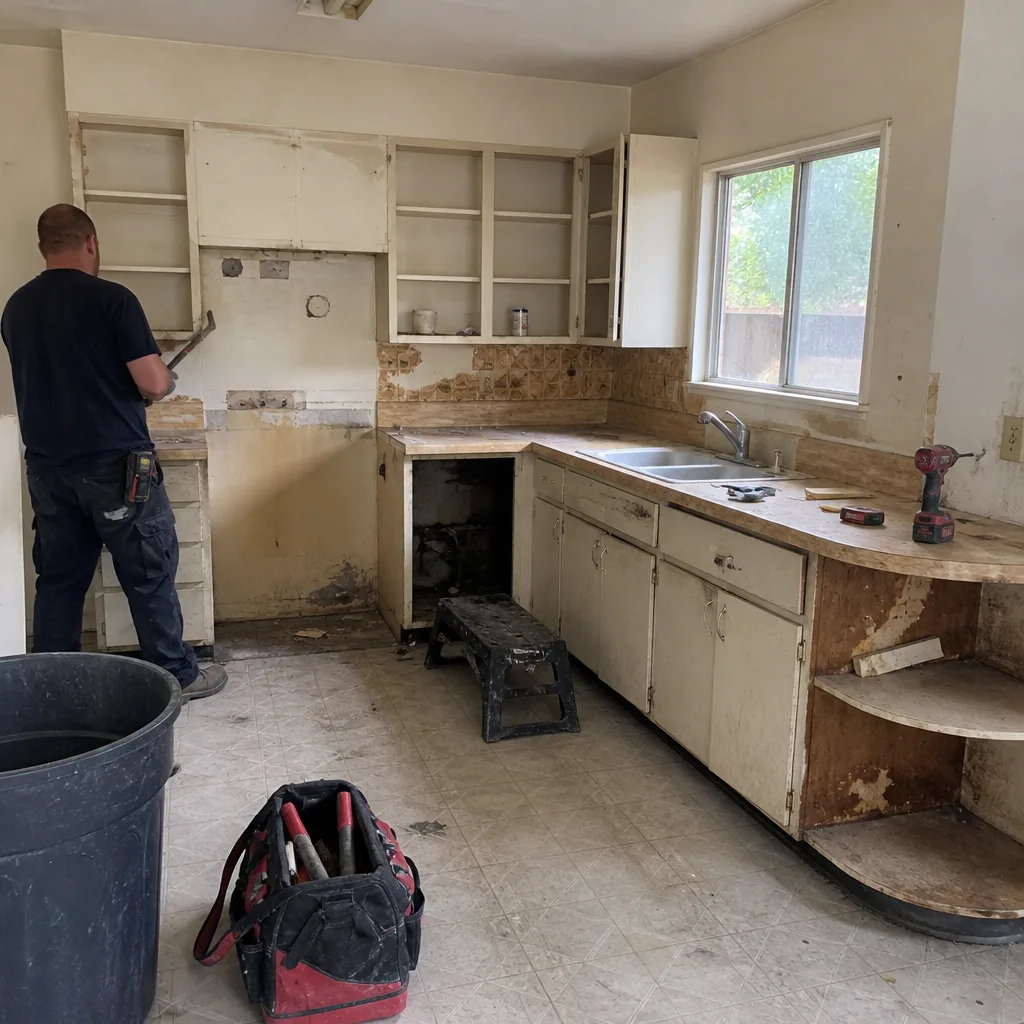 Before
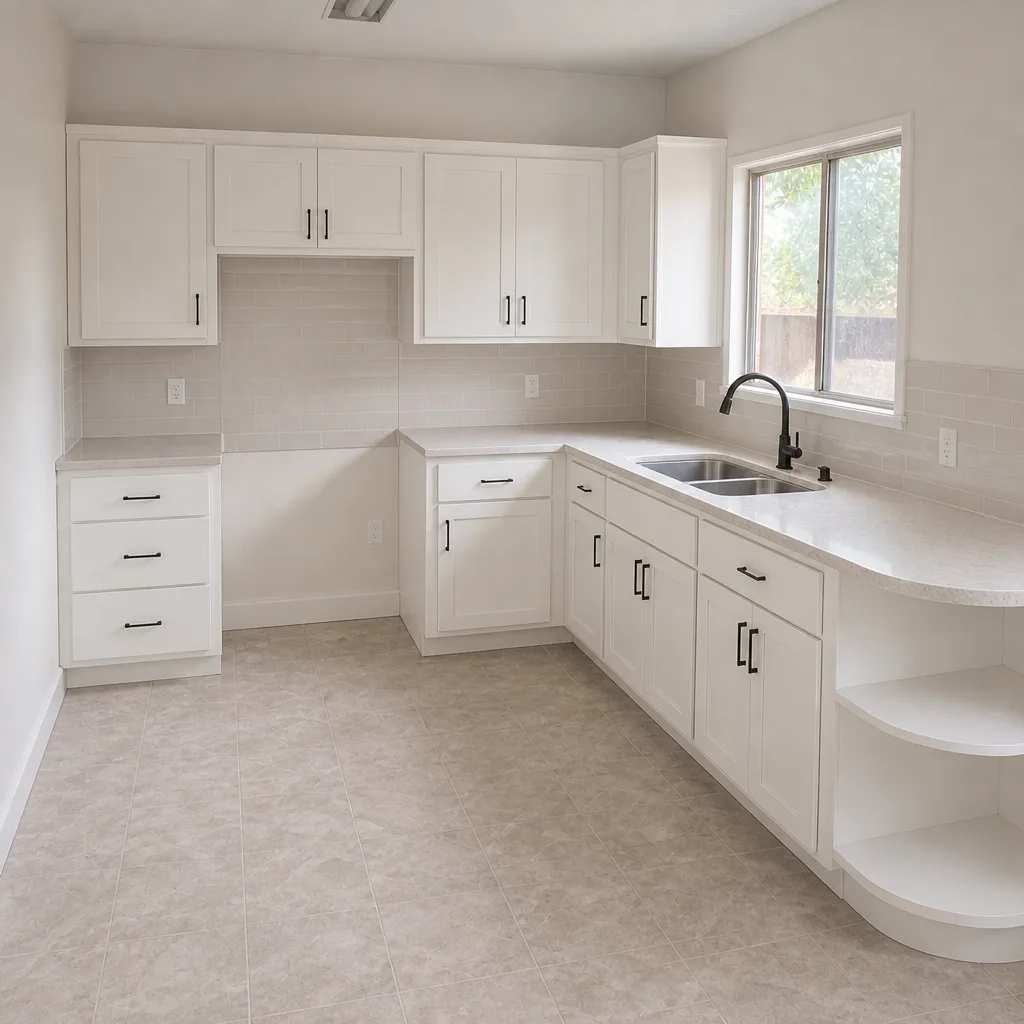 After
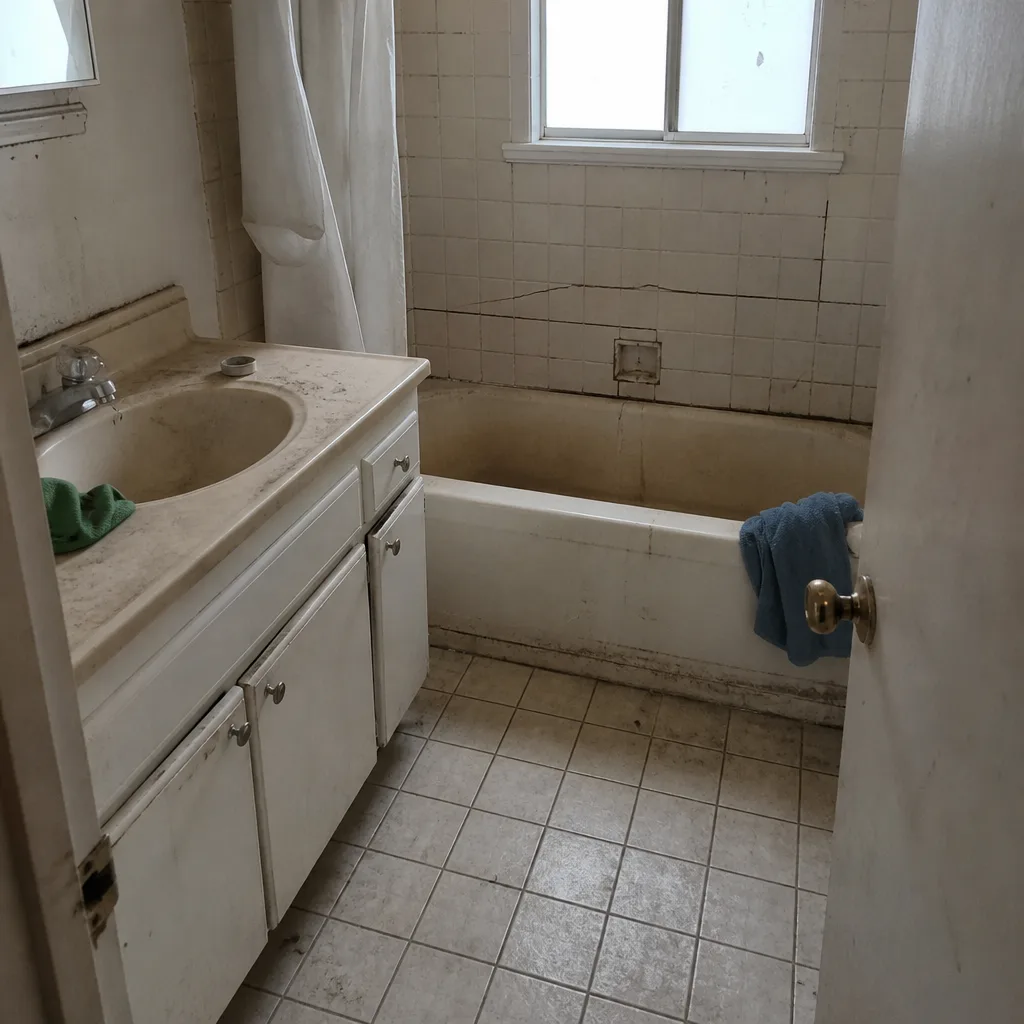 Before
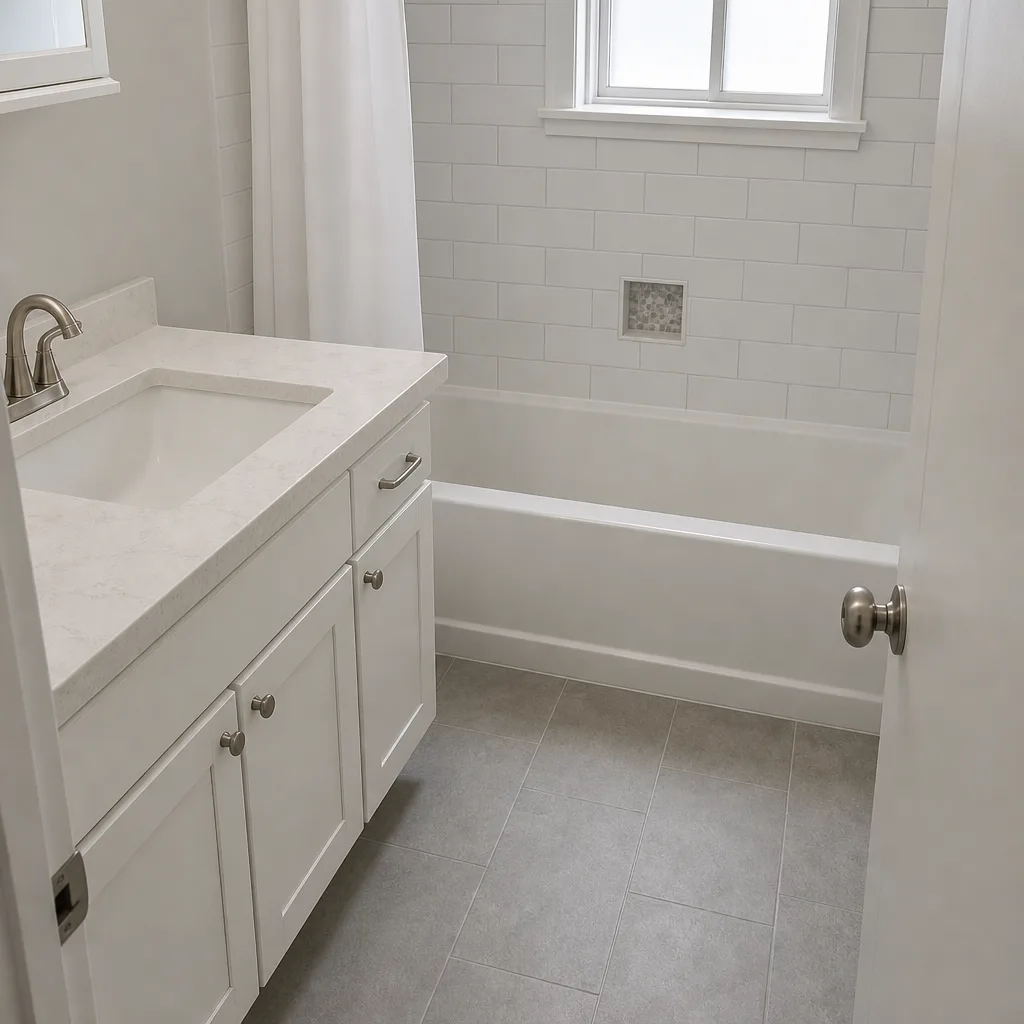 After
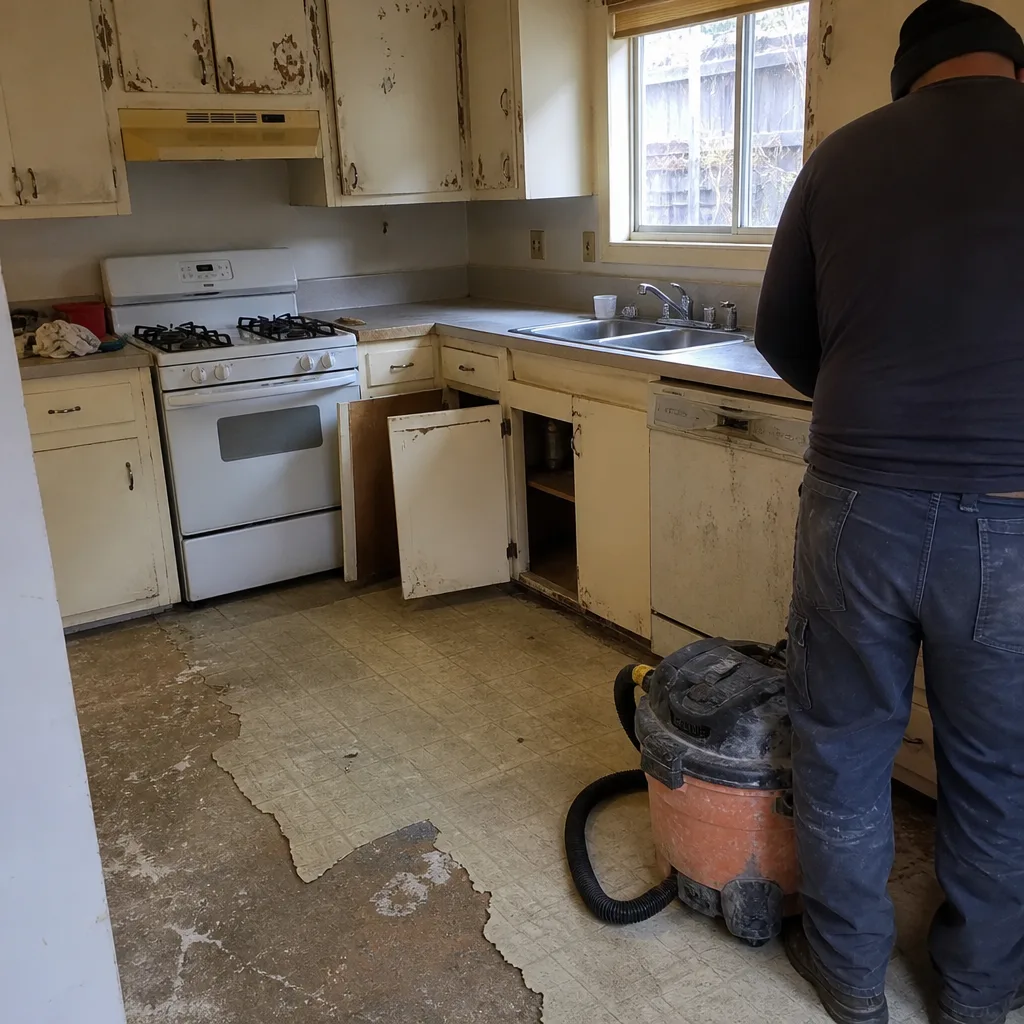 Before
 After
When to Call a Professional
Call a professional when the problem is underneath the surface rather than at it. Specific signals: a caulk joint that opens more than an eighth of an inch between the 30-day and 90-day checks, a hollow tile near a drain, any soft or dark grout that doesn’t clear up after a reseal, a fan that won’t hold a tissue after cleaning, water staining at the toilet base or behind the vanity, and any gap at a shower floor where you can see the backer or the edge of the tile. Those aren’t maintenance. They’re structural, and the sooner someone looks, the smaller the fix. For eligible jobs we pull permits and get inspections signed, and the inspector’s eye on a repair is worth more than anyone’s reassurance. Barrett & Sons Construction Santa Rosa offers free estimates in Santa Rosa. Call (866) 864-4083 and a live person picks up, any hour.
Frequently Asked Questions
Reseal shower grout on natural stone every 6 to 12 months, and porcelain or ceramic grout every 12 to 24 months. The 90-day mark after a remodel is the first reseal, because that’s when the grout has fully cured and the first seasonal flex is done. Check the bead test: if a water droplet stops beading on the surface, it’s due. Call (866) 864-4083 for an exact quote if you’d rather have it done correctly than guess.
Santa Rosa’s dry summers don’t hurt the fan, but they hide its failure. Dust and lint pack the blower wheel and grille all year, and the dry months are when nobody notices a slow decline in airflow. By the first wet storm, the fan can’t clear the moisture and you see it on the mirror. Clean the grille every 3 to 6 months and run the tissue test twice a year.
If the crack is at the tub rim, the vanity backsplash, or the wall-to-tub seam, you can replace it yourself with 100% silicone. If the crack is at a shower floor-to-wall transition, an inside corner of tile, or any place where two tiled surfaces meet, that’s an expansion joint and it needs a professional look. Sealing it yourself hides the problem and lets the moisture keep working.
A decent fan runs 10 to 15 years, but its airflow drops well before it dies. The symptom to watch is a fan that still spins but no longer holds a tissue flat against the grille. That’s a blower or duct issue, and it should be looked at before it fails outright. If it’s due for replacement, a new fan is a small job and a big improvement to the room.
Before a Santa Rosa winter, run three checks: inspect and refresh every caulk joint in the shower and around the tub, test the exhaust fan with a tissue, and make sure the exterior vent cap flapper swings freely. Wet winters test the joints, and the dry-to-wet swing opens them further. Catching it in the fall means it’s a weekend job instead of a spring repair.
The promise covers workmanship on the job itself, which is why the 30-day and 90-day checks matter so much. If something we installed isn’t right, one call brings Tom back to make it right. Maintenance like resealing and re-caulking is the homeowner’s side of the schedule, and the log is how you prove it was done. Call (866) 864-4083 with any question about what’s covered and what isn’t.
The Bottom Line
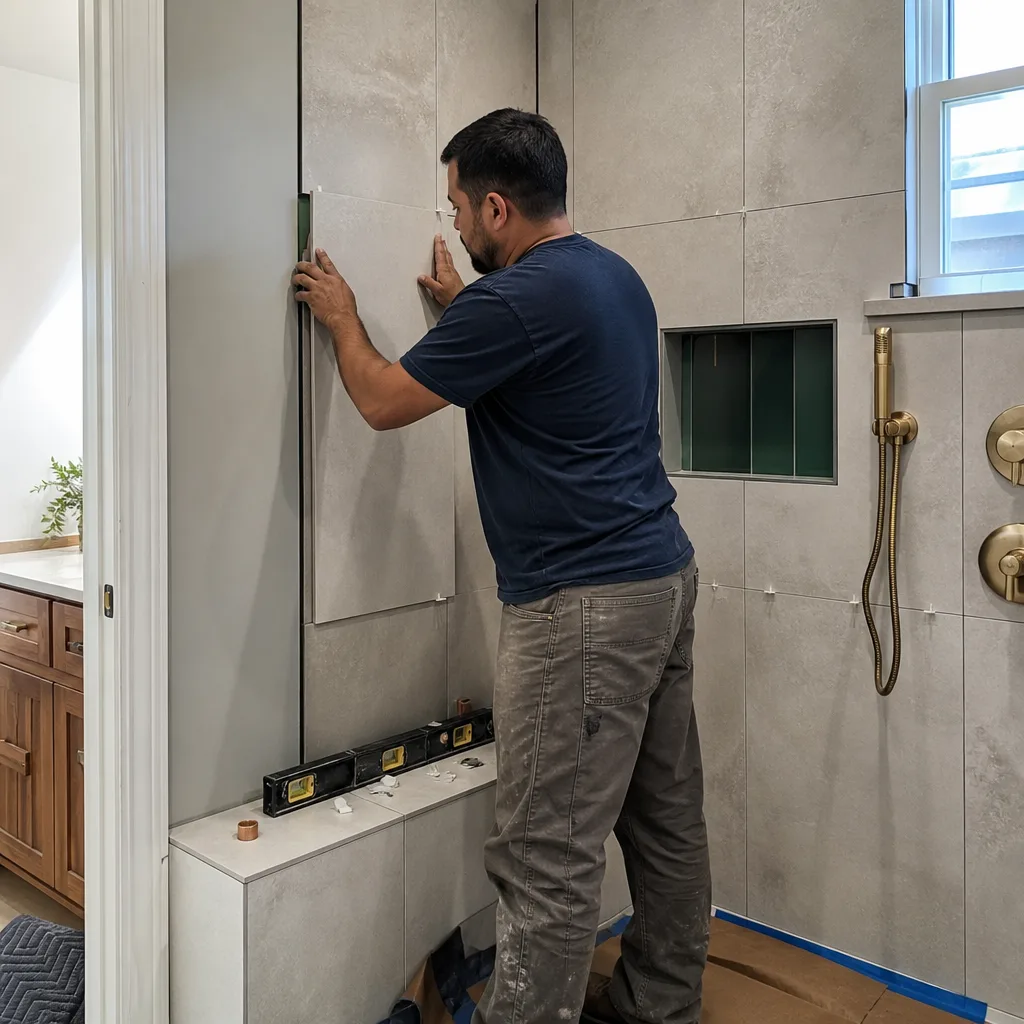
A bathroom remodel is equipment as much as it is a room, and it needs a break-in period. The 30-day check is watching, the 90-day reseal is the one most people skip, and the day-365 full inspection is where the room becomes yours to maintain. Keep the fan clean, match your reseal schedule to the material, tell maintenance caulk from expansion joint failure, and write it all down. Do that and the room holds up for years. Skip it and the failures start quietly in the first season. On our Barrett & Sons Construction Santa Rosa home page you can see the wider scope of what we build, and this is the maintenance that keeps any of it standing.
If anything on your list reads as more than maintenance, or you’re planning the remodel and want to start from a written scope with written allowances, call Barrett & Sons Construction Santa Rosa at (866) 864-4083 for a free estimate. A live person answers, every hour of every day.
Written by the team at Barrett & Sons Construction Santa Rosa.