Last updated November 18, 2026


Free written scope consultation - allowances, timeline, and change-order rules on paper before a single trade is scheduled
Home Additions & ADU Troubleshooting: Common Problems and How to Fix Them
A hairline crack above a new addition doorway is usually nothing. The same crack running diagonally from a corner at 45 degrees is a foundation conversation you need to have today. Most addition and ADU problems don’t get caught at inspection. They surface six to eighteen months after move-in, long after the contractor who cut the corner has stopped answering. This guide helps you read what you’re actually seeing in a Santa Rosa addition, separate cosmetic settling from structural warning signs, and know when to act fast and when to just watch and take notes.
Quick Answer
Most home addition problems fall into three buckets: normal settling (cosmetic, watch it), contractor errors (fixable, document it), and structural or moisture failures (stop and call a professional now). The trick is knowing which bucket you’re in. Diagonal cracks, sticking doors, musty smells in one room, and cold additions are the four signs worth investigating early, because they rarely fix themselves and they get more expensive every month you wait.
Styles & brands we work with
- Kitchen remodeling
- Bathroom remodeling
- Home additions & ADU
- Roofing
- Windows & doors
- Driveway & pavers
- Fence
Table of Contents
- Visual Triage: Reading Cracks, Gaps, and Moisture Signs
- Why Your New Addition Is Always Cold (And It’s Not the Equipment)
- ADU Final Inspection Failures in Sonoma County
- Moisture at the Seam: Old Structure Meets New Addition
- How to Document Problems and Talk to a Contractor in Writing
- What’s Normal at Year One vs. Year Three
- When a Small Problem Is Actually a Big Problem
- Preventing the Next Round of Problems
Visual Triage: Reading Cracks, Gaps, and Moisture Signs
Here’s the thing nobody tells homeowners: every addition moves. Wood expands and contracts, foundations settle a little, and Santa Rosa’s clay-heavy soils shift with our wet winters and bone-dry summers. The question is whether the movement is normal or whether something is failing. A few rules we’ve learned from walking into hundreds of finished additions will save you a panic call to a structural engineer.
Hairline cracks (under 1/16 inch) at drywall seams: normal settling. Watch them. Photograph them monthly with a tape measure in the frame. If they don’t grow, caulk and repaint and move on.
Diagonal cracks at a 45-degree angle from a corner of a doorway or window: this is the one to take seriously. Diagonal cracks usually point to foundation movement or a header that’s undersized for the span. In Santa Rosa, older homes in neighborhoods like Junior College and the West End sit near mature trees whose roots have been quietly moving soil for decades. A new addition tied into that house can develop diagonal cracks within a year if the footing wasn’t designed for the soil underneath.
Vertical cracks in a masonry or stucco wall: often thermal, sometimes shrinkage. If the crack runs floor to ceiling and is wider at the top than the bottom, get an engineer.
Gaps where the new addition meets the original house: if you can slip a dime in the gap by month six, you have a connection problem, not a paint problem.
Moisture signs: look for efflorescence (white chalky powder) on the concrete stem wall, dark stains on drywall near baseboards, and a musty smell that lives in one room. Any of those three in year one is worth a call.
Why Your New Addition Is Always Cold (And It’s Not the Equipment)
Nine times out of ten, a cold addition has a perfectly good furnace. The problem is duct design. A new room added onto the back of a house gets ducted off the existing system, and the contractor who sized that system originally sized it for the original square footage. Add 300 square feet and the trunk line that used to feed four rooms now feeds five, and the room furthest from the air handler gets the leftovers.
Here’s how to verify it yourself before you call anyone:
- Run the system for an hour. Put a thermometer in the addition and one in the main room closest to the thermostat. A difference of more than 5 degrees means the room isn’t getting enough conditioned air.
- Feel the supply register. If the airflow in the addition is noticeably weaker than the airflow in the original rooms, you have a duct sizing problem, not an equipment problem.
- Check the return path. A bedroom with a supply but no return will pressurize and fight the airflow. That’s common in additions added on a budget.
- Look for flex duct squeezed into a tight chase. Flex duct pinched under 4 inches of clearance loses more than half its capacity. It’s a common shortcut in tight crawlspaces.
- Check the door undercut. If the addition door is sealed tight with no gap at the bottom and no return in the room, the room can’t breathe. A 3/4-inch undercut or a jump duct fixes a lot of comfort complaints cheaply.
In Santa Rosa, our mild climate fools people into thinking heat isn’t a big deal. But a north-facing addition in Bennett Valley can sit 8 to 10 degrees colder than the main house in January, and that temperature gap is a duct problem every time. The fix is a manual J load calculation, correct duct sizing, and sometimes a dedicated mini-split for the addition, not a bigger furnace.
ADU Final Inspection Failures in Sonoma County
An ADU that fails final inspection almost never fails on the structure. The build passed framing and it passed rough mechanical. What fails final is a collection of small, correctable items that got skipped because the contractor assumed someone else would handle them. Here are the most common final-inspection failures we see on Santa Rosa ADUs, and how each gets resolved without pulling a new permit:
- Missing smoke and CO alarms in the right rooms. Modern code wants interconnected alarms in the bedroom, outside the bedroom, and on each level. If the ADU has its own electrical panel, they need to be interconnected within the unit.
- Water heater strap or seismic bracing missing. California wants the tank strapped to the wall. It’s a fifteen-minute fix and a very common citation.
- Address numbers not visible from the street. Sounds trivial. It gets caught at final.
- Handrail heights or stair risers off by a fraction. Measure every riser. They have to be within 3/8 inch of each other across the run.
- Egress window sized wrong. A new ADU bedroom needs a window with a clear opening of at least 5.7 square feet and a sill no higher than 44 inches. If the window was sized by the framer instead of the plan reviewer, it’s a real problem to fix and worth catching before the drywall goes up.
- Fire separation not documented. If the ADU shares a wall with the main house, the inspector wants to see the fire-rated assembly on the plans and on the wall. If the contractor used the wrong drywall thickness, that’s a real fix, not a paper fix.
Here’s the point most homeowners miss: a failed final inspection is not a re-permit. It’s a correction notice. The inspector includes a written list, the contractor fixes the items, and the inspector returns. If your contractor has gone quiet, a licensed contractor can usually take over the correction work without cutting the original permits, and we’ve done that for a number of Santa Rosa homeowners after the original crew walked.
Moisture at the Seam: Old Structure Meets New Addition
The most expensive problem in any addition lives at the seam where the new roof, wall, and floor tie into the original house. It’s also the hardest place to inspect, which is why so many contractors take shortcuts there. Here’s how to read what you’re seeing at year one versus year three, and what the repair sequence looks like.
Year one: a faint water stain on the ceiling of the addition near the tie-in, especially after the first heavy rain. A small dark line on the interior drywall at the roofline. These are early flashing failures. Get them now. A flashing repair in year one runs in the low hundreds and takes an hour. A rotted roof deck in year three runs into the thousands.
Year two: bubbling paint or soft drywall near the seam. Musty smell in the room after rain. Those are signs the water is inside the wall cavity, not just at the surface.
Year three and beyond: visible sag near the tie-in, mold on the back of drywall, or a water stain that comes back after every storm even though someone “fixed it.” At this point you’re looking at opening the wall, replacing sheathing, and redoing the flashing correctly.
Where it hides in Santa Rosa: the valley where the new roof meets the original roof (most common), the wall-to-wall vertical seam (second most common), and the transition between a new slab-on-grade addition and the original house’s raised foundation. That last one is a Santa Rosa specialty because so many of our older homes sit on raised foundations with crawl spaces. If the new addition sits on a slab and the old house is on a crawl, the wall base transitions from a wet zone to a dry zone, and if the drainage wasn’t designed correctly, water wicks up into the addition’s framing. Look for a dark band at the base of the wall inside the addition after a rainy week. That’s moisture coming up, not down.
Repair sequencing matters. Never let anyone patch the interior drywall before the exterior flashing is corrected. The order is: fix the flashing, verify with a hose test, then rebuild the drywall. We’ve seen a bad contractor do it backward and the homeowner ended up paying twice.
How to Document Problems and Talk to a Contractor in Writing
If something is wrong with your addition, the way you communicate in writing determines whether you have a fixable situation or a legal headache. Here’s the practical approach we recommend, and it applies whether your contractor is us or someone else.
- Photograph everything with a reference object. A tape measure or a dime placed next to the crack. Daily or weekly, same lighting. A dated photo trail is worth more than three angry phone calls.
- Send one email with all of it. Not a phone call, not a text. One email to the contractor’s business address with a short subject line (“Concern re: water intrusion at addition ceiling – [address]”), the photos attached, and a plain description of what you saw and when.
- Use language that states facts, not opinions. “Water staining appeared on the ceiling of the addition on [date] after the storm. Photos from [date] show the stain is 6 inches in diameter.” That gets a response. “You did this wrong” gets a lawyer.
- Ask for a written response within a specific window. “Please confirm by [date] how you’d like to proceed.” Seven calendar days is reasonable.
- Keep everything. The original contract, all change orders, all inspection records, all emails. If you have to file a complaint with the CSLB (California Contractors State License Board), your file is your case.
- If the contractor goes silent after two written requests, that’s your cue. Call CSLB at their complaint line and open a case. It moves slowly, but it’s the right next step, and every licensed contractor knows it.
The reason this matters in Santa Rosa: most contractors here are honest, but the ones who aren’t rely on the fact that homeowners wait fourteen months and then call angry. A paper trail from week two gives you leverage from week two.
What’s Normal at Year One vs. Year Three
Homeowners often ask us what a normal addition looks like at each milestone. Here’s the honest timeline.
- Month one to three: nail pops in drywall. Normal. Small cracks at drywall corners. Normal. A door that sticks a little in the first wet month and free with dry weather. Normal.
- Month three to twelve: first full wet season in Santa Rosa. Watch for water stains at the seam, but a couple of small nail pops are still fine. Settling cracks that are stable are fine.
- Year one to year two: a house that stops moving is a healthy house. If new cracks are still appearing at fifteen months and they’re diagonal, that’s a real question.
- Year three: any ongoing moisture issue that wasn’t addressed in year one is now a structural issue in the wall cavity. Any door or window that has been out of square since month six is now out of square for good unless it’s adjusted.
The pattern: additions declare themselves by month fifteen. The good ones are quiet. The bad ones keep making noise.
When a Small Problem Is Actually a Big Problem
A few things that look small are actually emergencies. Call today, don’t wait for a nice weekend to think about it.
- Any water intrusion at the seam that’s been active for more than a week. Mold can colonize drywall in 48 to 72 hours. Every day matters.
- A diagonal crack that’s grown in the last thirty days. Even if it’s 1/16 inch wide, growth is the signal. Foundation movement is happening right now.
- A door that won’t latch or a window that won’t close that was working three months ago. The framing is moving. Something is undersized or something is settling.
- Any gas smell near an addition with a new line. Turn it off at the meter, leave the house, call the gas company.
- A ceiling sag near the seam greater than 1/4 inch. That’s a framing failure. Do not walk on the roof above it or put anything else in the room until it’s looked at.
If any of those describes what you’re seeing, the phone call is free. The repair might not be.
Preventing the Next Round of Problems
If you’re about to build an addition or an ADU in Santa Rosa, or if you’re planning on being a contractor’s customer for the second time after a bad first experience, here are the steps that prevent most of the problems in this guide.
- Get the scope and every allowance in writing before work starts. An allowance that isn’t on paper is a surprise waiting for a date. This is the single biggest source of dispute after an addition is finished.
- Confirm the permits are pulled in the contractor’s name before the first truck arrives. Ask to see the permit number. Then look it up on the city’s permit portal. A contractor who says permits are optional is not a contractor you want near your foundation.
- Ask how the duct sizing was calculated for the addition. A real answer mentions a manual J load calculation. A bad answer is “we’ll match what’s there.”
- Require a written flashing detail at the roof-to-wall and roof-to-roof transitions. It’s not a nice-to-have. It’s the difference between a wet wall in year two and a dry one for forty years.
- Get the change order policy in writing. Every scope change, every price change, and every allowance adjustment should arrive as a signed change order before work proceeds. “We’ll true it up at the end” is how surprise invoices happen.
- Make sure the warranty is written, specific, and about the work, not the weather. A one-line “90-day warranty” on the invoice isn’t the same as a written promise that the contractor comes back and makes it right.
We’ve walked into a lot of half-finished stories in Santa Rosa. The ones that end well almost always start with a homeowner who asked for scope and allowances in writing, saw the permit number, and had the contractor’s name and address verified before signing anything. If you’re planning a home addition or ADU in Santa Rosa, those steps are the ones that keep you out of this guide.
Common Mistakes to Avoid
- Ignoring a diagonal crack because it doesn’t look bad yet. Diagonal cracks are the one shape worth calling about, even small ones. Waiting three months costs a foundation engineer visit plus a repair instead of a repair.
- Hiring the addition contractor and the ADU contractor separately without a plan to tie them in. Santa Rosa homeowners who build the ADU as a completely standalone project often end up with utility conflicts (water, gas, sewer) that cost thousands to resolve later. One set of drawings, one delivery plan.
- Assuming the inspector catches everything. Inspectors are looking at code compliance, not the quality of the flashing detail. The seam is where they most often don’t look and where the contractor most often shortcuts.
- Waiting for the contractor to “get back to you” instead of putting it in writing. The phone call is worthless a month later. The email is the only record. Send it today.
- Believing a warm room is a furnace problem. In our experience, the addition that never gets warm has a duct problem. A bigger furnace just makes the original rooms hotter.
- Letting interior drywall go back up before the exterior leak is fixed. Sequence matters. If the repair is backward, the mold comes back inside the same wall within a year.
- Not reading the change order thoroughly during construction. Santa Rosa’s permit windows on additions and ADUs are long enough that scope changes are common. Read each one as it comes, don’t save them for the end.
See the difference
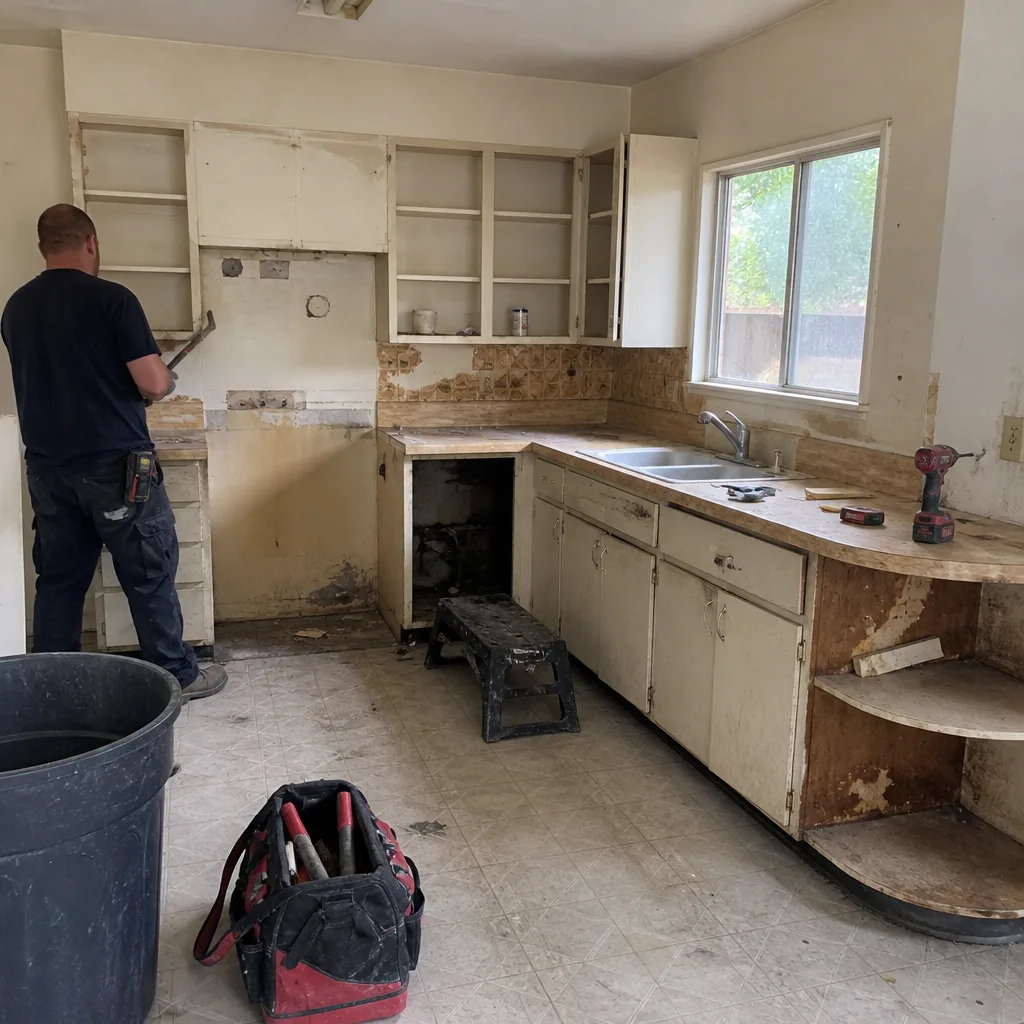 Before
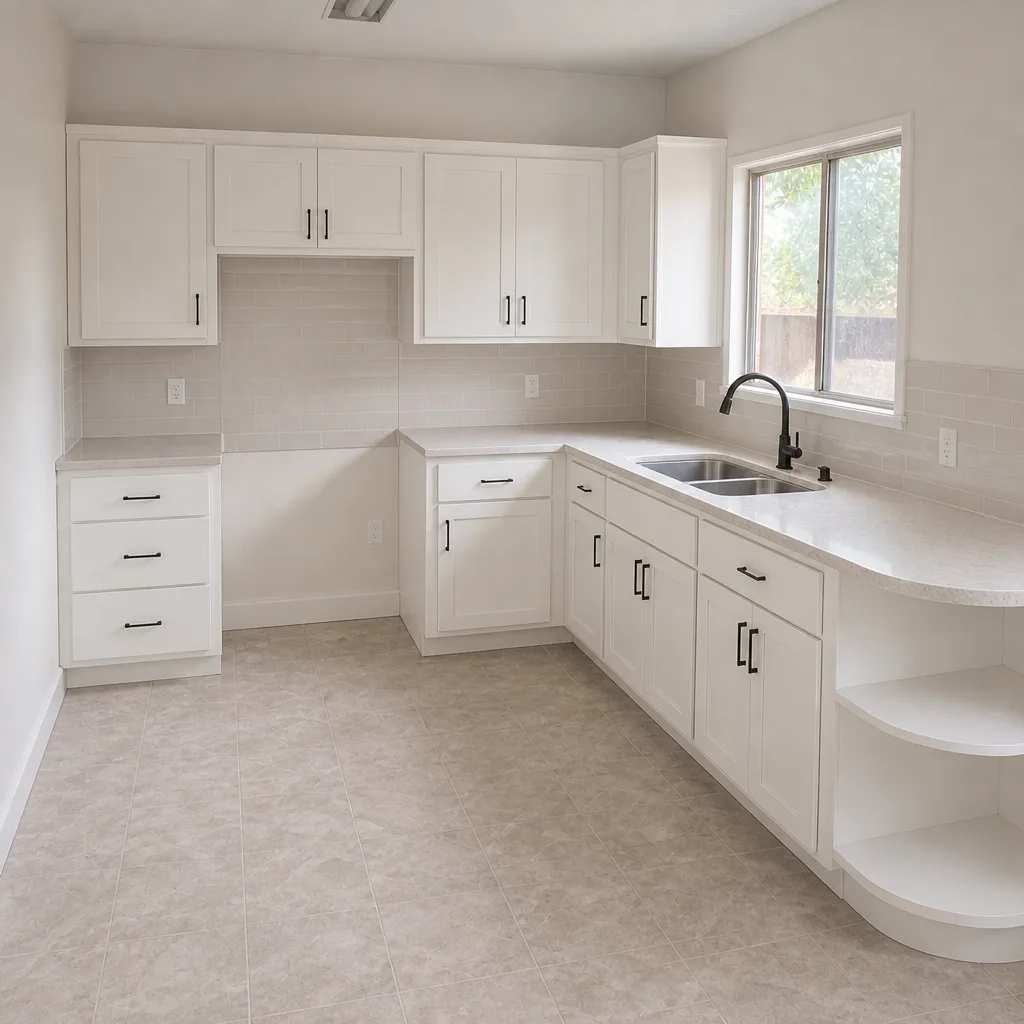 After
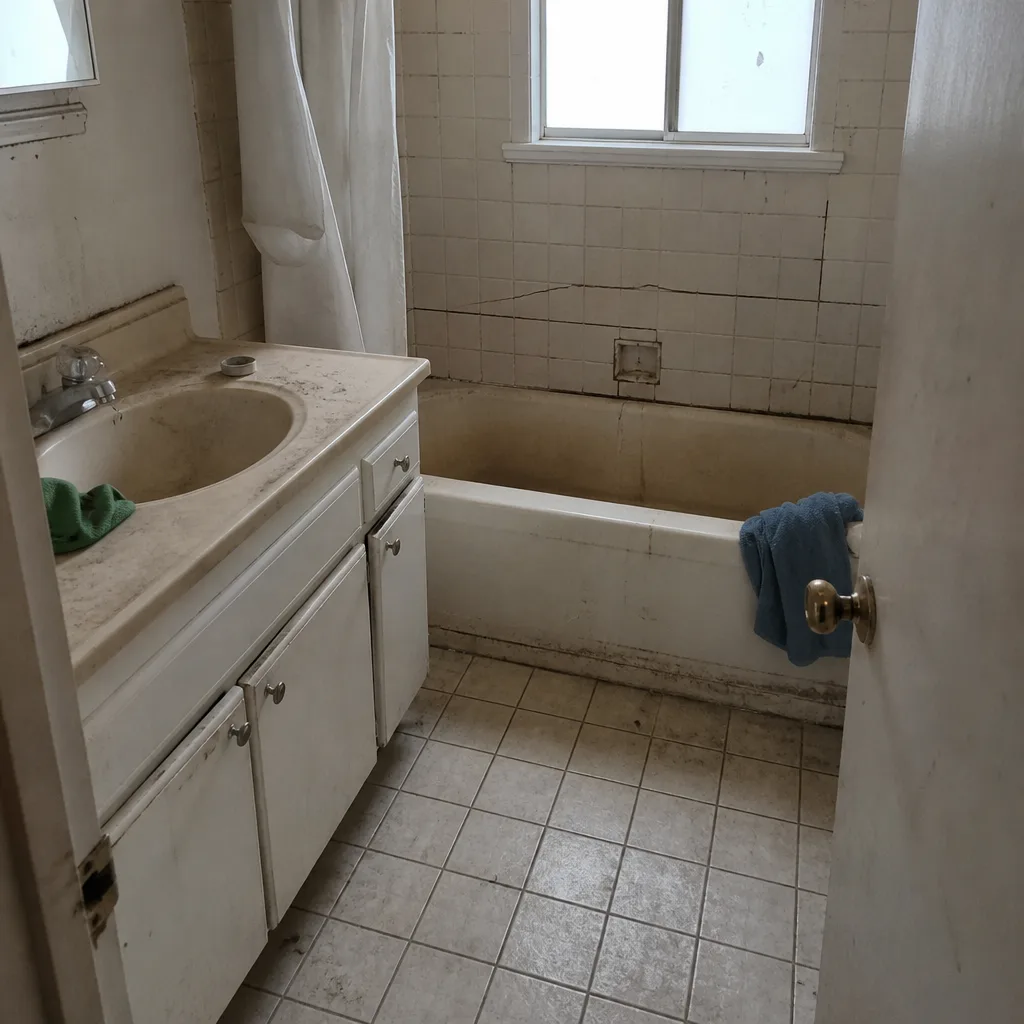 Before
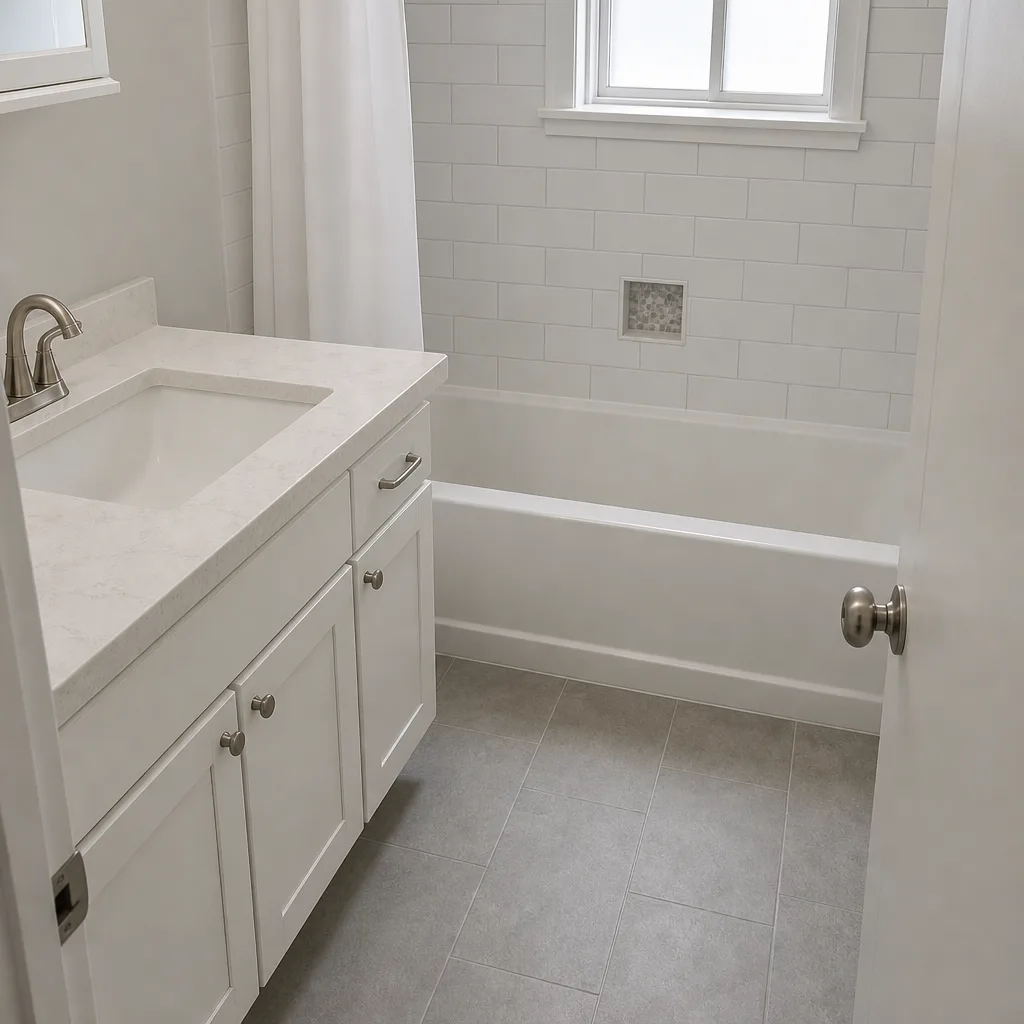 After
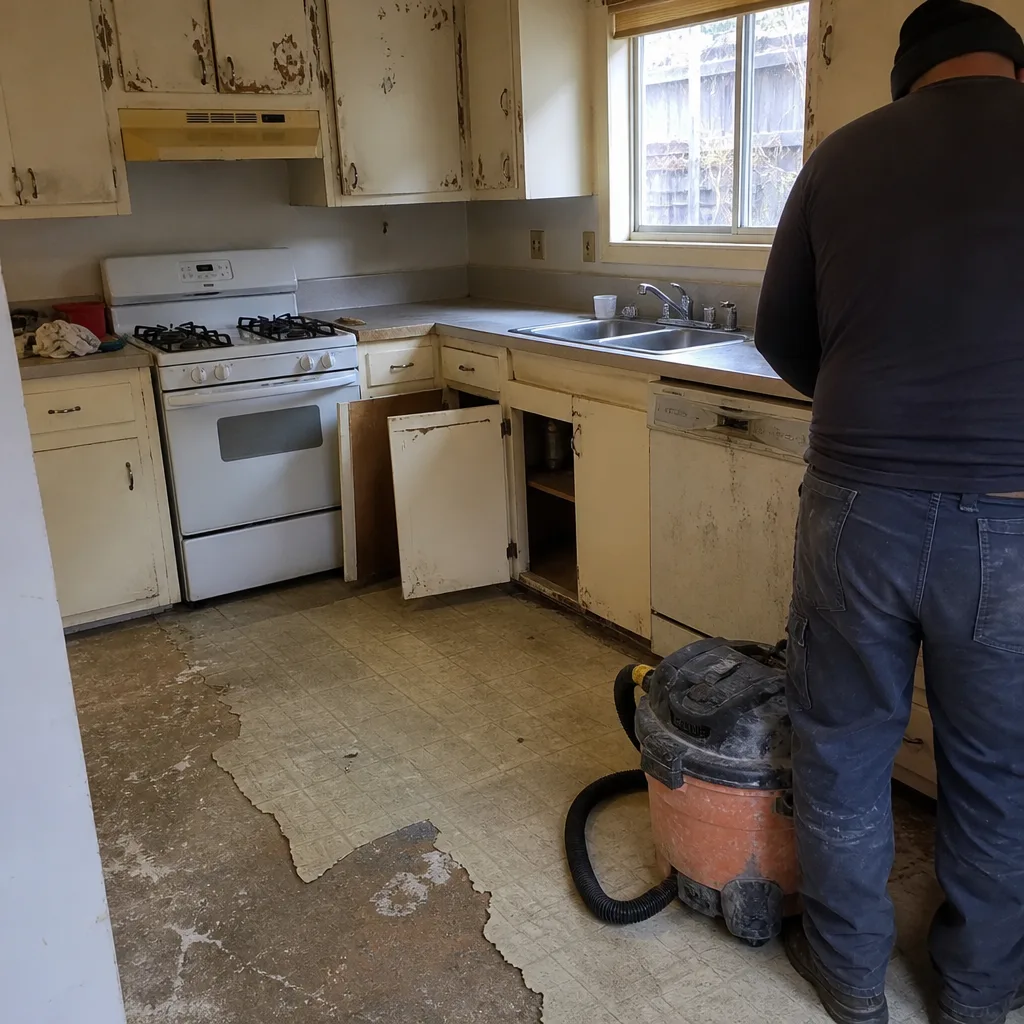 Before
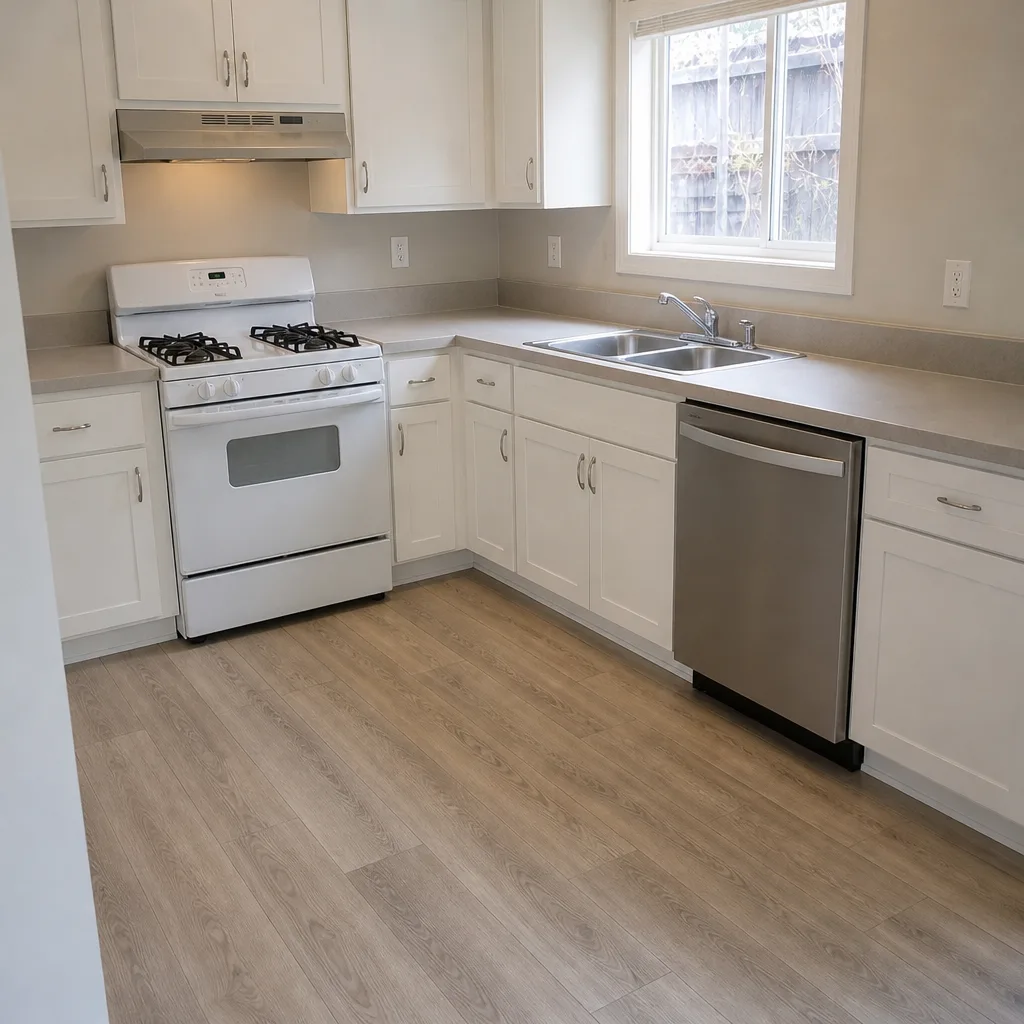 After
When to Call a Professional
Call a professional today if you have water at the seam that’s been active more than a week, a diagonal crack that’s grown in the last month, a door or window that won’t latch that was fine three months ago, or a ceiling sag near the addition tie-in. Those four situations are the ones where “wait and see” turns a $400 fix into a $4,000 one. Also call if the original contractor has gone silent on a written request. A licensed contractor can usually take over a stalled correction without dragging the job back through the city, and we’ve done exactly that for Santa Rosa homeowners who were unsure where else to turn. Barrett & Sons Construction Santa Rosa offers free estimates in Santa Rosa, and a live person answers the phone, so call (866) 864-4083.
Frequently Asked Questions
No, most hairline cracks above addition doorways are normal drywall settling and don’t need repair beyond caulk and paint. The one shape that’s worth a call is a diagonal crack running at about 45 degrees from a corner of the opening, especially one that’s still growing. Photograph it with a tape measure in the frame each week for a month. If it stays the same width, you’re fine. If it’s growing, get an engineer, and call (866) 864-4083 for a free second opinion on any written estimate you’ve already received.
Almost always an undersized duct, not a failing furnace. The original system was sized for the original square footage, and a new room added to the trunk line steals air from every other room. Feel the supply register in the addition and compare it to a room near the thermostat. If the airflow is weaker and the temperature difference is more than 5 degrees, that’s a duct sizing issue. Fixes range from a return-air path adjustment to a dedicated mini-split, depending on the layout.
Not the structural or fire separation items, and you shouldn’t try. Most failed final inspection items on a Santa Rosa ADU are small corrections like smoke alarm placement, water heater strap, stair riser height, and address numbers, and those need to be handled by a licensed contractor so the correction gets signed off cleanly. The essential point is that a failed final is a correction notice, not a re-permit in most cases. Call (866) 864-4083 to schedule a free estimate on taking over an open correction.
A flashing repair at the roof-to-wall seam typically takes a day for the exterior work, plus a hose test to verify, plus a few days of drywall repair and paint inside once the exterior is dry. If the leak has been active for more than a year, opening the wall cavity adds days, and the total usually runs into two weeks. Sequencing matters more than speed: fix the flashing first, verify it, then repair the interior. A contractor who offers to patch the inside first isn’t fixing the problem.
Usually not for a correction, but yes for a structural repair that changes framing or the original permit scope. A flashing repair and interior drywall work don’t need a new permit. If the fix involves reframing a header, changing the foundation, or replacing a fire-rated wall assembly, the work needs a permit and an inspection. Barrett & Sons pulls permits and signs inspections on every eligible job. Call (866) 864-4083 for a free estimate and we’ll tell you which one applies to your situation.
Yes, and it happens more than people realize. A licensed contractor can usually pick up the correction work on the original permit, complete the items the inspector flagged, and sign off on the correction, without cutting a new permit. The homeowner’s best protection is a paper trail: the original contract, the inspection correction notice, and a written timeline of attempts to reach the original contractor. If you’re in this spot, call (866) 864-4083. Estimates are free, including a second opinion on any written estimate you’ve already received.
The Bottom Line
Most addition and ADU problems aren’t caught at inspection. They declare themselves between month six and month eighteen, and by then the contractor who took the shortcut is often out of reach. The four early signals worth acting on are diagonal cracks that are still growing, water at the seam that’s been active more than a week, doors and windows that won’t latch in rooms that used to work, and additions that stay more than five degrees off the main house. Everything else is document, photograph, and watch. If you’re in a dispute, get it in writing with photos and a specific ask, and don’t let the phone call stand in for the email. Scope in writing, allowances in writing, change orders in writing. That’s the difference between a fixable problem and an expensive one.
Barrett & Sons Construction Santa Rosa is the owner-operated, name-on-the-truck alternative to the outfits that quote one price on the phone and hand you a different bill at the door. We pull permits and sign inspections on every eligible job, we put every price change in writing before a nail moves, and every completed job carries the 90-Day Done Right Promise. If you’re sorting out a problem with an addition or planning one from scratch, we offer a free second opinion on any written estimate, $40 off any repair over $200, no trip charge inside the county, and a permanent 10% Senior & Veteran discount. For Barrett & Sons Construction Santa Rosa home services across Kitchen Remodeling, Bathroom Remodeling, Roofing, Windows & Doors, Fence Installation, Driveway & Pavers, and Home Additions & ADU, call (866) 864-4083 for a free estimate. If you’re also updating the outdoor side of the property, you can read about Driveway & Pavers in Santa Rosa and Fence Installation in Santa Rosa before you build. Call (866) 864-4083 to schedule your free estimate today.
Written by the team at Barrett & Sons Construction Santa Rosa.