Last updated November 18, 2026





Free written scope consultation - allowances, timeline, and change-order rules on paper before a single trade is scheduled
Windows & Doors Maintenance Schedule: What to Do and When
The average exterior window caulk joint in Northern California lasts 5–7 years before it starts failing. Most homeowners haven’t looked at theirs since they moved in. That’s the quiet math behind a lot of the rotted sill plates and soft wall framing we open up on jobs around Santa Rosa: water got in years before anyone noticed a problem inside. Window and door maintenance isn’t really about keeping things looking sharp. It’s about keeping water out of your wall framing, and in Santa Rosa’s wet winters the gap between “noticed it” and “replaced the framing” is shorter than most people think. This guide runs on a calendar, not a “when it looks bad” schedule. You’ll get a season-by-season plan, a real way to read a caulk joint, and the documentation that keeps a manufacturer’s warranty standing.
Quick Answer
Maintain your windows and doors on a fixed calendar tied to Santa Rosa’s weather: inspect and re-caulk exterior joints and weatherstripping in September before the rains, lubricate hardware and check tracks in spring, and touch up paint and stain on wood and wood-clad units every 2–4 years before the finish thins. The one task people skip most is cleaning and lubricating sliding door tracks, and it’s the single biggest factor in whether a sliding door lasts 15 years or 40.
Styles & brands we work with
- Kitchen remodeling
- Bathroom remodeling
- Home additions & ADU
- Roofing
- Windows & doors
- Driveway & pavers
- Fence
Table of Contents
- The Santa Rosa Maintenance Calendar, Season by Season
- How to Inspect a Caulk Joint: The Thumbnail Test
- Wood-Clad Windows: The Paint and Seal Schedule That Saves the Core
- Sliding Doors: Tracks, Rollers, and the Task Everyone Skips
- Hardware, Hinges, and Weatherstripping
- What to Photograph and Document Every Year
- Santa Rosa Climate and Code Notes That Affect the Schedule
- Frequently Asked Questions
The Santa Rosa Maintenance Calendar, Season by Season
Generic checklists tell you to “inspect annually,” which is about as useful as telling you to water your garden sometime this year. Santa Rosa’s weather has a rhythm, and your maintenance should follow it. We get most of our rain between November and March, with dry, warm summers and a real fire-season window in between. That pattern sets the timing.
September (before the rains): This is the most important month on the calendar. Walk every exterior window and door and inspect the caulk joints, weatherstripping, and door sweeps. Address any gaps now, because a failing seal in October becomes a wet wall by January. Water that gets behind a window frame in a Santa Rosa downpour has nowhere to go but into the framing and sheathing. September is also when to clear window wells and check that exterior sills shed water away from the wall rather than pooling on them.
Spring (April–May): Once the rains back off, lubricate window and door hardware. Crank operators, casement hinges, sliding door rollers, and lock mechanisms all need a couple of drops of lubricant and a wipe-down. Clean tracks and weep holes so they’re ready to move summer dust and the first fall rain. Check screens for winter holes and repair or replace them.
Summer (June–August): This is the window for paint and stain touch-ups. Wood and wood-clad windows dry out and the finish thins in the summer heat, and a dry, warm week is the right time to sand, prime, and repaint before the fall wet season returns.
Winter (November–March): Interior inspection time. You’re looking for signs the outside isn’t doing its job: fogging between panes, water stains on interior drywall near jambs, condensation on the inside glass, and doors that suddenly stick or won’t latch because the frame has swelled from moisture.
If you want a sense of how this calendar fits into the rest of a house’s upkeep, our guide to Barrett & Sons Construction Santa Rosa home is a good place to see how windows and doors tie into the larger exterior envelope.
How to Inspect a Caulk Joint: The Thumbnail Test
You don’t need a moisture meter to read a caulk joint. You need your thumbnail, your eyes, and a dry day. Here’s how we run through it.
- Press the thumbnail into the caulk at several points along the joint. Good caulk is flexible and springs back. If your nail pushes in like it’s pressing into an old pencil eraser, the caulk has lost its elasticity and it’s time to think about replacement. If it’s hard and won’t give at all, it’s been dead for a while.
- Look for the three distinct failure signals. Cracking means small fissures in the surface. Separation means the caulk has pulled away from either the window frame or the siding. Mold growth – the black or green staining along a joint – is a sign the seam is holding water and never drying out.
- Match the signal to the urgency. Cracking is early warning; schedule it for your next dry weekend. Separation is urgent; water is getting behind the joint now, so handle it before the next rain. Mold along a joint means moisture has been sitting long enough to grow things, and you should look for interior signs of a leak too.
- Check the entire perimeter of each window, top, sides, and bottom. The bottom sill joint is often the worst because it catches water, and the top is the easiest to forget because you can’t see it from the ground. A mirror on a pole or a phone camera on a selfie stick will save you a ladder trip.
When you recaulk, use a paintable exterior sealant rated for what it’s touching. Caulk over old caulk fails fast. The joint has to be cleaned out, dried, and then filled fresh, and it wants a dry week to cure. If what you’re looking at is more than a caulk problem – soft wood, a frame that’s pulling away from the siding, a window that won’t close square – that’s a bigger conversation. Our crew handles window and door work as part of our broader exterior remodeling, and you can see the trades we touch through Home Additions & ADU in Santa Rosa when one bad window turns into a wall rebuild.
Wood-Clad Windows: The Paint and Seal Schedule That Saves the Core
Wood-clad windows are popular in Santa Rosa because they give the warmth of wood inside without the exterior maintenance of a full wood window. But the word “clad” hides a real vulnerability. The aluminum or vinyl exterior cladding protects the outside. The interior wood core – and any bare wood on the sills, jambs, and trim – is still wood, and it still needs protection. Rotted wood cores are one of the more expensive repairs we see on houses where the exterior looked fine and the problem was hiding inside.
The schedule that keeps the core sound:
- Exterior paint or stain every 2–4 years on any exposed wood trim, sill noses, and surrounding exterior trim. The cladding itself doesn’t need paint, but the joints and exposed edges around it do.
- Interior paint or finish every 4–6 years on interior sills and aprons, and sooner in bathrooms and kitchens where moisture is higher. Chalking or flaking finish means water vapor is already getting into the wood from the inside.
- Check and treat sills and jamb ends first. These are the pieces that wick water, and they’re the first to go soft. A finger press along a sill that gives slightly means trouble.
- Watch the interior for the unseen rot. Soft spots under the sill, a musty smell around a window, or finish bubbling on the interior edge are signs the wood core is taking on water from outside. That’s the one you can’t see happening.
Brand and quality matter here. Andersen and Marvin wood-clad windows have a known finish and replacement-part system, which is part of why we specify them when a customer is replacing rather than patching. If your units are near the end of their life, getting the replacement right matters as much as the maintenance. Our Fence Installation in Santa Rosa page shows the same approach to exterior materials we take with windows: name brands you can look up, and work that’s built to weather the local climate.
Sliding Doors: Tracks, Rollers, and the Task Everyone Skips
If there’s one task on this schedule that determines whether a sliding door lasts 15 years or 40, it’s track maintenance. We’ve seen doors that were replaced at 15 years for a problem that a vacuum and a dry lubricant would have prevented twice a year. The track collects grit, grit grinds the rollers, and grinding rollers ruin the door’s alignment and eventually the whole assembly.
Here’s the routine for every sliding door and window in the house:
- Vacuum the track clean. Every spring and fall, pull out the loose debris with a vacuum and a soft brush attachment. Grit is the enemy.
- Wipe the track with a damp cloth and let it dry completely. Never leave moisture sitting in the track, especially before the rainy season.
- Apply a dry, non-greasy lubricant to the track and rollers. Silicone spray works, and so does a dry stick lubricant. Avoid greasy lubricants that collect dust and grit; on a sliding door, a greasy track is worse than a dry one.
- Check the rollers for wear. If the door drags, rocks, or needs a shoulder to slide, the rollers are worn or the track is bent. Address it before it gets forced and damages the door panel.
- Clean the weep holes at the bottom of the track. These are the drain holes, and when they clog, water sits in the track and works its way in. A paperclip or a piece of wire is all you need to clear them.
Sliding doors in Santa Rosa see real use year-round because our patio season is long, which means more cycles, more grit, and more wear. If you’re planning a bigger change and a slider is on a wall you’re reworking, our Driveway & Pavers in Santa Rosa team handles the exterior groundwork that often goes with a door replacement and a new patio landing.
Hardware, Hinges, and Weatherstripping
Hardware is what wears out first on a window and goes wrong quietly on a door. Crank operators on casement windows seize when they’re never lubricated, and a seized operator can be the difference between a window that opens in an emergency and one that won’t. Hinges on exterior doors loosen from repeated opening and closing, and a hinge that’s pulled loose lets the door sag, which throws off the seal and lets weather in. Locking mechanisms on windows and doors need a little graphite or silicone now and then, because a lock that sticks gets forced, and forcing a lock is how a window gets broken or a jamb gets split.
Weatherstripping deserves its own line. The foam, felt, or rubber seals around doors and window sashes keep air, water, and insects out. Those seals compress over time and lose their spring. A simple test: close the door on a dollar bill (or a strip of paper) and see whether it pulls out with resistance. If it slides free, you’ve found a gap. Replacing weatherstripping around a door takes a couple of hours and is one of the cheapest comfort upgrades on the calendar.
Spring is the right time for hardware work in Santa Rosa. You’re past the wet season, the units are dry, and you’ll find and fix problems before they sit through a summer of heat expansion and another fall of rain. If a hardware issue turns out to be a sign the whole window is failing, we’ll tell you straight, and our home base page shows the kind of exterior work our crew does when a repair turns into a replacement.
What to Photograph and Document Every Year
Here’s the part nobody talks about, and it’s the part that protects your wallet. Window and door manufacturers have maintenance requirements written into their warranties. Keep the wood cores painted. Maintain the seals. Service the hardware. If a unit fails and you file a claim, the manufacturer can ask you to show you held up your end. Most homeowners have no records at all, which means a warranty claim falls apart for lack of proof. We’ve seen it happen on windows that were only a few years old when they fogged between the panes.
The fix is a ten-minute habit. Each time you do a maintenance walk, document it:
- Date every entry. A simple notebook or a folder in the cloud is fine. Just date it.
- Photograph each caulk joint before and after any recaulk. The dates on the photos are your timeline. Show the joint cleaned and the fresh bead in place.
- Photograph paint touch-ups on wood and wood-clad units. A dated photo of a properly painted sill is proof you maintained the exterior finish.
- Keep the receipts for caulk, paint, sealant, and any service call. A receipt is the cleanest proof of a maintenance date.
- Note the manufacturer and model number for every window and door. That’s the information a warranty claim needs first, and it’s usually stamped on the frame.
- Photograph any interior signs of failure the day you see them. Water stains, fogging between panes, soft sills. A dated photo is your evidence the failure timeline started when it did.
That file also becomes your replacement playbook. When it’s time to quote new windows, you’ll know exactly what you have and what’s already worn. If the job turns into a larger remodel, the documentation is the difference between a clean scope and a lot of guesswork.
Santa Rosa Climate and Code Notes That Affect the Schedule
Santa Rosa’s climate is the reason this calendar looks the way it does. We get most of our rain in a handful of months, and that means a failing seal doesn’t fail slowly and evenly across the year. It fails through a wet season and admits a year’s worth of water in a few weeks. The other piece is fire season. Hot, dry, windy late-summer weather puts windows and doors under real stress: frames and trim dry out and shrink, joints open, and materials expand and contract through the heat swings. Those are the conditions that show up on older homes in neighborhoods like Rincon Valley, Bennett Valley, and the older streets off Montgomery Drive.
Permits matter too, and they’re worth being blunt about. Replacing a window or door in a wall assembly is regulated work. It has to meet current energy code, and in some cases it needs a permit and inspection depending on scope and age of the home. If you’ve heard a contractor say “permit’s optional on windows,” be careful. The last contractor most customers used is the one who told them permits were optional. Every eligible job we do gets the permit pulled and the inspection signed. The permit inspector works for you, not for us, and that paper trail matters at resale and at insurance.
We’re a Santa Rosa company and we’ve been working on these houses long enough that we know the difference between a maintenance item and a rebuild. If your walkthrough turns up soft wood, a wrapping frame, or a window that won’t close square, that’s not a caulk job, and it’s time to bring someone out. Our crew covers the full range of exterior work, including the trades we list on our Fence Installation in Santa Rosa and Driveway & Pavers in Santa Rosa pages. If you want a sense of the timber and cladding quality we look for, brands like Tuff Shed and Plant Prefab set a standard worth comparing against when you’re shopping materials for a shed or outbuilding alongside your house.
Common Mistakes to Avoid
- Waiting for a visible leak before touching anything. By the time water shows up on interior drywall, it’s been working on your framing for a while. The September walkthrough is what catches it before that point.
- Caulking right over old caulk. A fresh bead over a failing joint seals in the old failure and hides the next one. Clean the joint out, dry it, then fill.
- Skipping the sliding door track entirely. This is the biggest one. A track that never gets cleaned and lubricated eats its rollers, and a door that could have gone 40 years goes 15.
- Ignoring the interior of wood-clad windows. People maintain the exterior and forget the interior sills and jambs, which is exactly where a wood core rots out of sight.
- Greasing the track with the wrong lubricant. A sticky, greasy track collects grit and makes things worse. Dry or silicone lubricant is what a sliding door wants.
- No documentation. A warranty claim without dated photos and receipts is a claim the manufacturer can turn down. The file is your protection.
- Letting a hired hand touch windows without a permit. In Santa Rosa, window and door replacement is often regulated. Skip the permit and you can inherit a problem at resale. If a contractor offers to cut the permit corner, walk.
See the difference
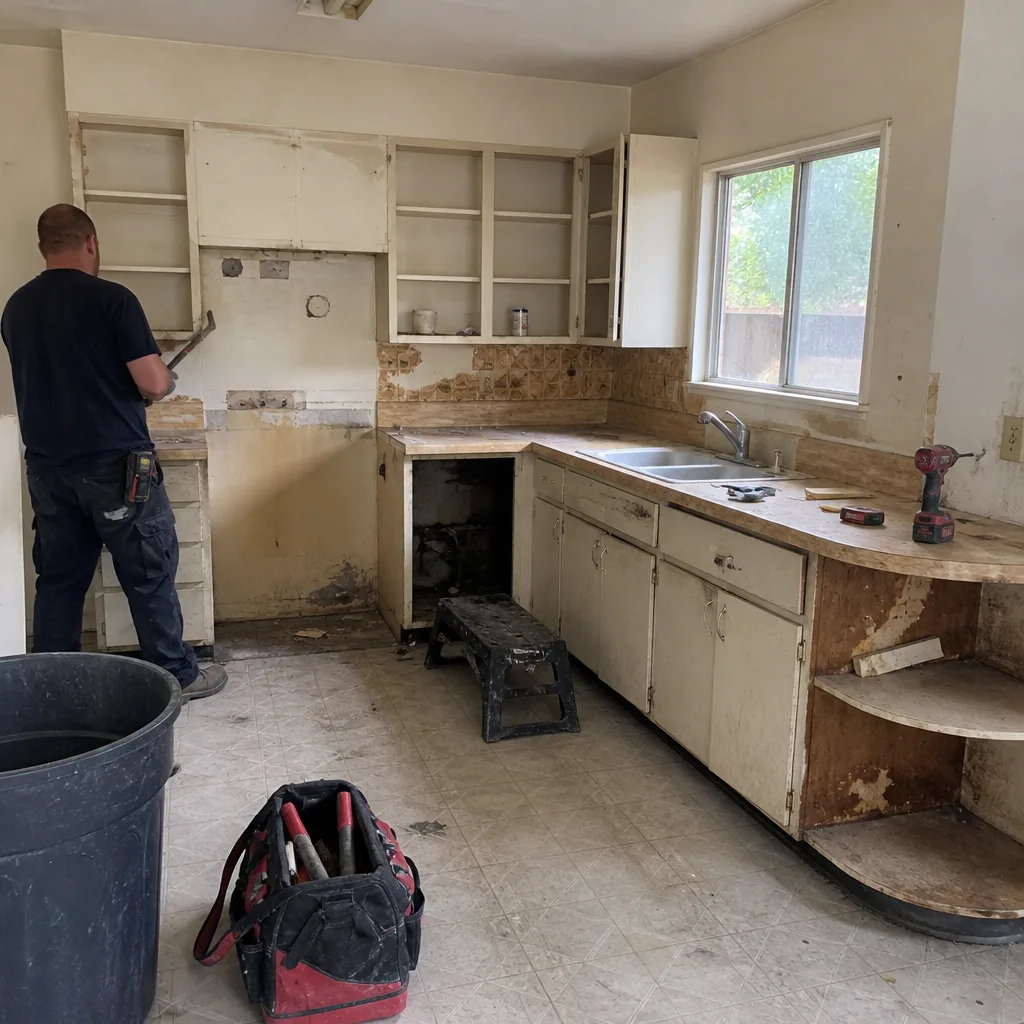 Before
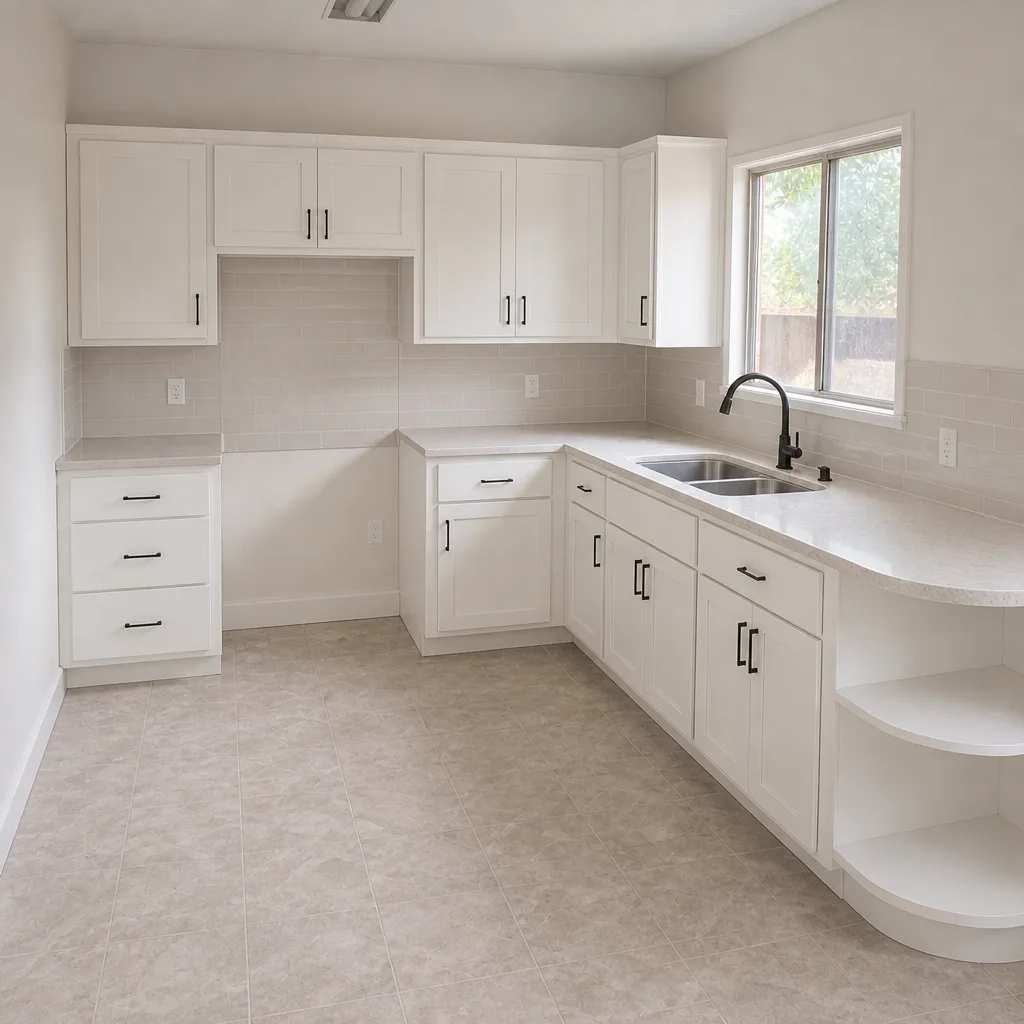 After
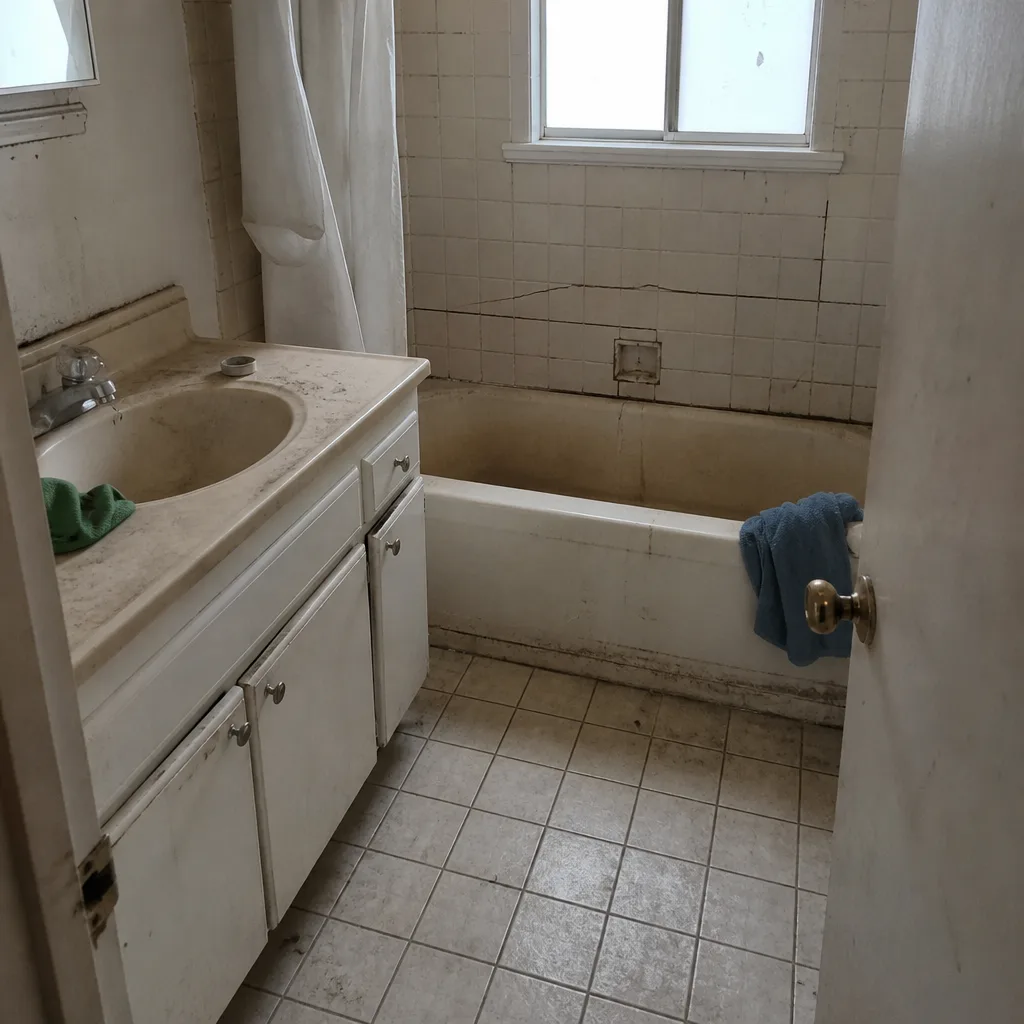 Before
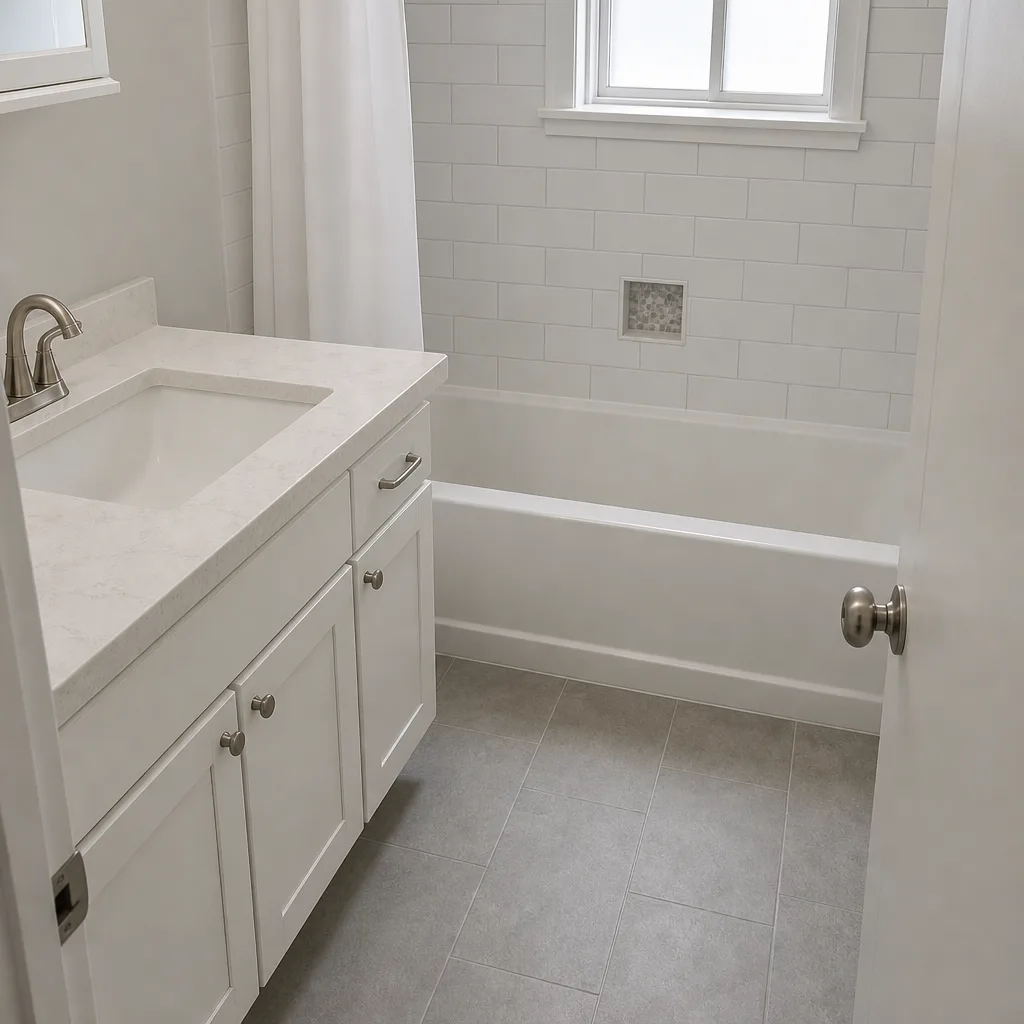 After
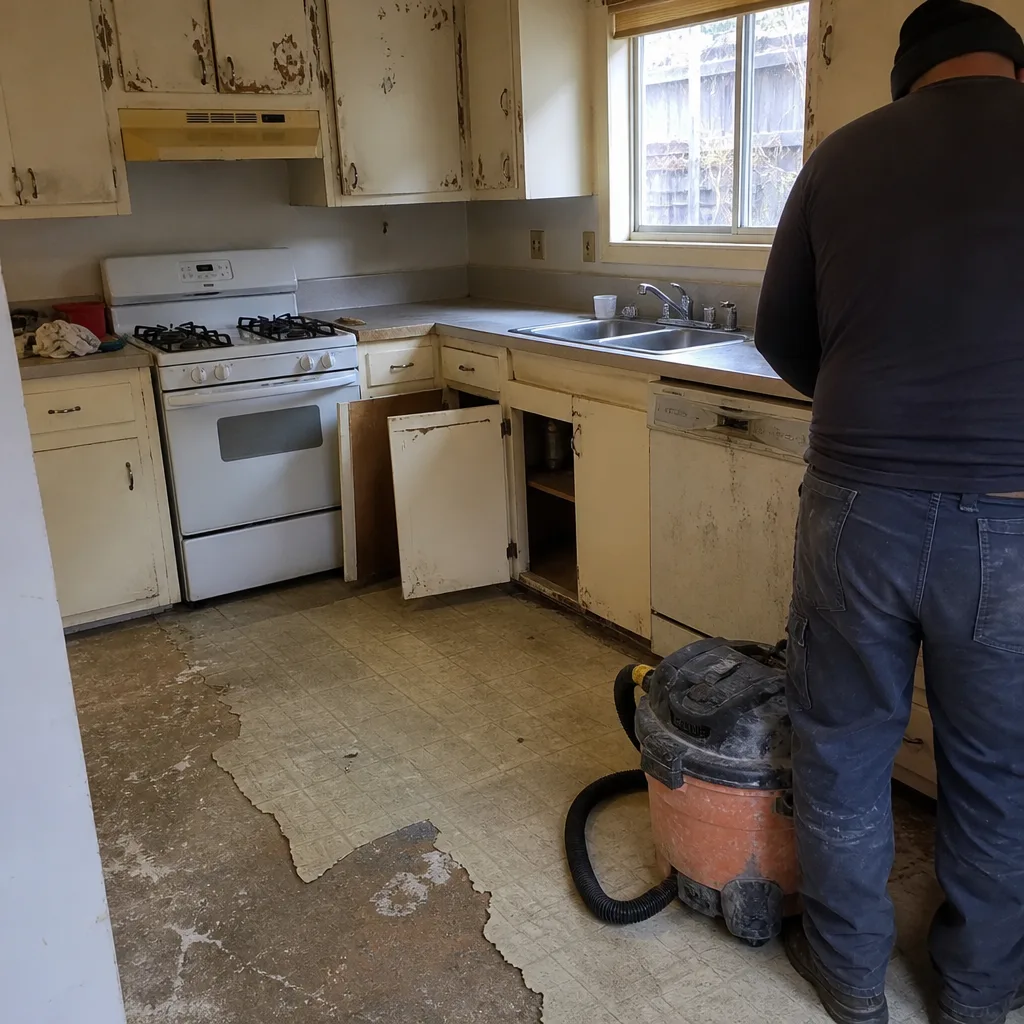 Before
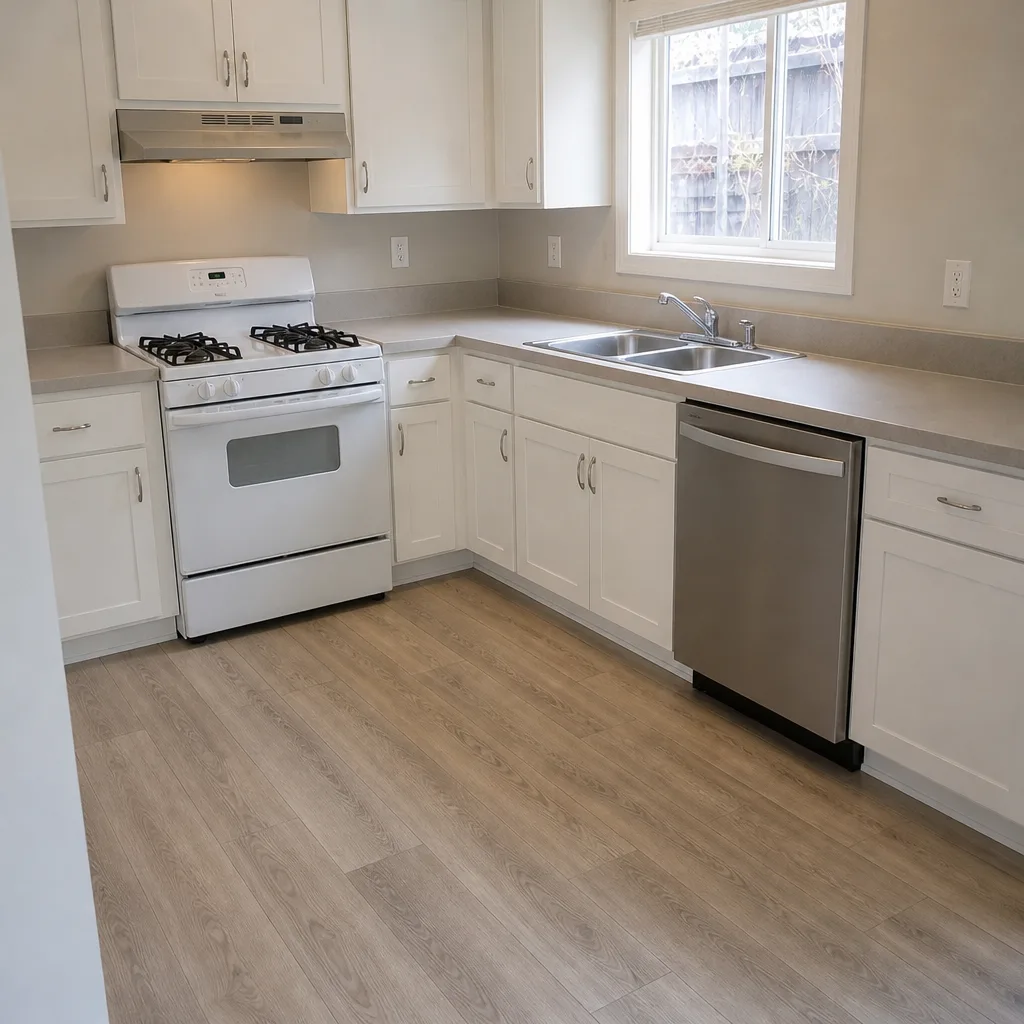 After
When to Call a Professional
Some tasks on this schedule are within reach of a careful homeowner: vacuuming a track, wiping down a sill, applying a silicone spray to a roller. But there are specific situations where a call to a pro is the right move, and pretending otherwise costs more than it saves. If you find soft wood around a window or door – sills, jambs, or framing that gives when you press it – stop and call. If a window unit has fogged between the panes, the seal has failed and the unit itself is compromised. If a frame has pulled away from the siding, if water is showing up on interior drywall near a jamb, or if a door or window won’t close square, those are structural signals, not maintenance items. And any wood-clad unit with suspected core rot should be inspected by someone who knows what to look for.
Barrett & Sons Construction serves Santa Rosa and the surrounding county with free estimates. Our technicians have up to 28 years of experience, every eligible job gets permits pulled and inspections signed, and every price change is a written change order before any work moves. If a window fails under warranty, our documentation will help you build the case. Call (866) 864-4083 for a free estimate, and check the license and the name before you sign anything.
Frequently Asked Questions

Every 5–7 years as a baseline, and closer to every 4–5 years on the sides of a house that take the most weather and sun. Inspect every exterior joint each September before the rains and recaulk any joint that has separated or turned brittle. Call (866) 864-4083 for a free estimate if you’re not sure what you’re looking at.
Cleaning and lubricating the track, twice a year. It’s the single task that most determines whether a sliding door lasts 15 years or 40. Vacuum the track, wipe it dry, and apply a dry or silicone lubricant, and check the weep holes at the bottom while you’re there.
Press along the sill and jamb ends with your finger. If the wood gives, feels soft, or the finish is bubbling, the core is taking on water. Other signs are a musty smell around the window and finish chalking on the interior edge. Have it looked at before it spreads into the framing.
Often yes, depending on the scope and the age of the home, and window replacement has to meet current energy code either way. A contractor who tells you permits are optional on windows is not someone to hire. We pull permits and get inspections signed on every eligible job.
Date every maintenance entry, photograph every caulk joint and paint touch-up before and after, keep receipts for sealant and paint, and note the manufacturer and model number for each unit. If a window fails under warranty, that file proves you maintained your end of the manufacturer’s requirements.
When the glass has fogged between the panes, the frame has rotted into the wood core, or the unit won’t close square. Those are signs the window is past repair. If you’re comparing options, look for brands you can verify. Call (866) 864-4083 for a free second opinion on any written estimate.
The Bottom Line
Window and door maintenance in Santa Rosa runs on a calendar: inspect and seal in September before the rains, lubricate hardware and clean tracks in spring, paint and stain in summer, and look for interior warning signs in winter. The three tasks that matter most are caulk joints (read them with your thumbnail), wood-clad cores (keep them painted inside and out), and sliding door tracks (clean and lubricate them twice a year). Document everything you do with dated photos and receipts, because that file is what keeps a warranty claim standing. And when the signs point to rot, fogging, or a wrapping frame, stop patching and get a professional out. Call (866) 864-4083 for a free estimate from Barrett & Sons Construction.
Written by the team at Barrett & Sons Construction Santa Rosa.